In this step-by-step guide, you’ll learn exactly how to frost a cake with smooth sides and perfect edges. This post is perfect for beginners or those who need to do a bit of cake construction troubleshooting. I cover it all below!
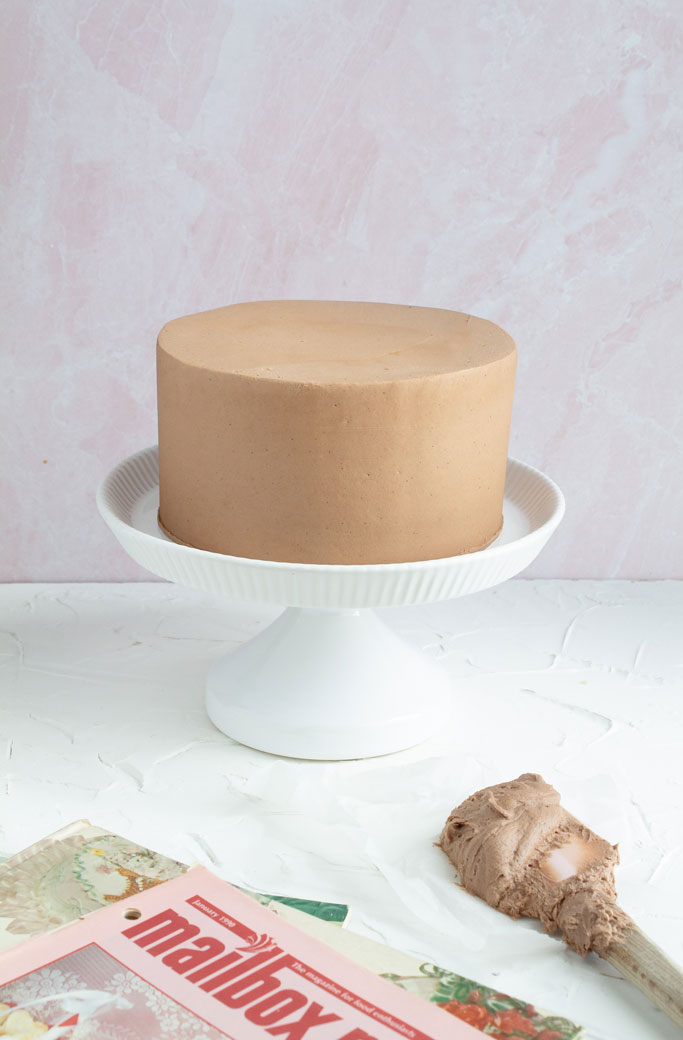
Frosting a cake perfectly starts well before you touch the frosting to the cake layers. The right tools, consistency of your frosting, temperature and shape of your cakes all play a role in whether you build an edible masterpiece or a cascading mess that your dog gets to eat. Or, if you’re like me and don’t have a dog, a mess that you get to clean up while crying. Everything is fine, it’s cool, it’s cool…
So let’s talk about it. This post is broken into sections with action steps that if you follow, will yield beautiful results! Read in order or click below to get to the section you most need help with!
Necessary Ingredients: Cake, Frosting
Necessary Tools: Turntable, Cake Board, etc.
Tool Substitutes: Tape, Lazy Susan, Knife, etc.
The Preparation: Turntable, Beating the Frosting, Leveling
The Stacking + Filling: Frosting to Cake Ratios, Stacking Straight
The Crumb Coat: Scraper Angles, Refrigerator Time
The Finishing Coat: Patching “Holes” and Clean Edges
Necessary Ingredients:
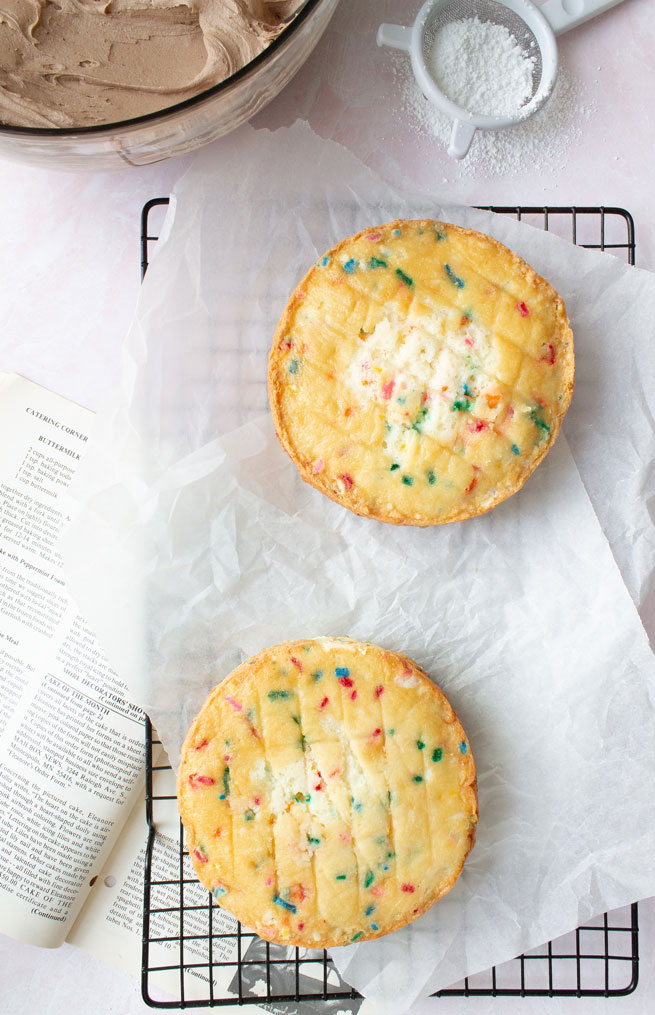
The only two ingredients you need to frost a cake are, you guessed it, frosting and cake. But there are a few variables that can affect how easy these ingredients are to work with.
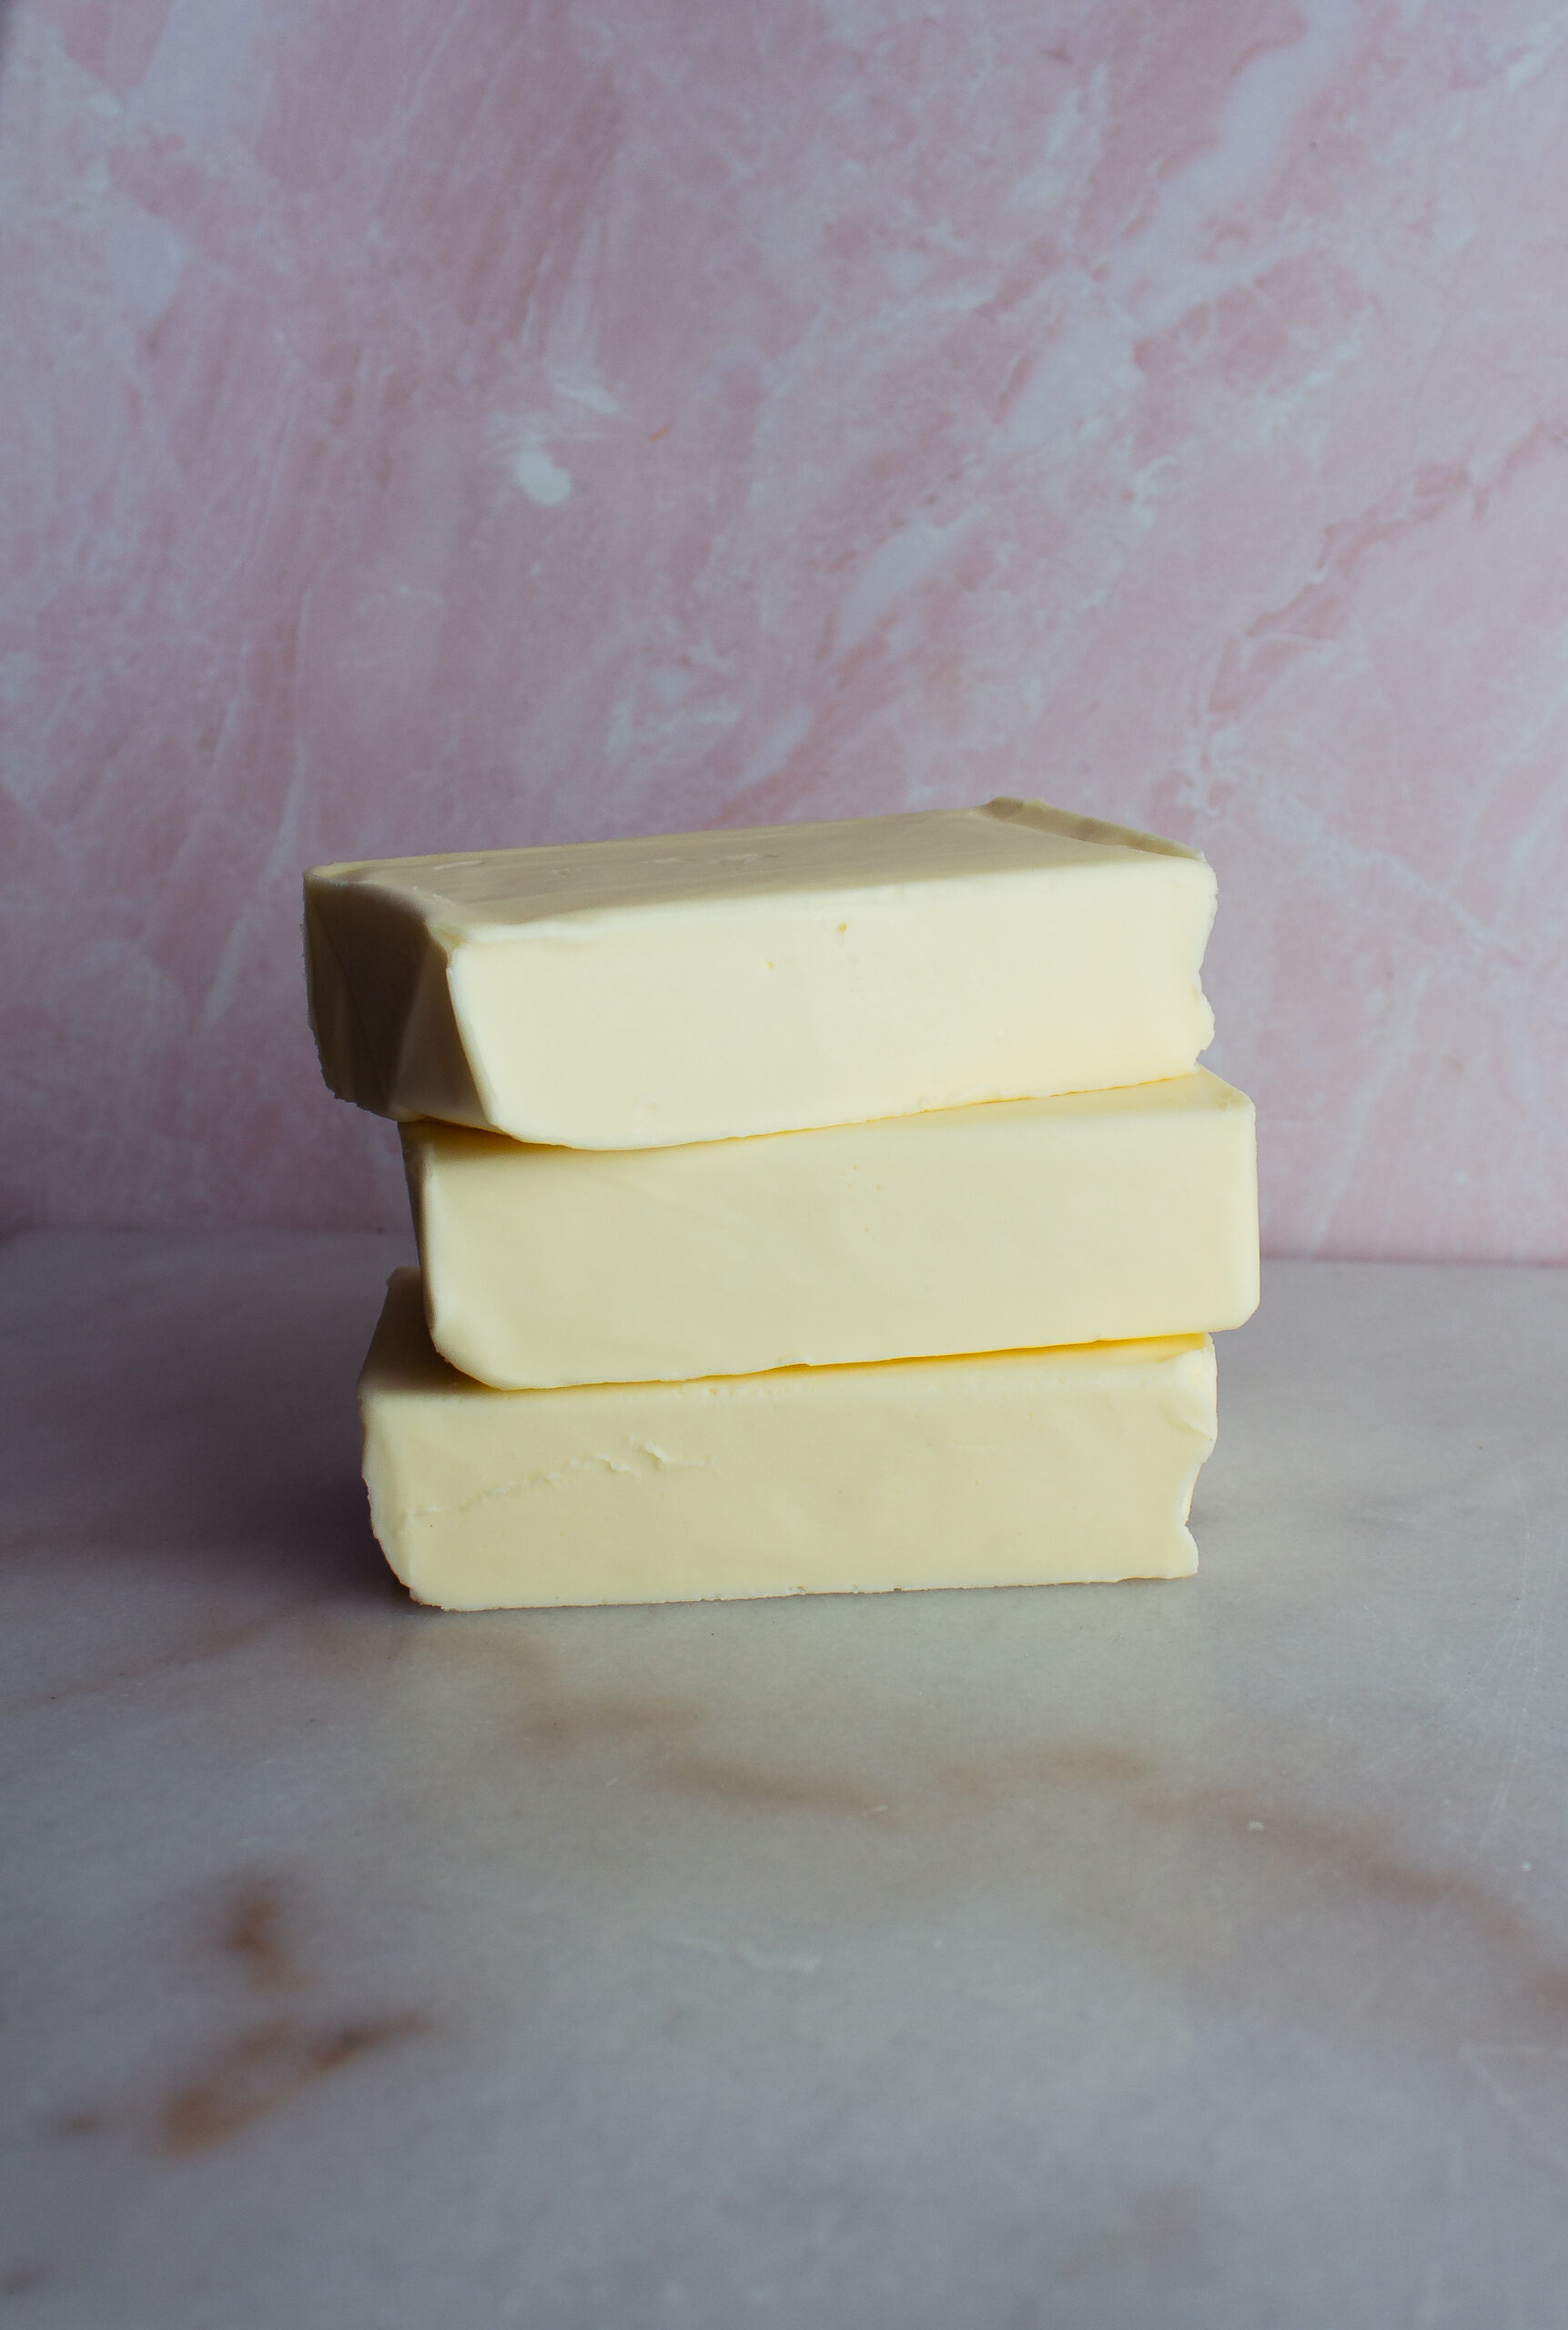
Cake: Once your cake is baked, you should allow it to cool completely to room temperature. Once it is cooled to room temperature it should be placed in the refrigerator or freezer for at least 20 minutes. This helps especially with butter based cakes. When butter gets cold it firms up. The butter in your cake will contract, making it easier to handle and ultimately causing less crumbs to get into your frosting!
Looking for a good cake recipe? Check out my Classic Vanilla Layer Cake, Strawberry Chocolate Cake or Strawberry Shortcake!
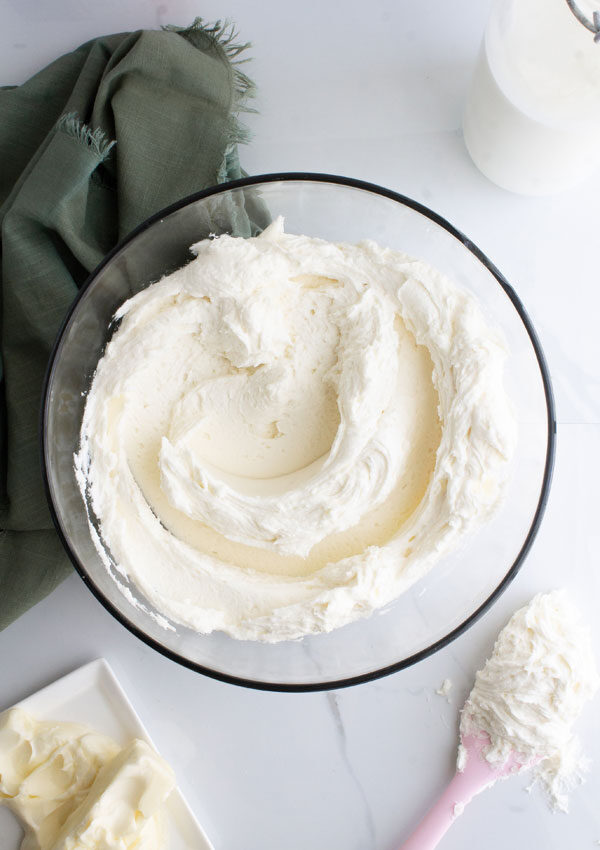
Frosting: Your frosting needs to be smooth and stable. To ensure that your frosting is smooth enough to work with, be sure to mix it properly when making it. I frequently scrape down the sides of my mixing bowl when making my frosting to make sure all of the powdered sugar and butter are incorporated. Before I frost my cake I take an extra 1-2 minutes to beat the frosting I will use by hand to push out any air bubbles.
An unstable buttercream is one that will not hold up no matter how hard you try. Cream cheese frosting is an example of an unstable buttercream. While delicious, it is very hard to get smooth sides and edges. (If I am making a cake with cream cheese frosting I prefer to crumb coat my cake in cream cheese, but frost the outside layer with regular buttercream to get those sharp edges and smooth sides).
Necessary Tools:
A few small investments in equipment are what stand between you and your future gorgeous cake creations!
Cake Turntable: A turntable is a cake stand that has a spinning plate. Cake turntables are excellent cake decorating tools because they allow for continuous motion instead of a “starting and stopping” movement that happens when you try to decorate a cake on a non-spinning object such as a plate. I work with this Ateco turntable but I started out with a cheaper turntable which works just fine if you’re looking to save some money. See potential substitution below.
Non-slip mat: Adding a non-slip mat between the surface of your cake turntable and your cake board helps the cake to not move around when you are decorating it. They can be found for pretty cheap at Walmart or Amazon. See potential substitution below.
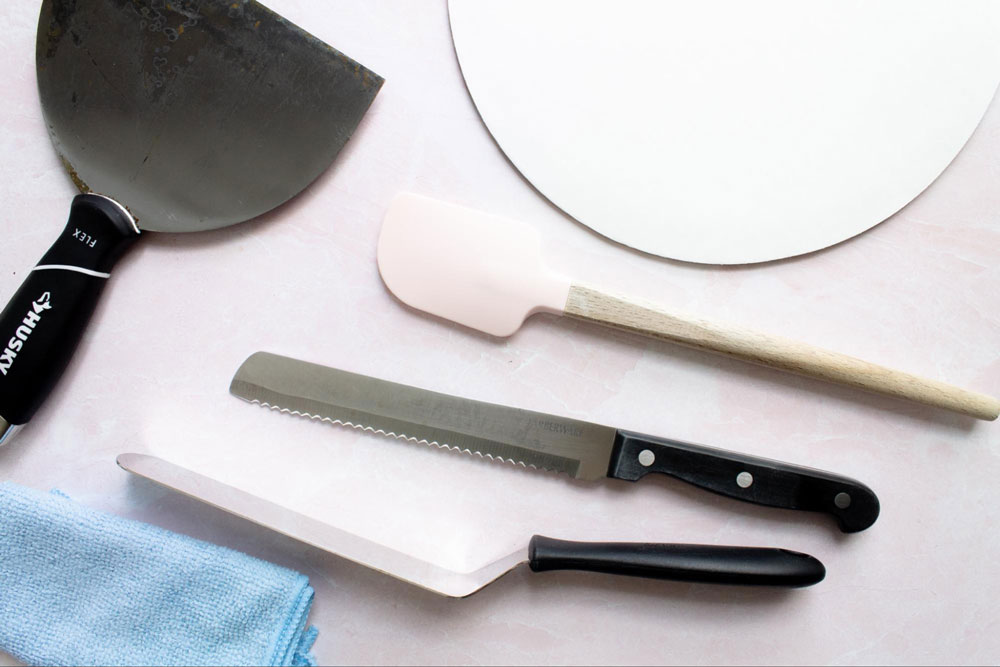
Spatula: A regular kitchen spatula is great for scooping frosting out of your bowl as well as hand-beating the frosting before you start to decorate, to remove the air bubbles.
Offset Spatula: An offset spatula is a tool specifically designed to spread frosting onto a cake. It accomplishes a sometimes hard-to-get-angle and makes the whole process all the more smooth! I love my offset spatula, it was cheap and has lasted me for many years. See potential substitution below.
Bench Scraper or Putty Knife: Most bakers will tell you to use a bench scraper to smooth the sides of your cake, but I prefer a putty knife to do the job. It allows for more freedom in my wrist and a better grip with my hand. I own many bench scrapers but the putty knife has taken first place within the past two years. (Find them at any hardware store but be aware that the metal ones rust easily.)
Cake Board: If you choose to use a cake board it is important to use grease-proof boards. That way the grease from the butter in the frosting won’t seep into the board and look sloppy. See potential substitution below.
Serrated Knife: Any 6+ inch serrated knife will work to level your cake layers. This step takes seconds and helps the structural integrity of your cake. Plus you get to snack on the cake bits you cut off, it’s totally win-win!
Microfiber or Paper Towel: This is just good responsible baking; keep both dry and damp paper towels or microfiber towels around while you’re decorating and clean as you go. I love these microfiber towels, I bought them about two years ago and always have one with me when I’m baking/decorating. Plus when I’m done I just wash and reuse.
A quick note on possible tool substitutions…
Tool Substitutes:
So you want to decorate a cake but don’t have the money to invest in a lot of equipment right now, or maybe you just don’t have time to go to the store? Here are a few things you likely already have in your house so that you can start decorating cakes today!
Tape: Tape can be used underneath your cake board if you don’t have a non-slip mat. In fact you’ll see me using tape in my YouTube video on How to Decorate a Cake.
Lazy Susan: Maybe you don’t have a cake turntable but you already have a lazy susan in the house. Clean it off and get to decorating, it’s much better than working with a stand that doesn’t rotate.
Knife: A good ole fashioned kitchen knife can frost a cake. Will she be perfect? No, but you can use a knife to apply and smooth frosting if you don’t have an offset spatula.
Plate: You don’t have to buy cake boards. You can decorate your cake directly on your serving plate with ease. Just make sure to use as flat a plate as possible. Any rimmed plate will get in the way of smoothing your frosting.
The Preparation:
I always feel the best when I split baking and decorating over at least two days. You can bake your cakes and prepare your frosting ahead of time to save yourself from hours of consecutive work and waiting for cakes to cool.
Step 1: Bake Cakes and Prepare Frosting. At this point I recommend wrapping your cake layers and sealing the frosting in an airtight container. Make yourself a cup of tea and relax, you did enough today gal.
If you choose to chill your cakes in the freezer overnight, be sure to remove them about 15-20 minutes before leveling the layers. If the cake is too frozen you won’t be able to level the top.
Step 2: (In theory, it’s the next day). Grab all of your decorating supplies (listed above) as well as your chilled cakes and room temperature frosting.
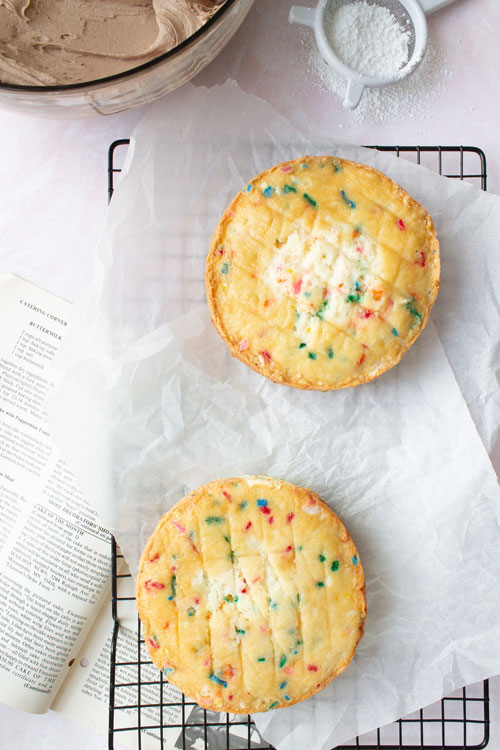
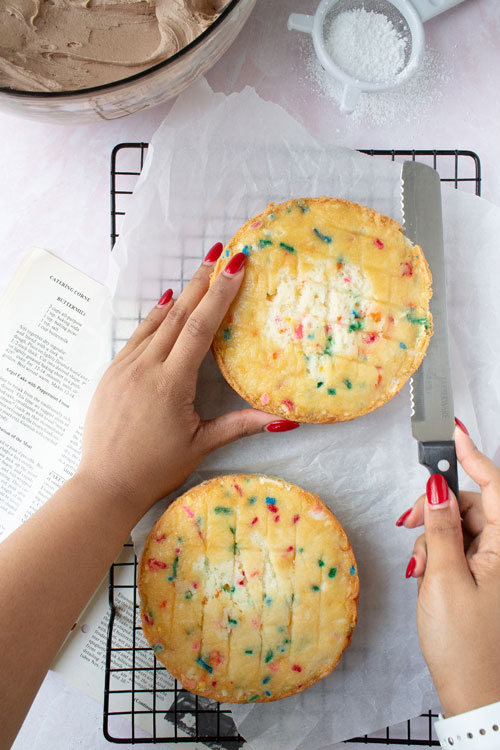
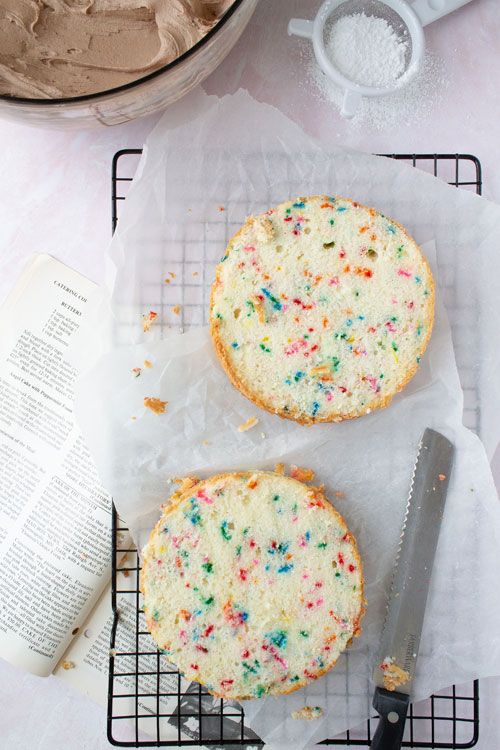
Step 3: Using a serrated knife, level cake layers by holding the knife parallel to your work surface and performing gentle sawing motions across the top of the cake until you are left with a flat top surface.
Step 4: Prepare the turntable by placing a non-slip mat on the turntable and a cake board on top of the mat.
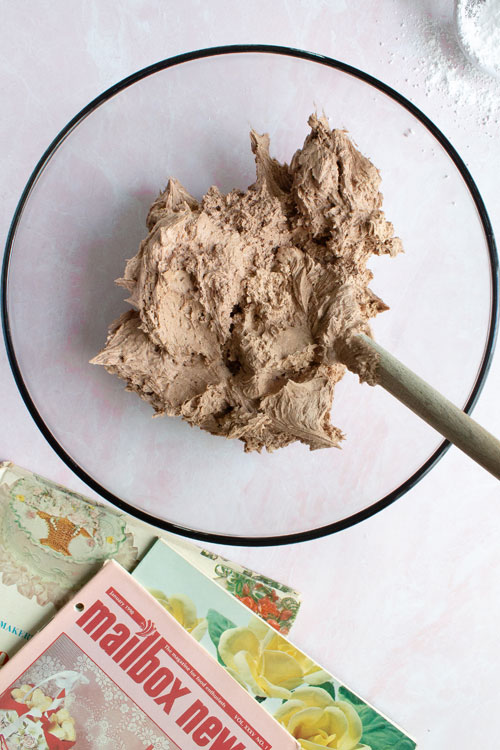
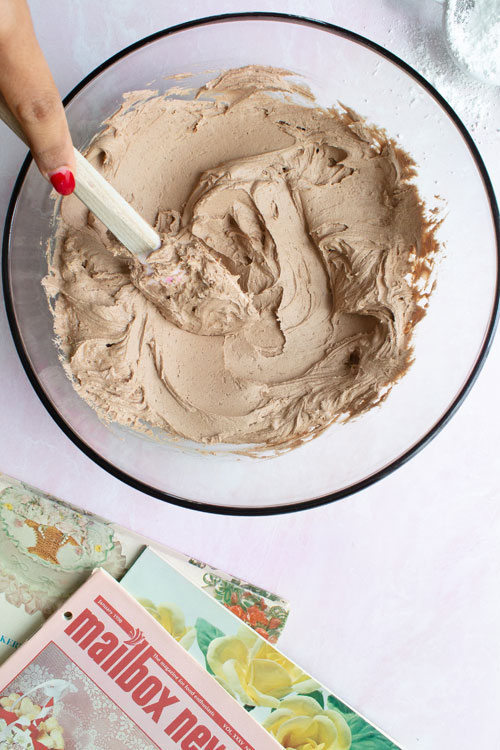
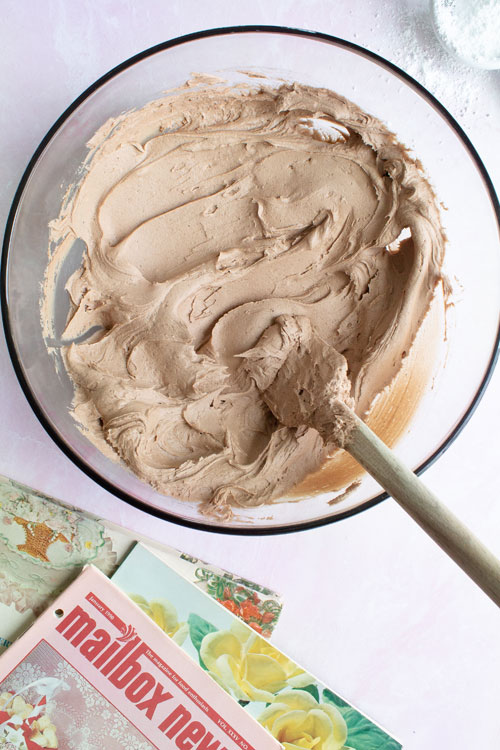
Step 5: Scoop prepared frosting out of the airtight container you placed it in the day before and place it into a large mixing bowl. Using a regular spatula, beat the frosting vigorously by hand until it is smooth again. This will remove air bubbles. You can also do this step in a Kitchen Aid Mixer fitted with the paddle attachment on the lowest speed.
 |
 |
 |
 |
 |
 |
The Stacking + Filling:
There are many delicious goodies you can fill your cakes with such as chocolate ganache, fruit, candy, caramel, you name it! In this post we will focus on the most basic cake filling: frosting. Once you become familiar with this basic filling, then I recommend moving on to dry and then wet fillings!
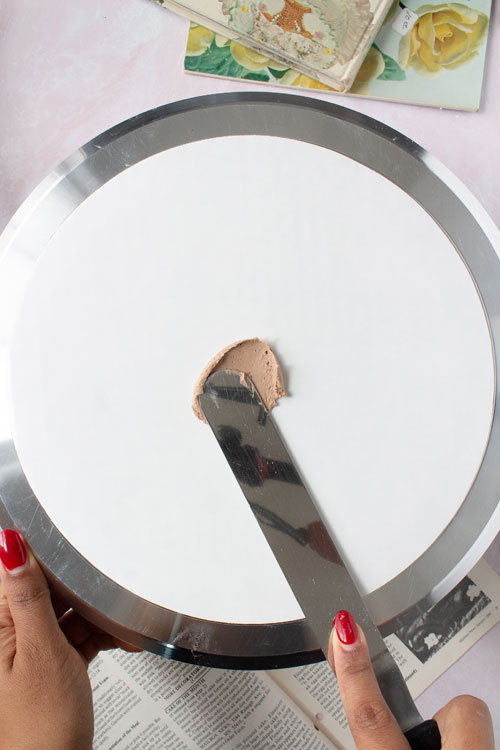
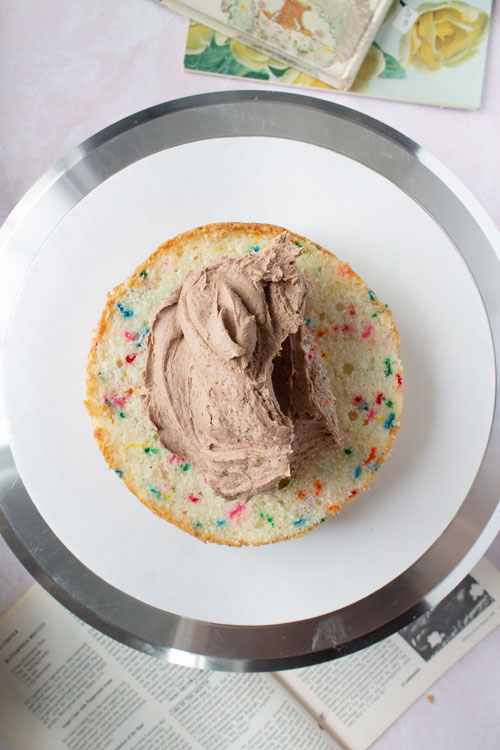
Step 6: Using an offset spatula, place a small dollop of buttercream onto the center of the cake board. This will act as “glue” to hold down the first cake layer.
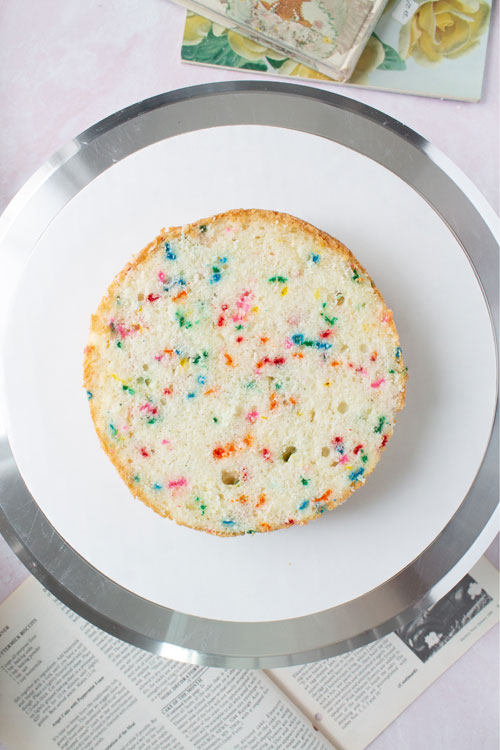
Step 7: Place your first leveled cake layer, leveled side up, on the center of the cake board and lightly press down so that it sticks to the buttercream.
Step 8: Add about 1/2-3/4 cup of buttercream onto the cake layer. I like to add more than necessary so that it will pour over the sides which makes frosting the outside layer easier later.
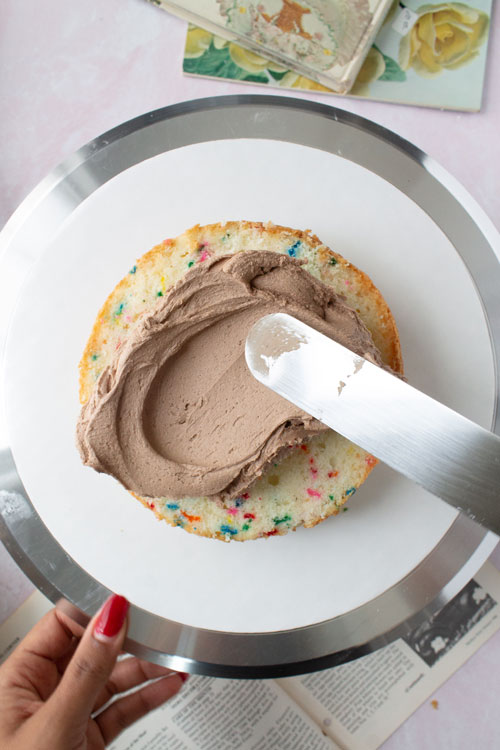
Step 9: Spread the buttercream around the cake layer using an offset spatula until it is mainly covered.
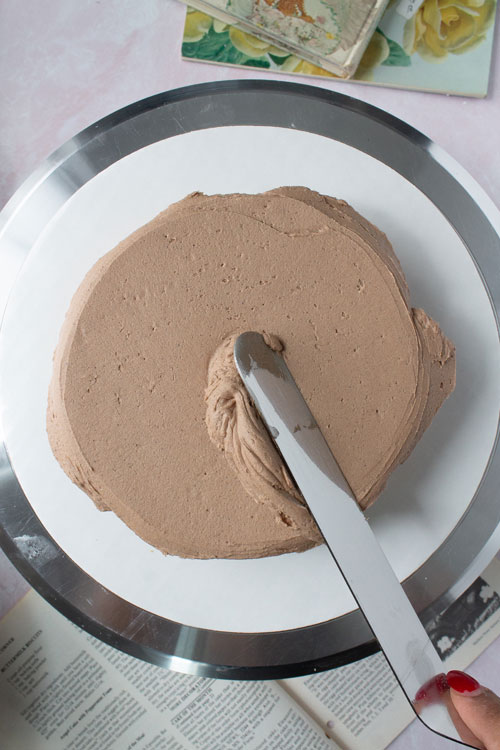
Step 10: Using the offset spatula, press down on the frosting with the offset tip in the middle and at the angle of about 4 o’clock if your cake circle were a clock (if you’re left handed you would place the spatula at the 8 o’clock angle). The offset should be parallel to your work surface. Lightly apply pressure with your offset spatula hand while using the other hand to spin the cake turntable until the frosting is smooth and flat.
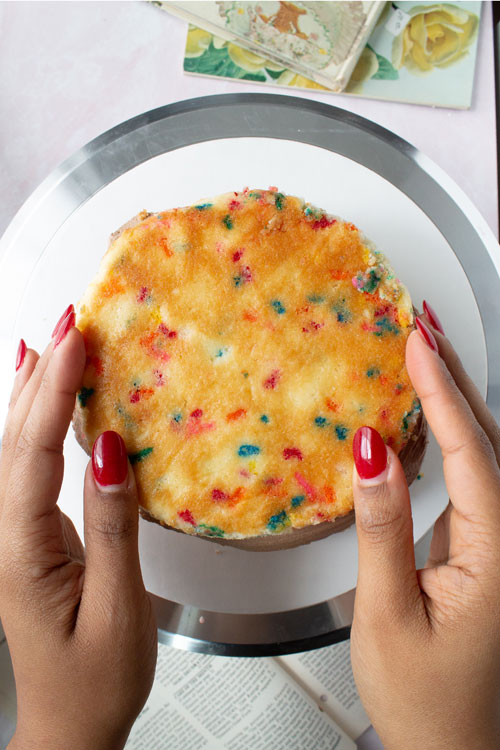
Step 11: Continue stacking your cake layers and frosting repeating the above steps until you have built your cake placing the final cake layer upside down.
Note: For the purposes of this tutorial I made a two layer (smash) cake. A standard cake uses 3, 6 inch layers or even 2 or 3, 8 inch layers.
 |
 |
 |
 |
 |
 |
The Crumb Coat
A crumb coat is a thin layer of frosting that traps the crumbs so that no cake crumbs end up in the final coat of frosting. It requires a bit of extra time in the refrigerator and it is totally worth the wait!
Note: In general, in cake decorating, it is important to know how to work with different temperatures. Knowing how to make your refrigerator work for you is a valuable tool in the process. For example if it is a particularly hot day and your frosting is too runny, pop it in the fridge for a few minutes and remix it, it should be good to go!
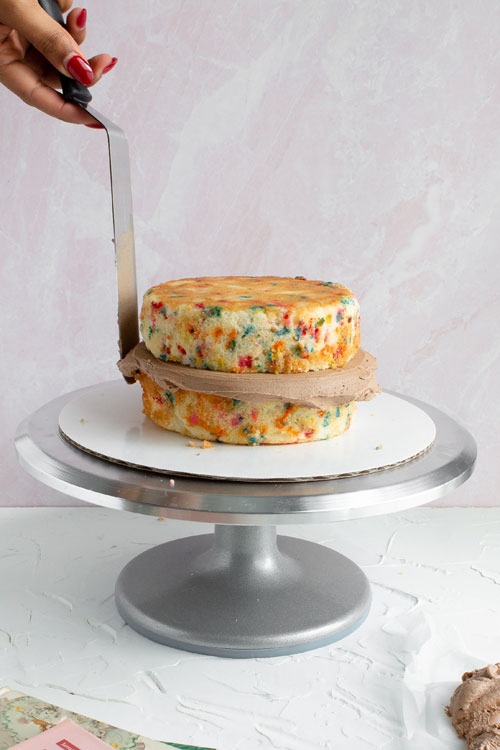
Step 12: Holding your offset spatula perpendicular to your work surface, gently start to spread the buttercream that has spilled over the sides of the cake layers using a swiveling motion of the wrist.
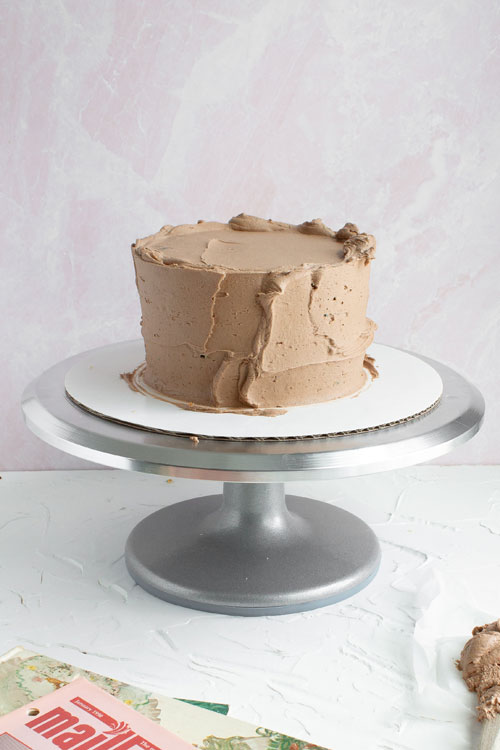
Step 13: Add more buttercream to the sides and top of the cake until it is completely covered. Be sure to not get any crumbs in the main batch of buttercream. Having a separate small bowl to put any buttercream that has crumbs in it can be helpful.
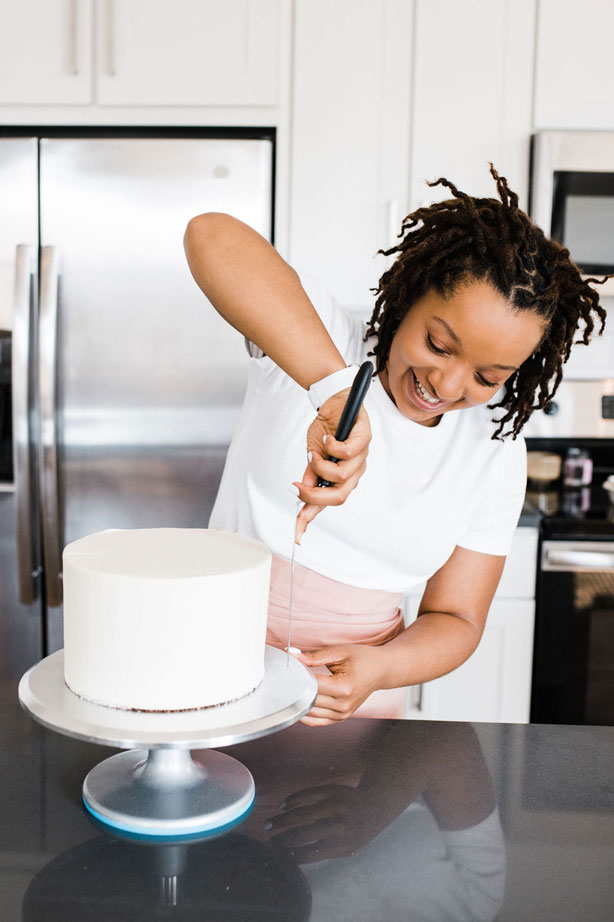
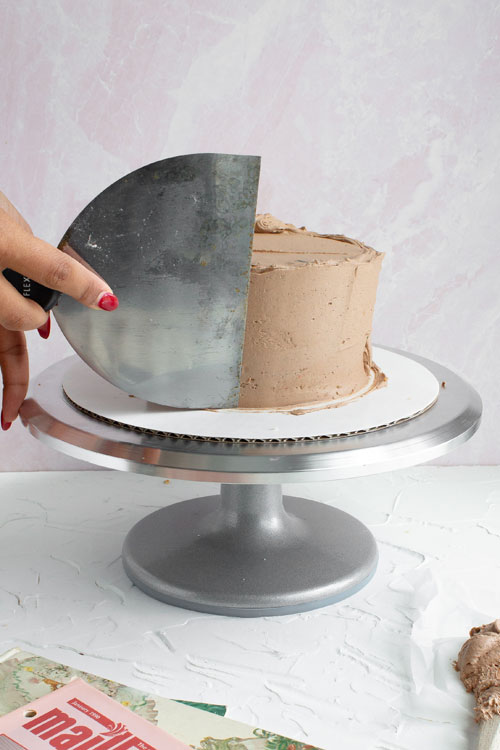
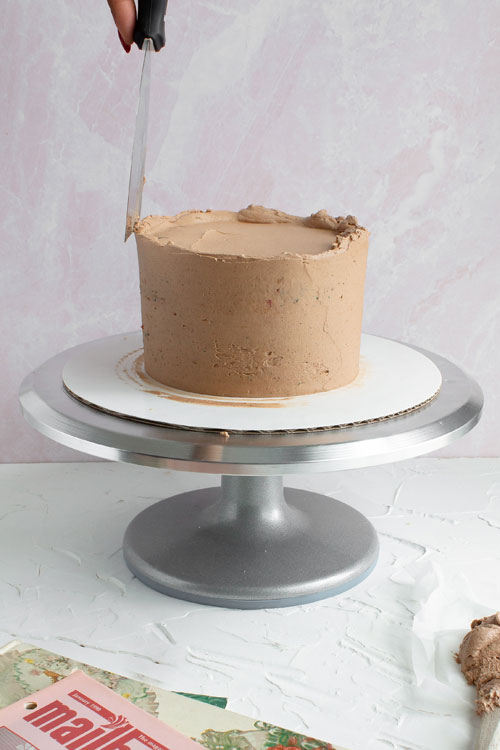
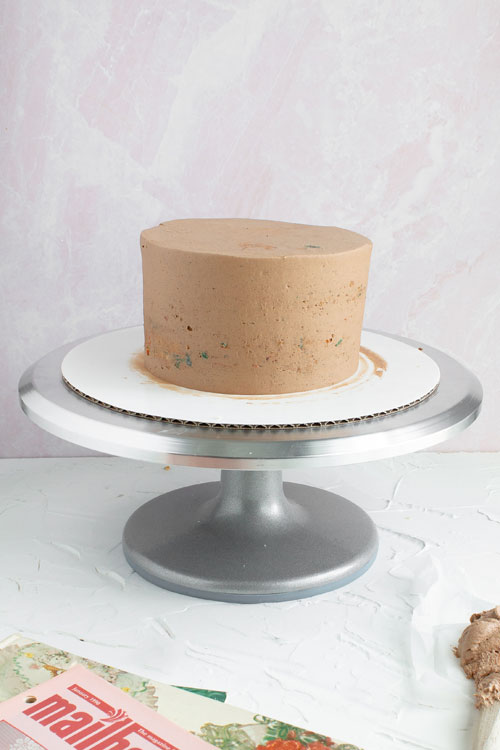
Step 14: Grab your bench scraper or putty knife and hold it perpendicular to your work surface (as straight along the side of the cake as you can get it). Apply slight pressure with the scraper while the other hand spins the turntable. After each swipe, (one swipe is passing around the cake one time), scrape off the “crummy” buttercream into a separate small bowl so as not to mix it with the “non-crummy” buttercream. Do this until the cake is covered in a thin layer of frosting but you can still see the sides of the cake layers. This is called the “naked stage.”
Step 15: Using the bench scraper or putty knife that has been wiped off, pass over the top of the cake, holding the tool’s edge parallel to your work surface, until there is no longer a “lip” of frosting over the top edge.
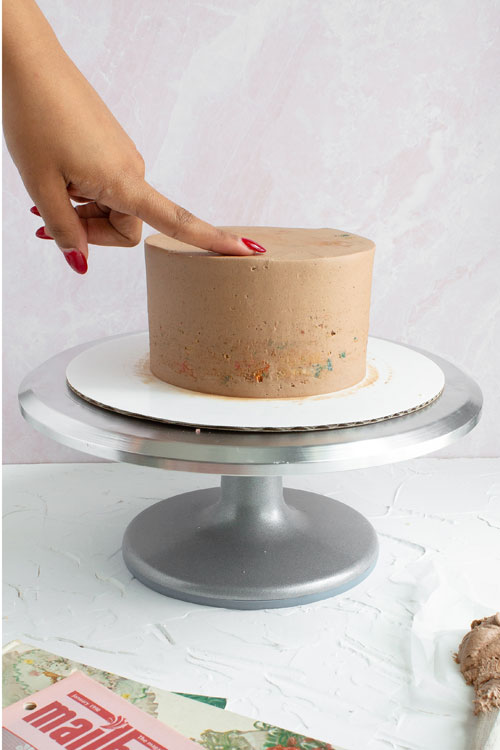
Step 16: Pop the cake in the refrigerator for 20-30mins or until you can touch the frosting and none comes off on your finger.
Note: You could make this a stopping point and finish the final coat the next day if necessary. Before popping the cake in the fridge, wrap it securely in plastic wrap on the cake board. Many bakeries have tons of crumb coated cakes ready to go in the refrigerator!
 |
 |
 |
 |
 |
 |
The Finishing Coat
The final coat of frosting is completely up to your creativity and vision for your cake! For the purpose of this tutorial I am showing you how to frost a cake with a clean finish, but you could choose an icing comb, a piped design, etc.
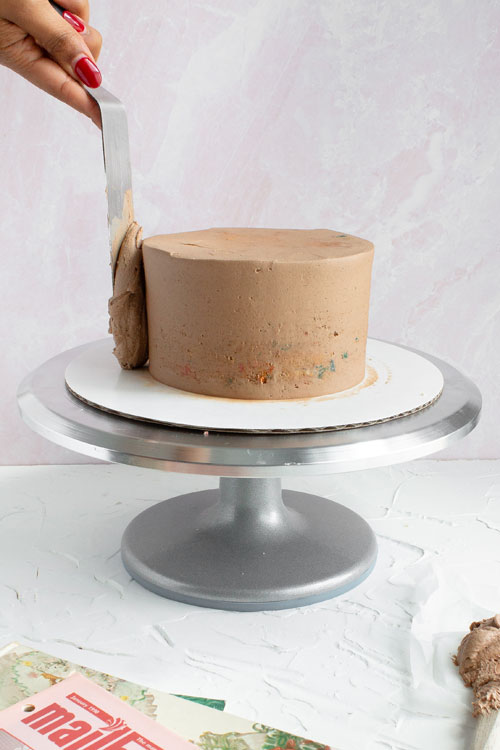
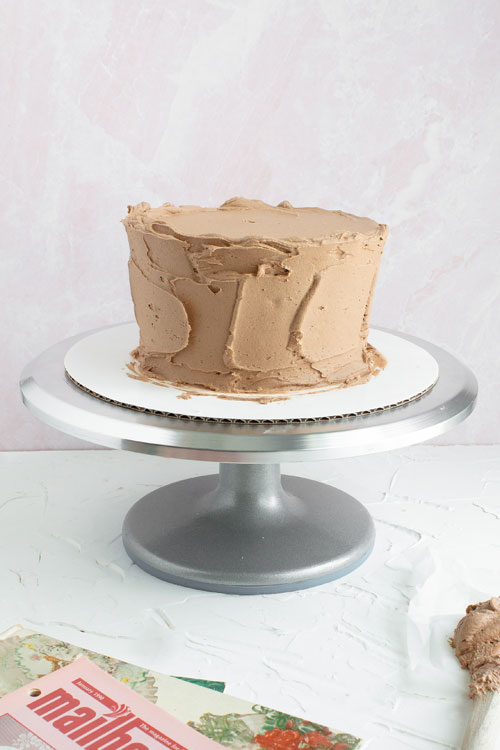
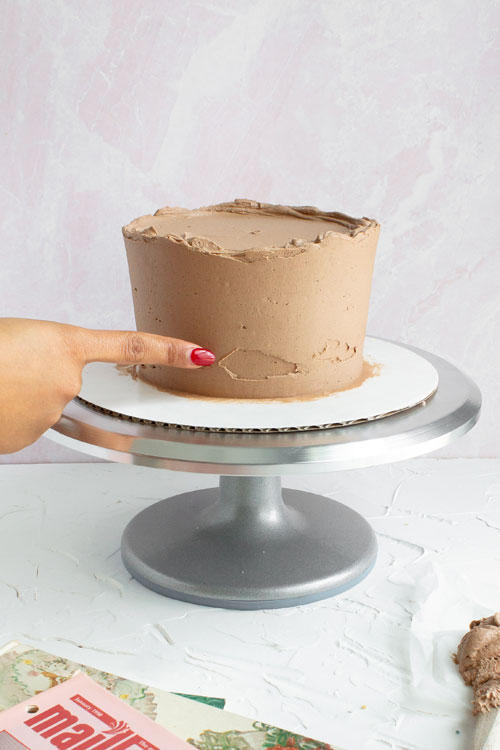
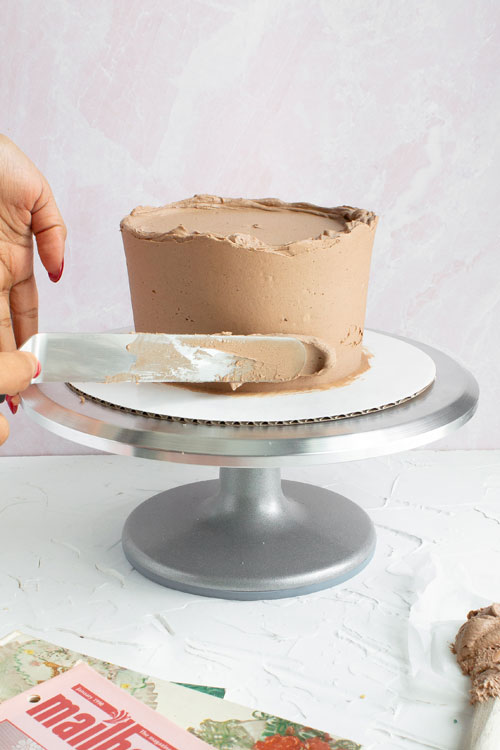
Step 17: Remove the chilled cake from the fridge. It should be firm to the touch. Repeat the process of adding frosting to the sides and top of the cake until it is covered in a slightly thicker layer of frosting this time. Then scrape with a bench scraper or putty knife, remembering to wipe the scraper clean between each swipe. You should have a “lip” of frosting that begins to form over the top edge of the cake.
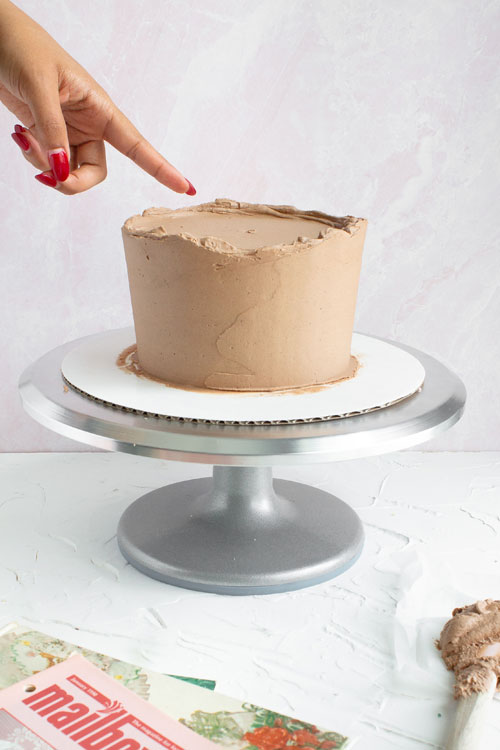
Step 18: Before removing the “lip” of frosting from the top to get clean edges, fix any gaps in the final coat by adding a small amount of frosting to the problem area and re-swiping with your bench scraper or putty knife until the gap disappears.
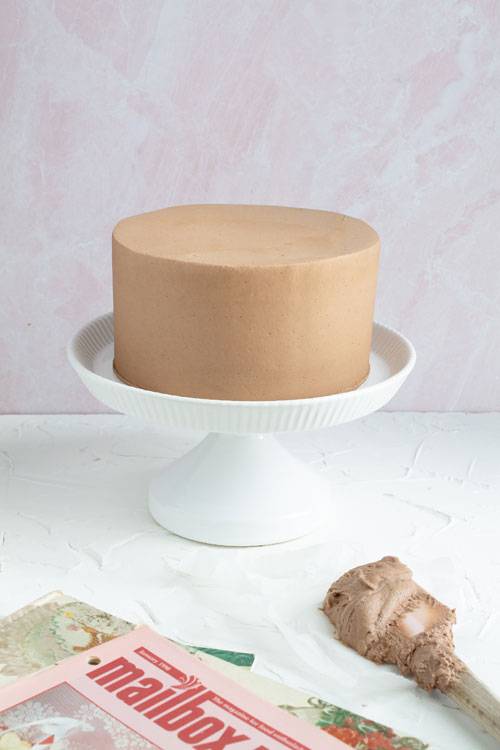
Step 19: Gently, and with the edge of your tool parallel to your work surface, pull your clean bench scraper or putty knife from the top edge to the center of the cake making sure to clean off the scraper after every pass.
Note: For best practices on how to get clean edges, watch my YouTube video that pairs with this post!
Step 20: Take pictures of your gorgeous work, tag me when you post, and most of all, ENJOY!
 |
 |
 |
 |
 |
 |
How would you frost a big donut as a cake? Two donut molds put together. Im struggling with the coverage because of the shape. Thanks!
Hi Stefanie,
Great question! The biggest thing that will help you here is an acetate sheet when you’re smoothing that buttercream. It will curve and bend the way you need it to in order to achieve that spherical shape. Another thing you could do is complete your crumb coat and then wrap it in plastic wrap before putting it into the fridge. After you wrap it in the plastic wrap you can use your hands to help smooth out the spherical shape, then fridge it until it hardens and it will give you a better base to work with as you complete your final coat of frosting. Hope that helps!