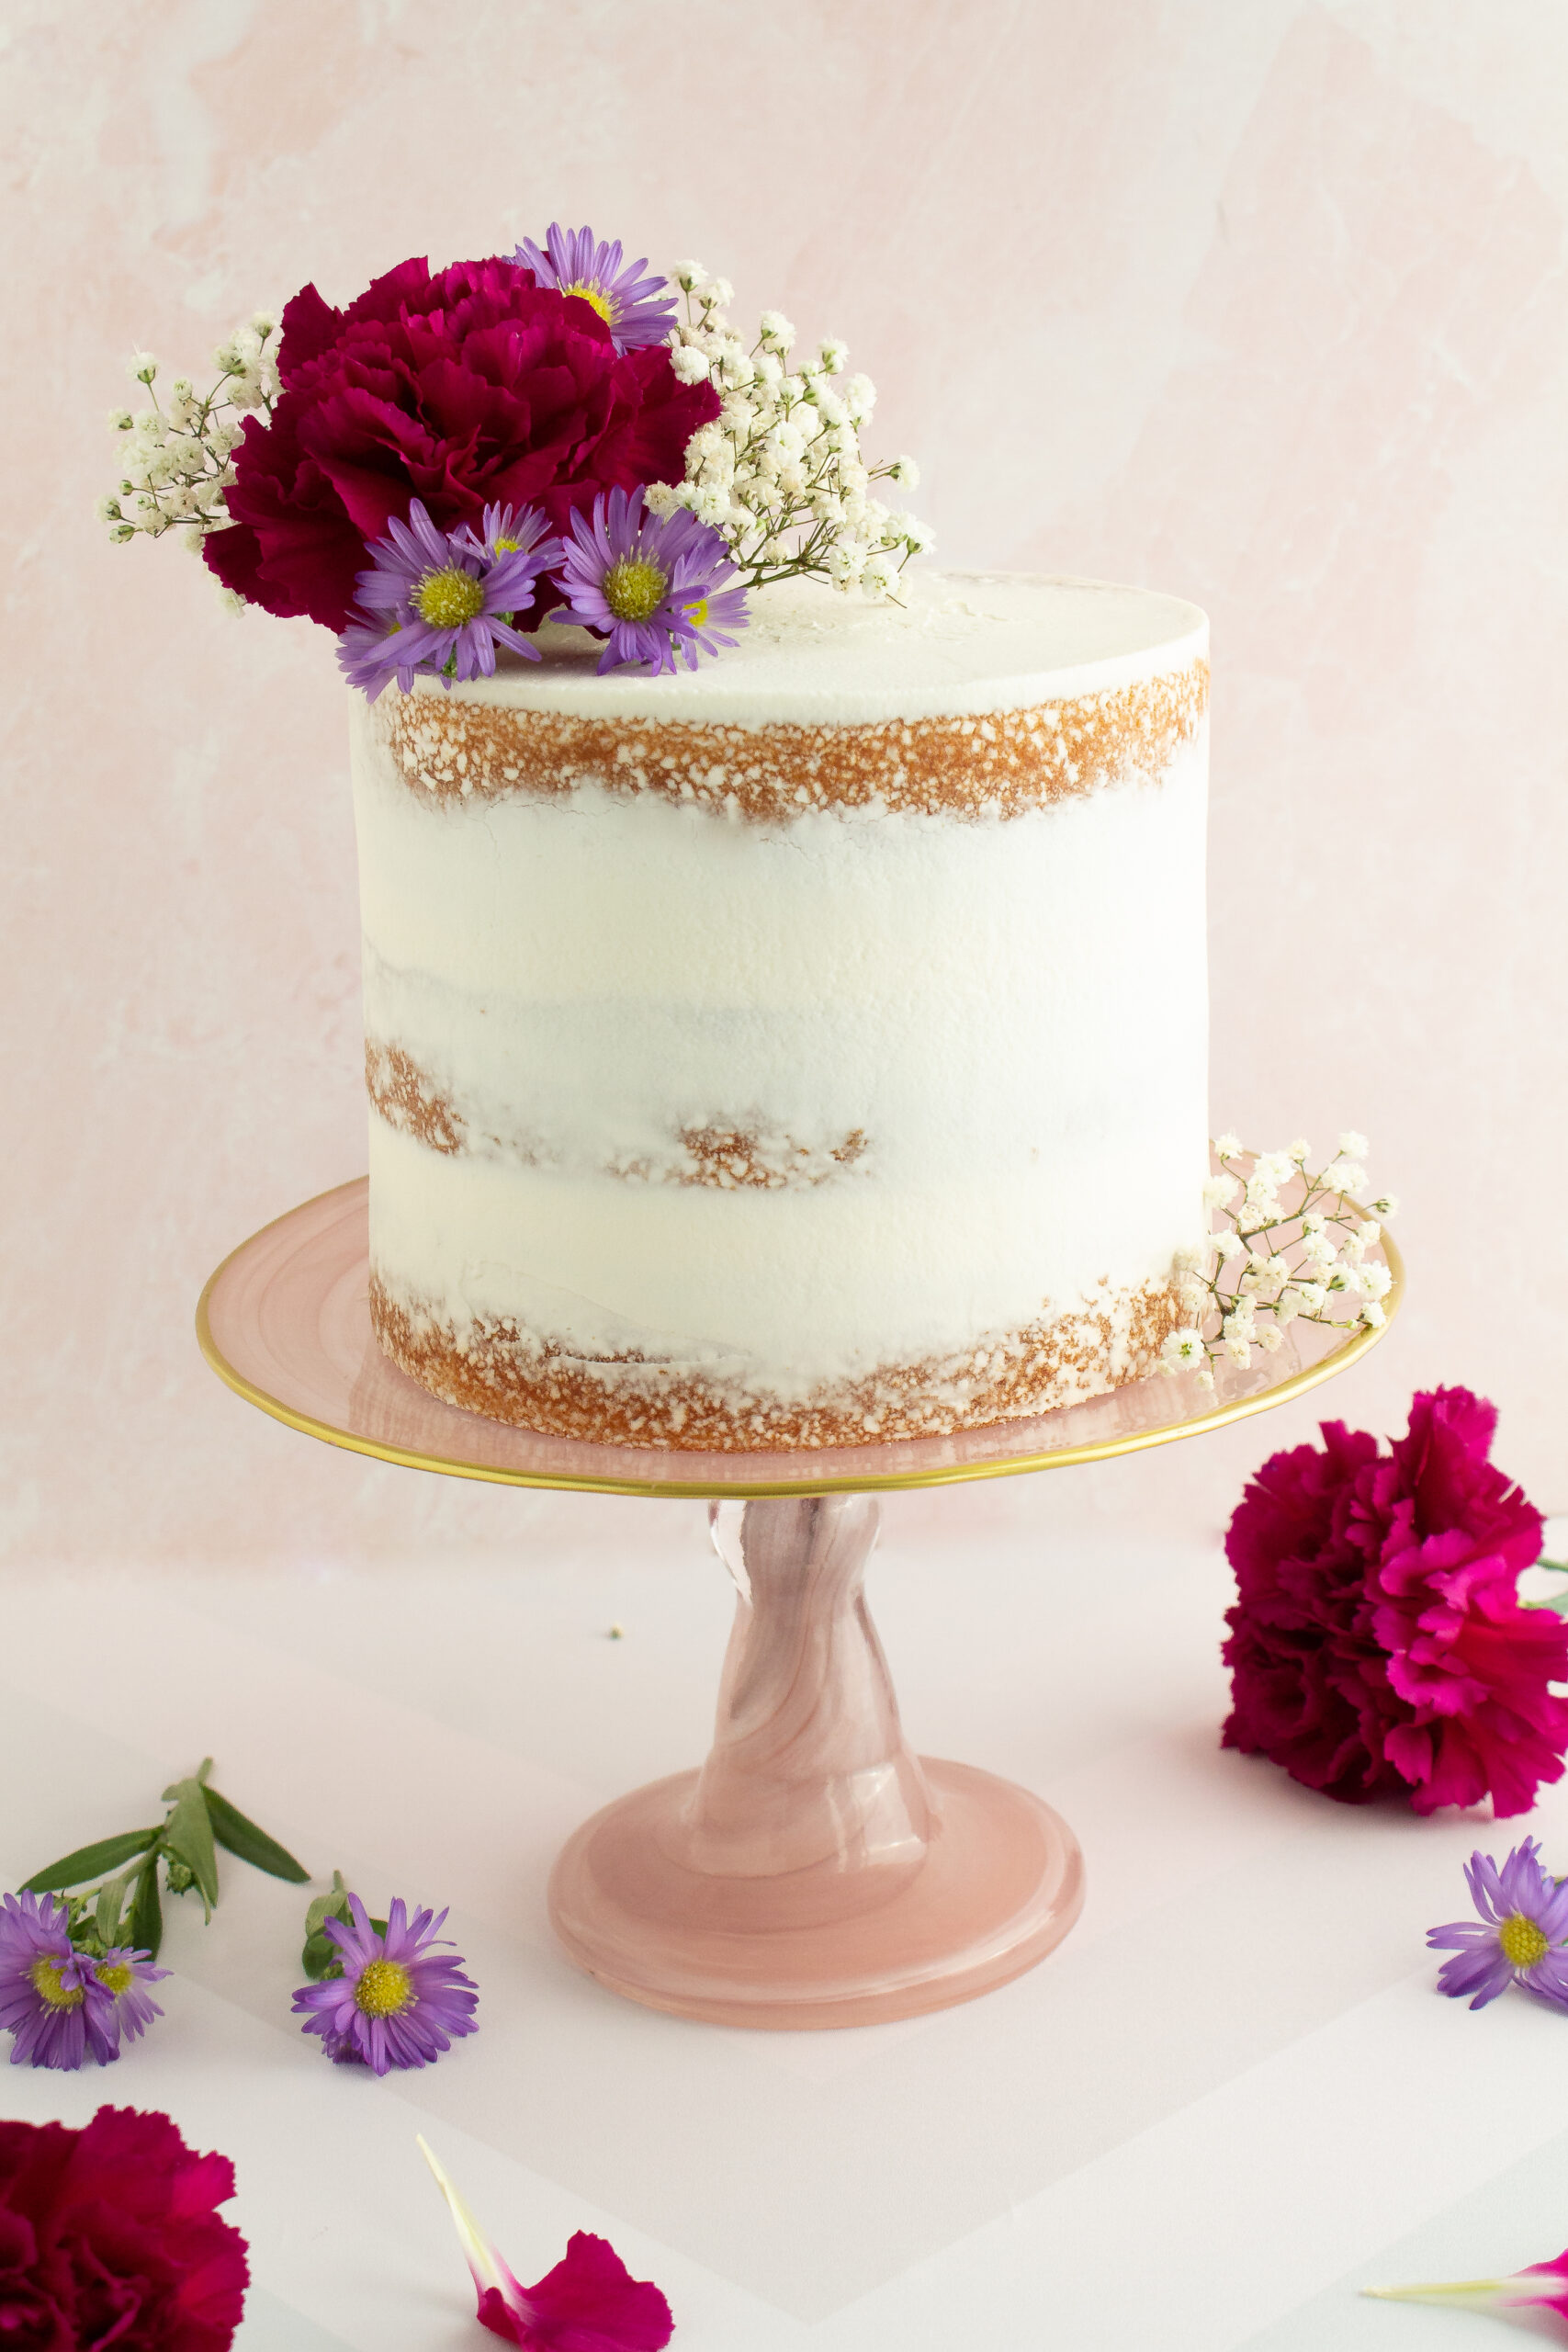
Extravagant, over the top, mesmerizing, cake. The 1700s French style cake design has traveled its way through a few centuries and landed all over our social media timelines. This vintage cake design is the exact opposite of the minimalist movement, proving that sometimes more is just….more!
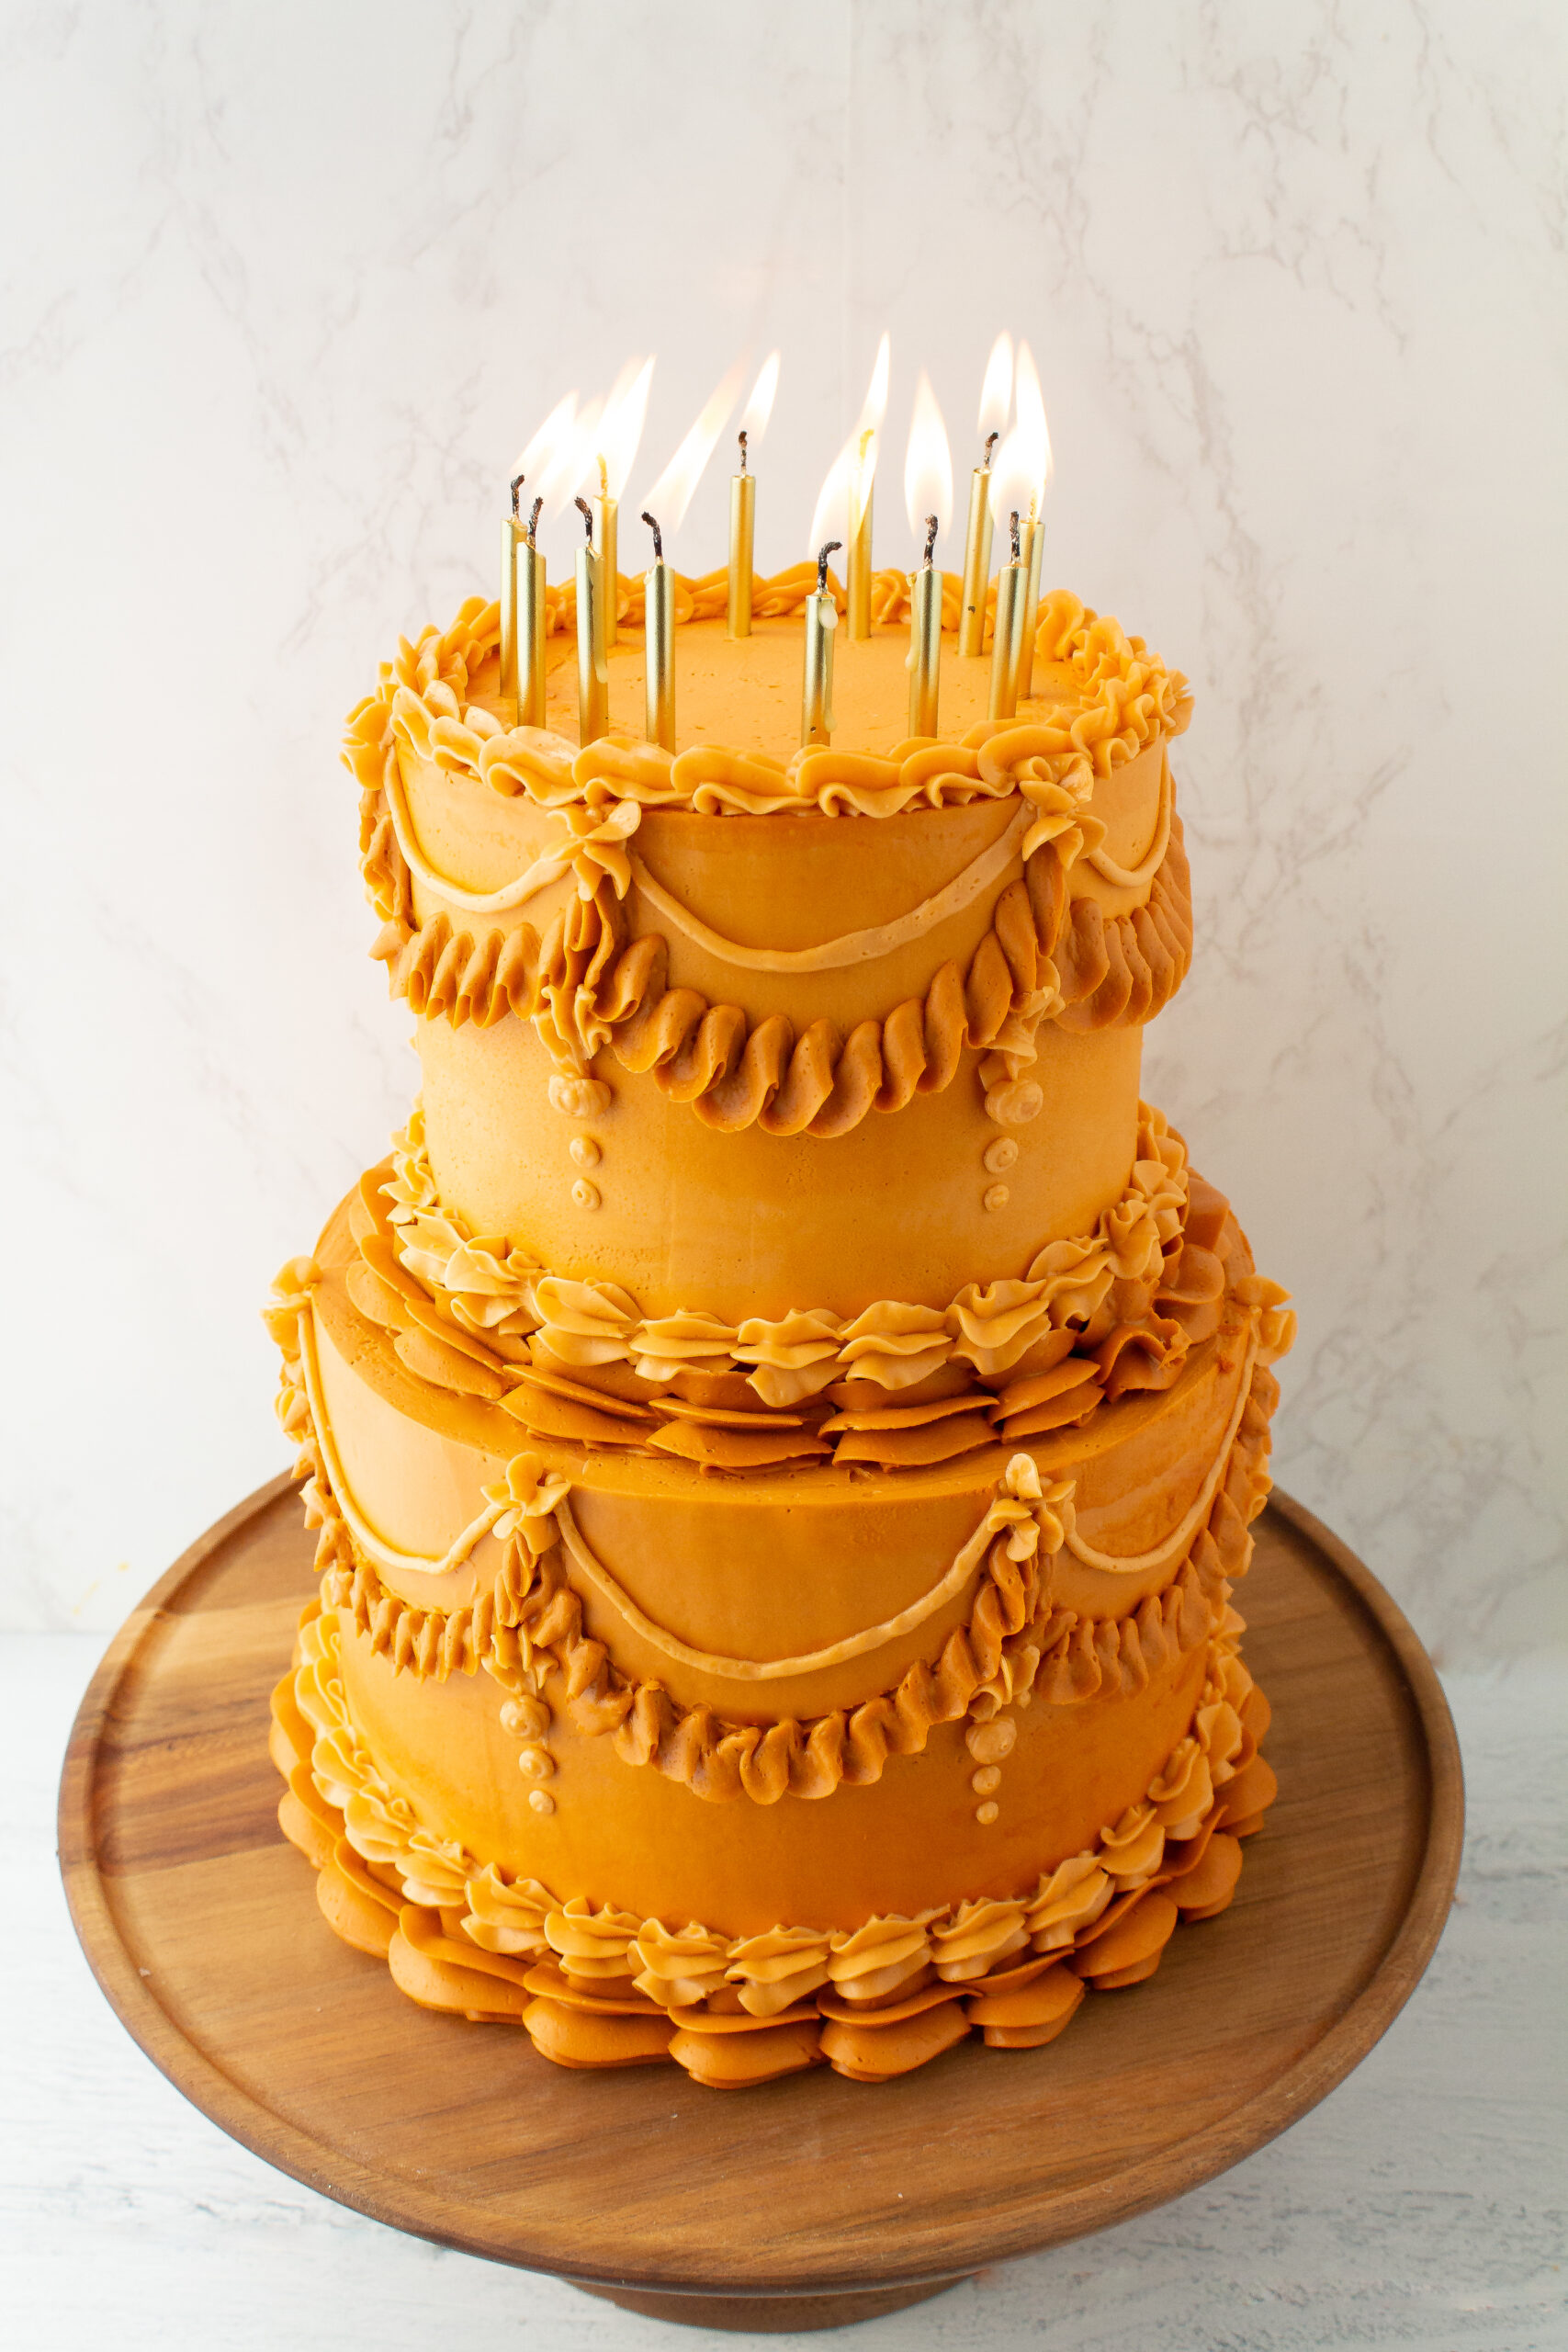
The vintage or lambeth cake design is trending on social media right now. I will never tire of how styles always circle back around. We look to the art, fashion and cake designs of past centuries and put our modern twist on them to create something new and beautiful. This is a cake design tutorial. I will give step by step instructions on how to make this exact vintage cake design so that you can impress them all, Marie Antionette-style at your next event!
Step 1: Bake up your favorite cake and make a double batch of frosting, you’re going to need a lot of frosting for all of that piping! I decided to make a two tier cake for this design to really make it pop!
If you’re looking for a delicious and straightforward cake recipe, try my Classic Vanilla Layer Cake, a favorite of many of my readers!

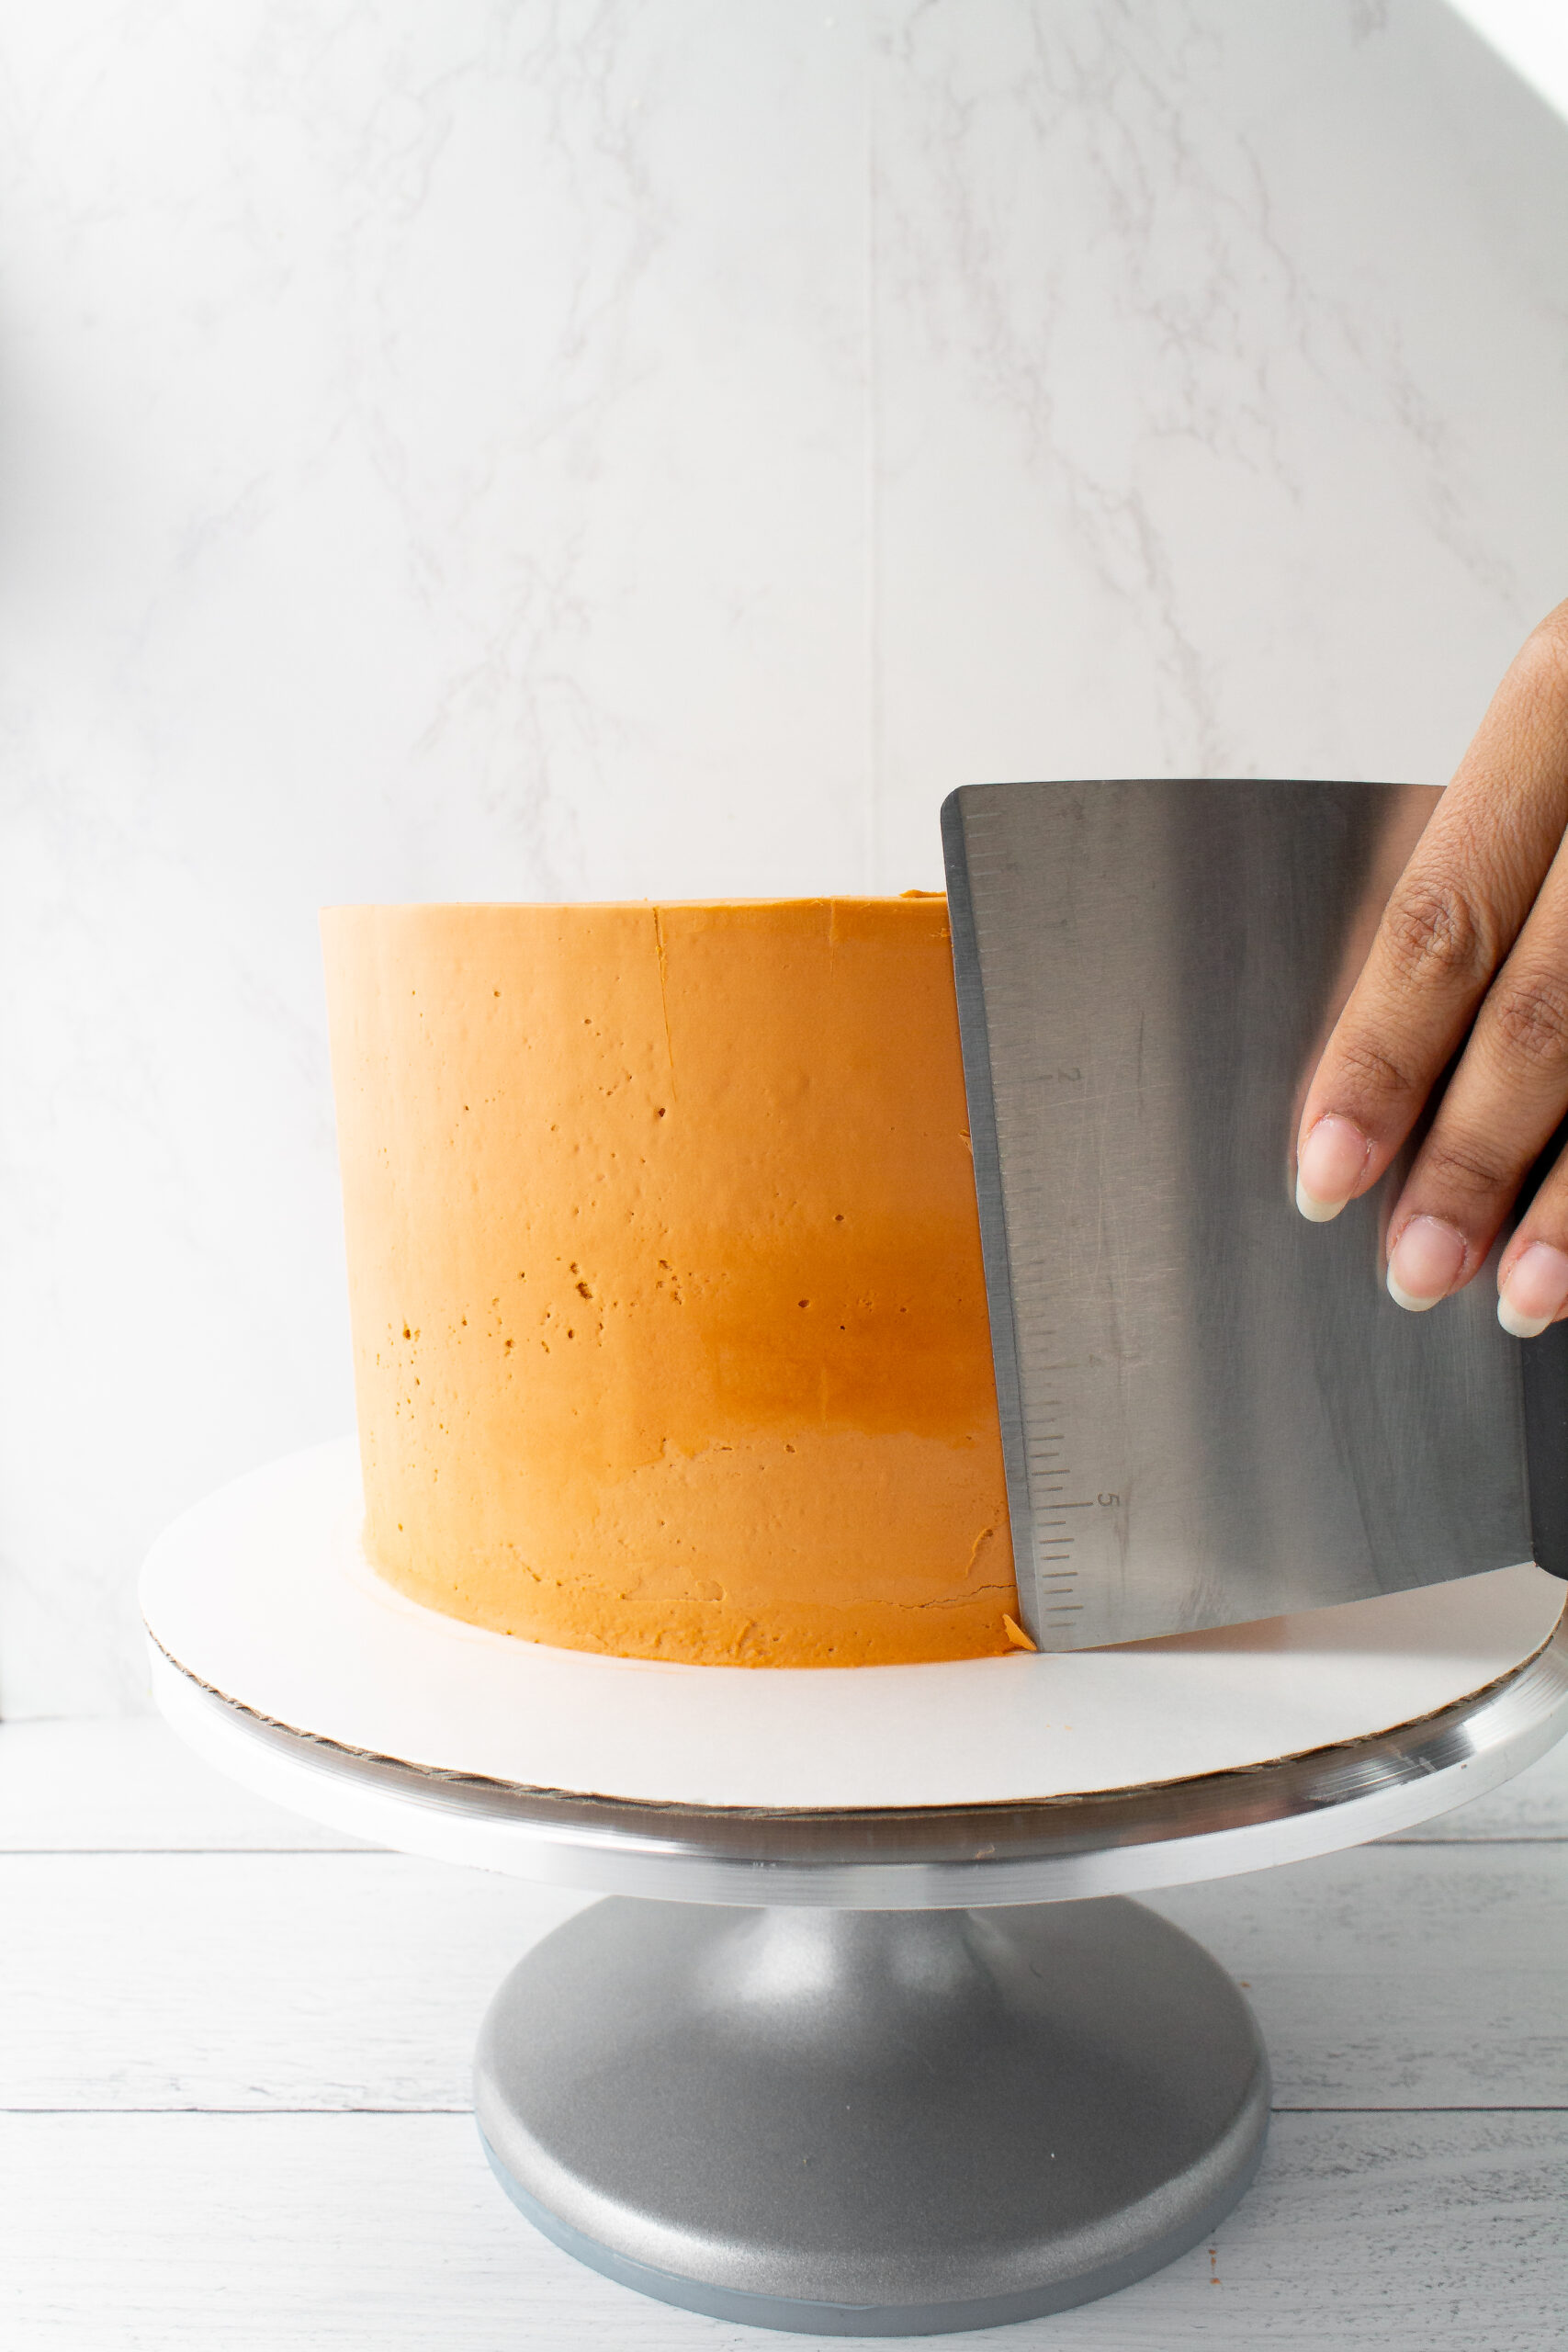
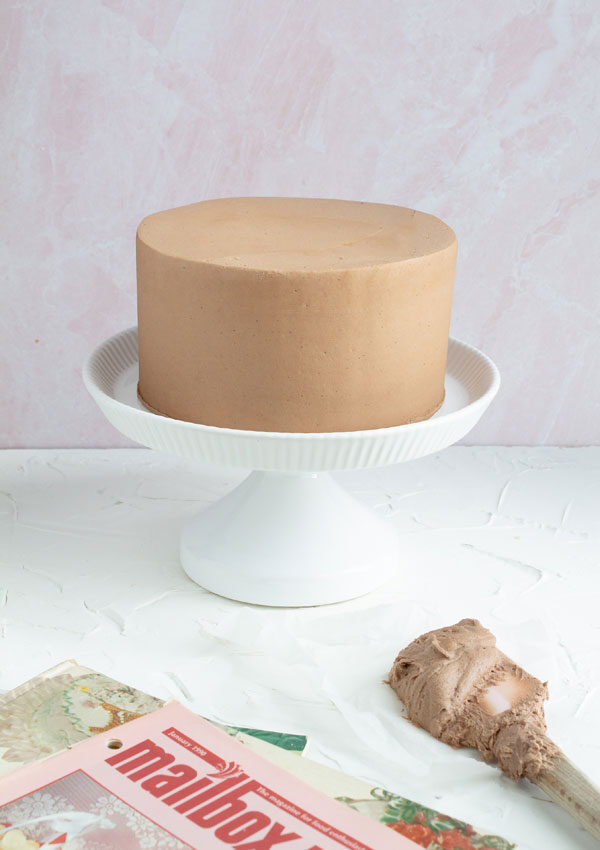
Step 2: Once the cakes have cooled completely (preferably chilled), crumb coat and then cover them in frosting.
Check out my full tutorial on How To Frost a Cake if you want to know how to get the best results every time!
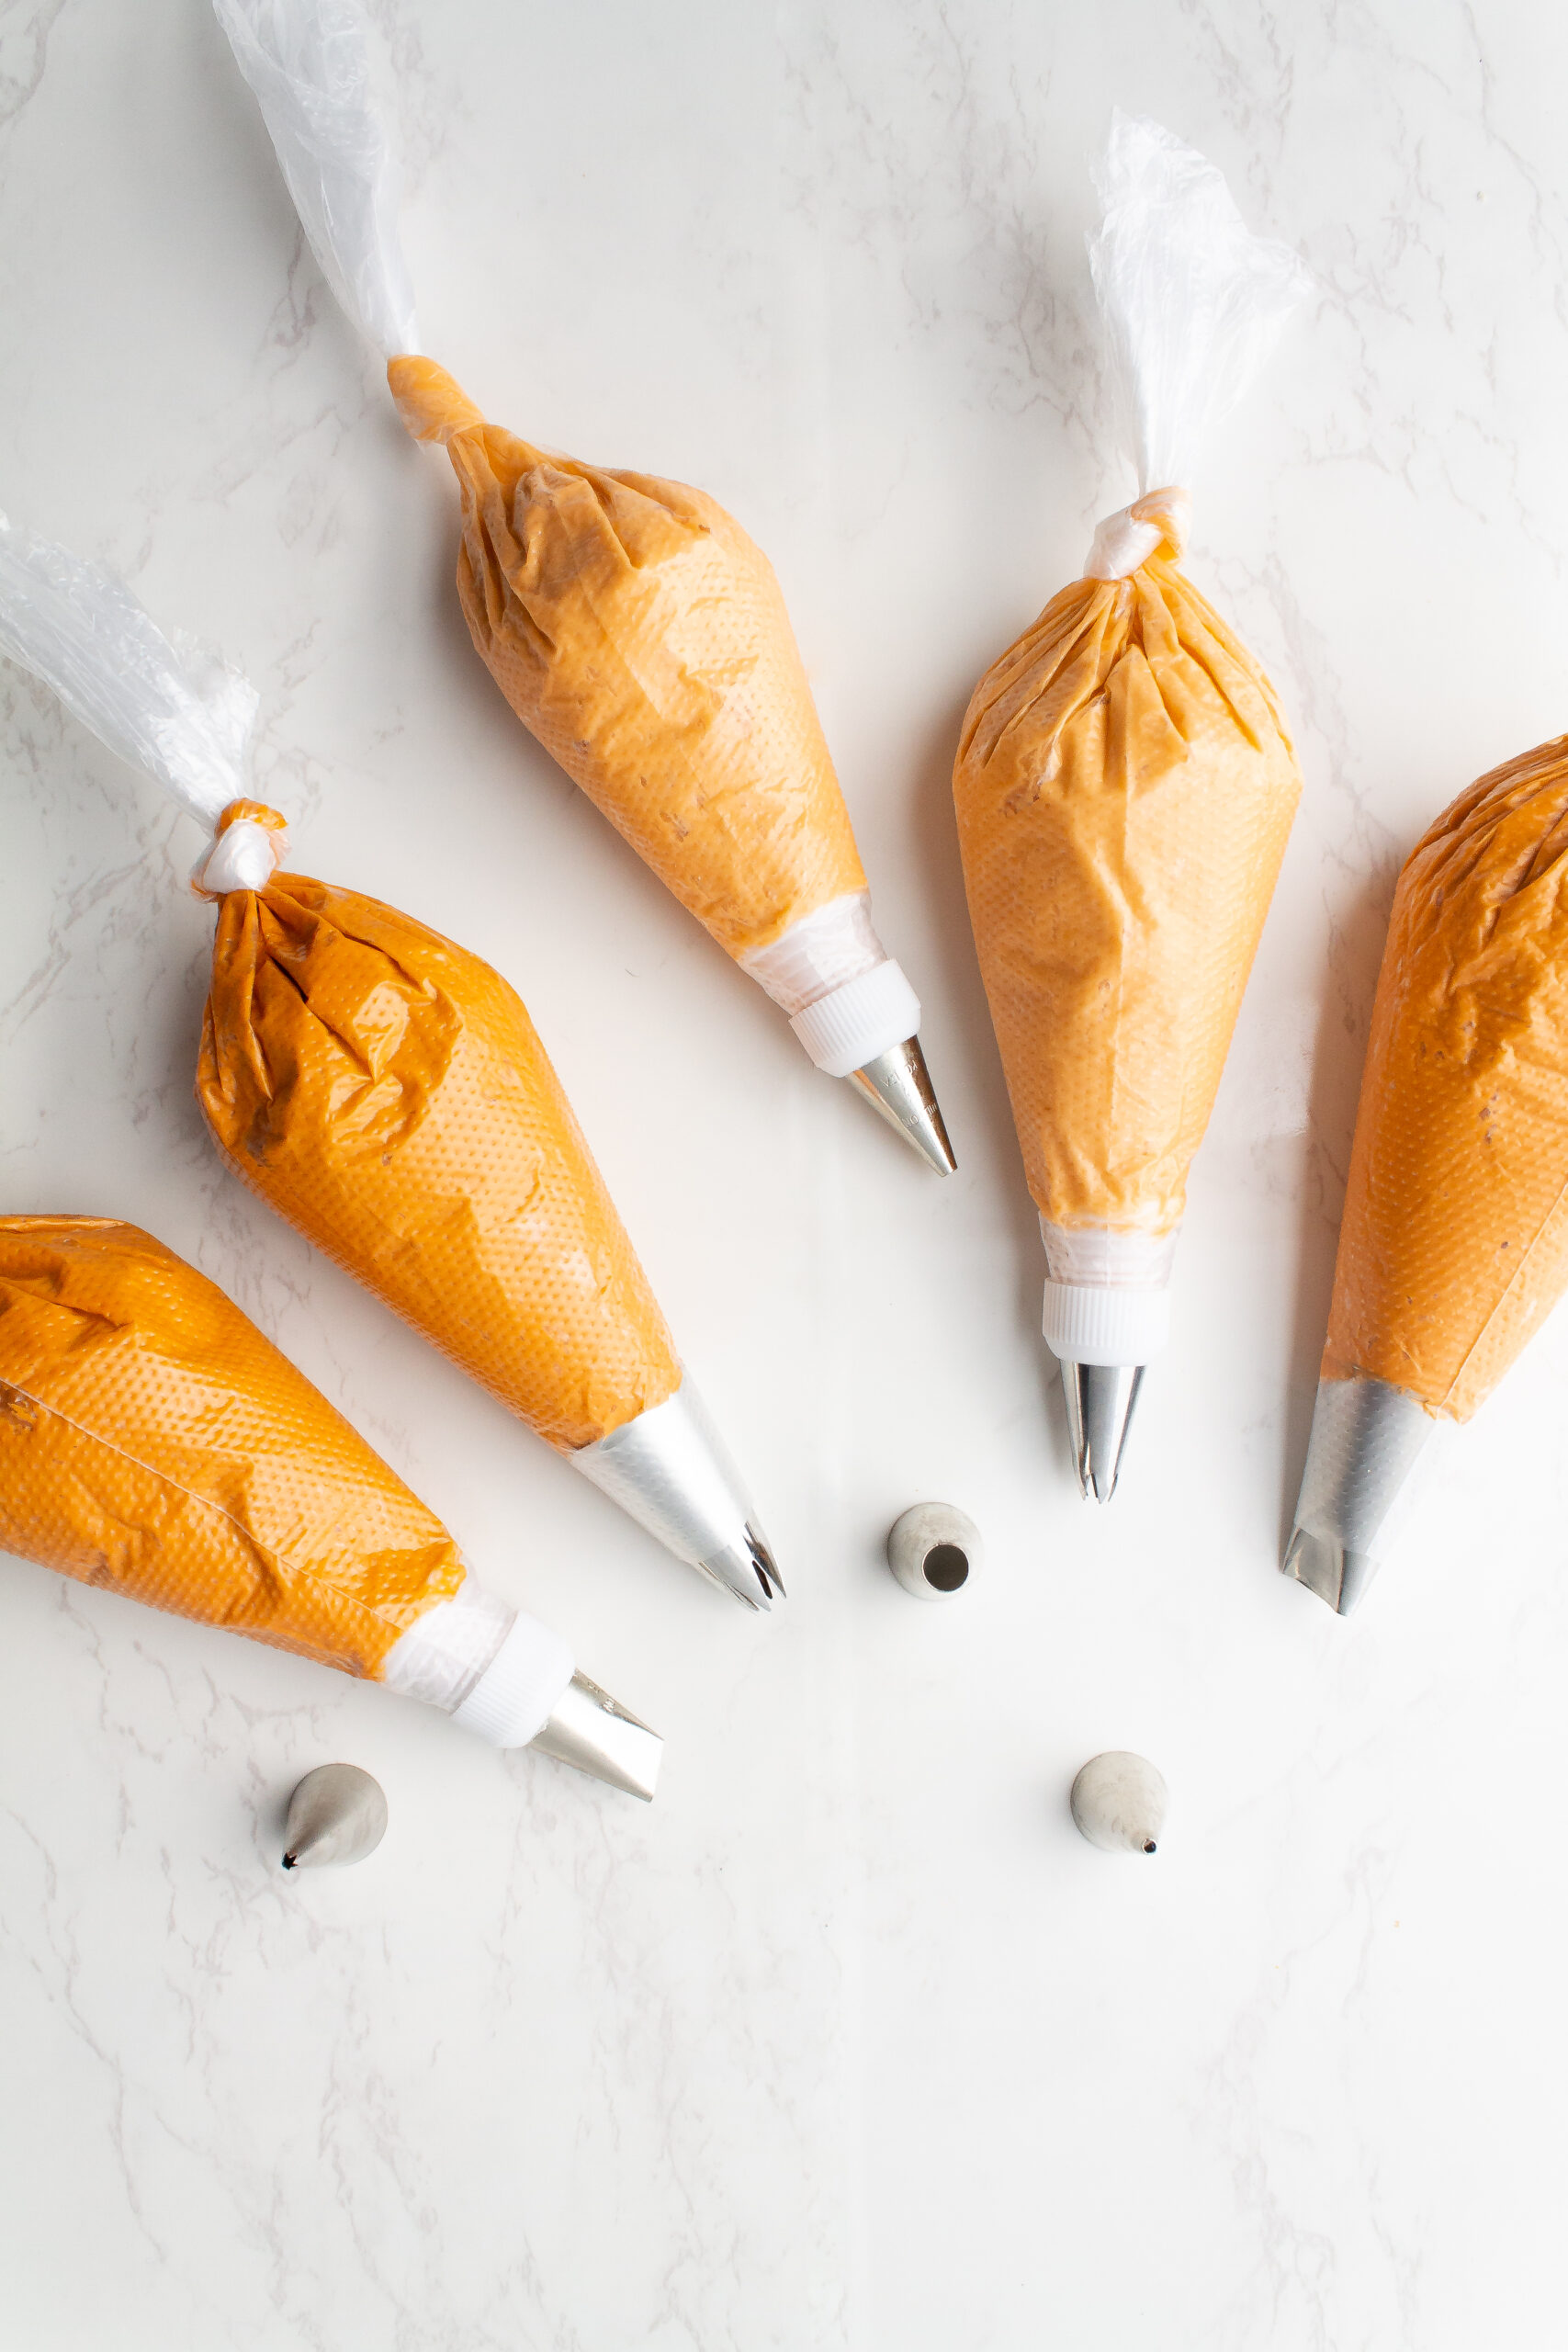
Step 3: While the cakes are firming up in the fridge, color your frosting and fill your frosting bags fitted with various tips. I chose to make my cake monochrome using two shades of burnt orange.
To achieve this design I used 1 large star tip, 1 small star tip, 1 open circle (plain) tip size 3, and 1 (small) petal tip.
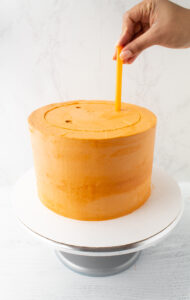
Step 4: If you choose to make your cake two tiered like mine, now is the time to stack your cake. Place your bottom layer of cake onto your final serving dish and then place four straw dowels evenly apart into the bottom tier of the cake. Since my cakes are 8” and 6” I want to make sure that all four dowels placed into the 8” cake will be underneath the 6” cake placed on top of it. To do this, I lightly trace a 6” circle on the top of the (cold) 8” cake.

Step 5: Finally, pipe various designs around the bottom borders of both cake layers. I start with a shell border using my large star tip. Then I use the small star tip to pipe a smaller shell border on top of the large shell border. I then use a circle cutter to make indents to indicate where you would like to pipe your ruffles. I pipe ruffles using a small petal tip. Repeat all steps on the top tier!
Depending on how much time you have it might be a good idea to pop the cake into the refrigerator between piping each new design so that what you pipe doesn’t get messed up by the next design.
There you have it! A very beautiful vintage cake design for your next event!
Can baking be therapeutic?
I often talk about baking being a therapeutic hobby but I’d like to share more about why I feel that way as well as how it can become a relaxing hobby for you!
When I bake, it’s my creative time. I may put on my favorite nostalgic movie or tv show in the background, or a Spotify playlist titled “French café” and leave my troubles behind.
Sometimes I pour myself a glass of wine and light a candle. Then, with the mood set, the mixing of batter, kneading of dough and smoothing of icing is my only care in the world.
When I say baking is therapeutic, sometimes people respond saying “not for me it isn’t!” I completely understand why someone might feel that way. There have been plenty of times where I spend hours on something only for it to fail or something breaks that shouldn’t or I forget to clean as I go and am left with a disastrous kitchen to clean.
So I should in reality, have a caveat to my “baking as therapy” claims…
Baking is therapy when you curate the experience to be relaxing.
How do you curate that relaxing experience for yourself, you ask?
How to make baking therapeutic…
- Prepare your mind–know that it’s okay if the cake doesn’t rise, or the butter wasn’t chilled enough. Shift your mindset from seeing your failures as mistakes to seeing them as opportunities for learning.
- Prepare your space–I cannot and will not bake on top of a messy kitchen. If I were to do this I would be starting from a place of stress! Take an extra 10 minutes to clean any dishes in the sink and wipe down the counters, this small effort will pay you back greatly in brain space and clarity.
- Clean as you go! I’ll tell you the one way to make baking stressful and tiresome, is to not clean as you go! After I use each ingredient that I no longer need, I put it away.
After each major step in the process, I wipe down the counters and put dishes that are no longer needed in the sink. If there is chill time or baking time I don’t sit, I do the cleaning then. Make this shift and you’ll really notice the difference!
By the way, this last tip really helped me when I was on The Great American Baking Show–and the crew that cleaned up behind us made a point to tell me that my workspace was always so clean they didn’t have much to do!
I would reply by saying “it’s how I stay sane in this tent!”
Additional suggestions:
*Maybe try printing off the recipe instead of looking at it on your phone, tablet or laptop and use this time to unplug from technology for a few hours
**Invite friends or family over to share your creation with you. Time spent with loved ones over food is a universally special experience
And that’s how I discovered baking for my mental health. If you try any of these suggestions, let me know how it went for you! I’m really invested in spreading this message to others in hopes that baking will enhance your lives more than it already does!
Happy Decorating!
Leave a Reply