This moist and fluffy vanilla layer cake will make you want to start celebrating your half birthday just as an excuse to make this cake twice a year!
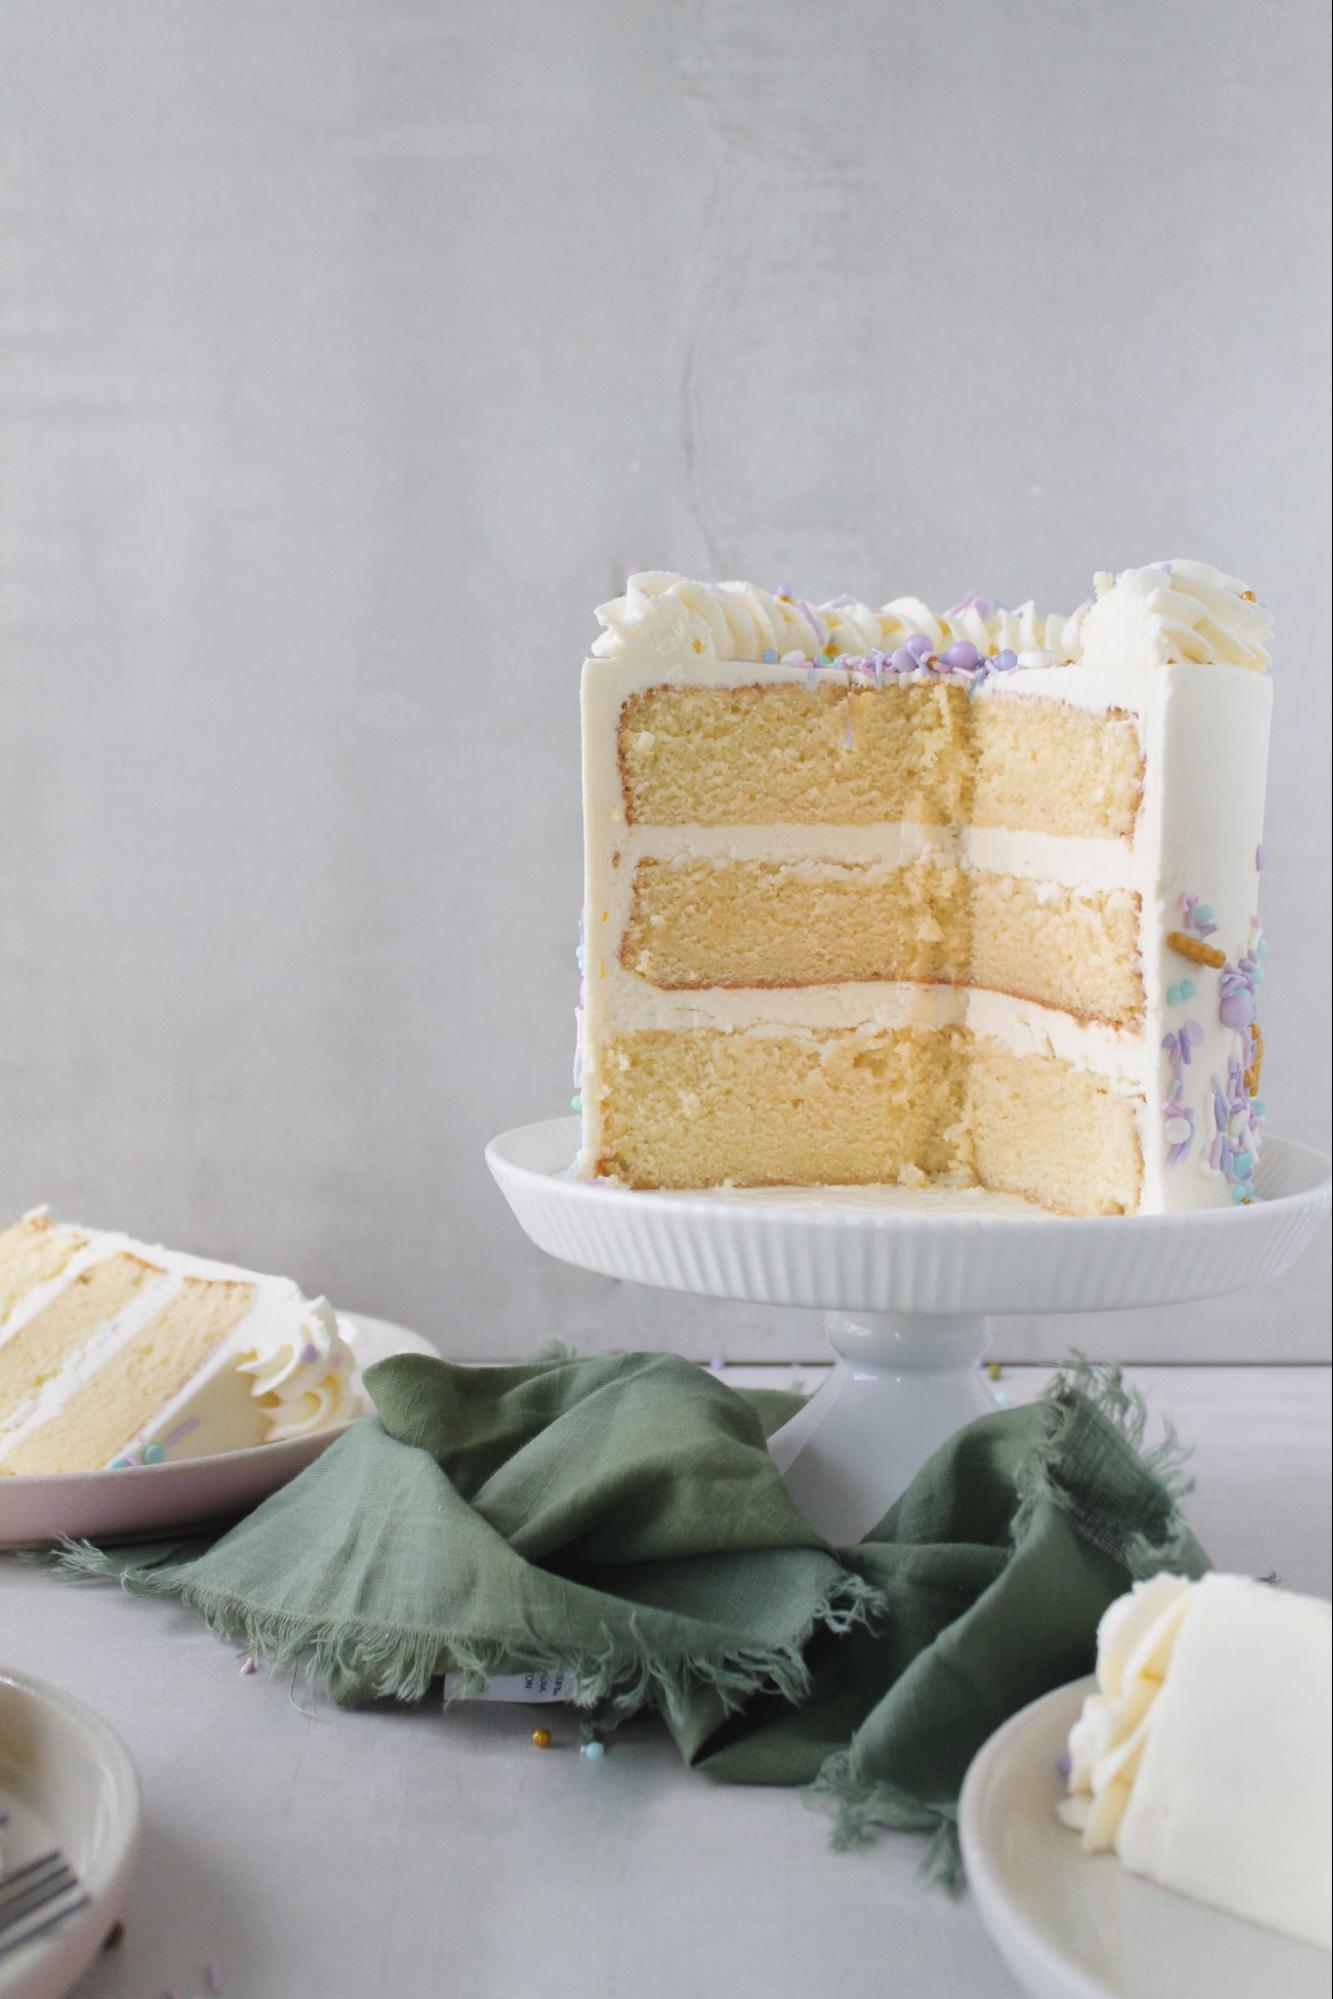
At what point in history did we deem vanilla on vanilla with a dash of sprinkles as “the classic birthday cake”? And honestly how does it differ from funfetti which is just the same ingredients but assembled differently? Either way, I’ve come up with the perfect vanilla birthday cake recipe.
Now I’m going to stop right there–everyone says that. I mean how many times have you gone on Pinterest, typed in “vanilla cake” and about eight different pins titled “perfect vanilla cake” or “the best vanilla cake” popped up? So here’s what I’ll say–if you like moist cake layers, a fluffy crumb and that golden flavor that can only come from beating butter and sugar to a light, airy perfection, you’ve chosen the right recipe by clicking on this one.
What I’m saying is, this cake is perfect to me. It rests somewhere between a light fluffy boxed cake and a denser buttery pound cake. I’ve worked on this recipe for about a year and I’m finally happy with it. After you try it, be sure to send me a message and let me know how it turns out!
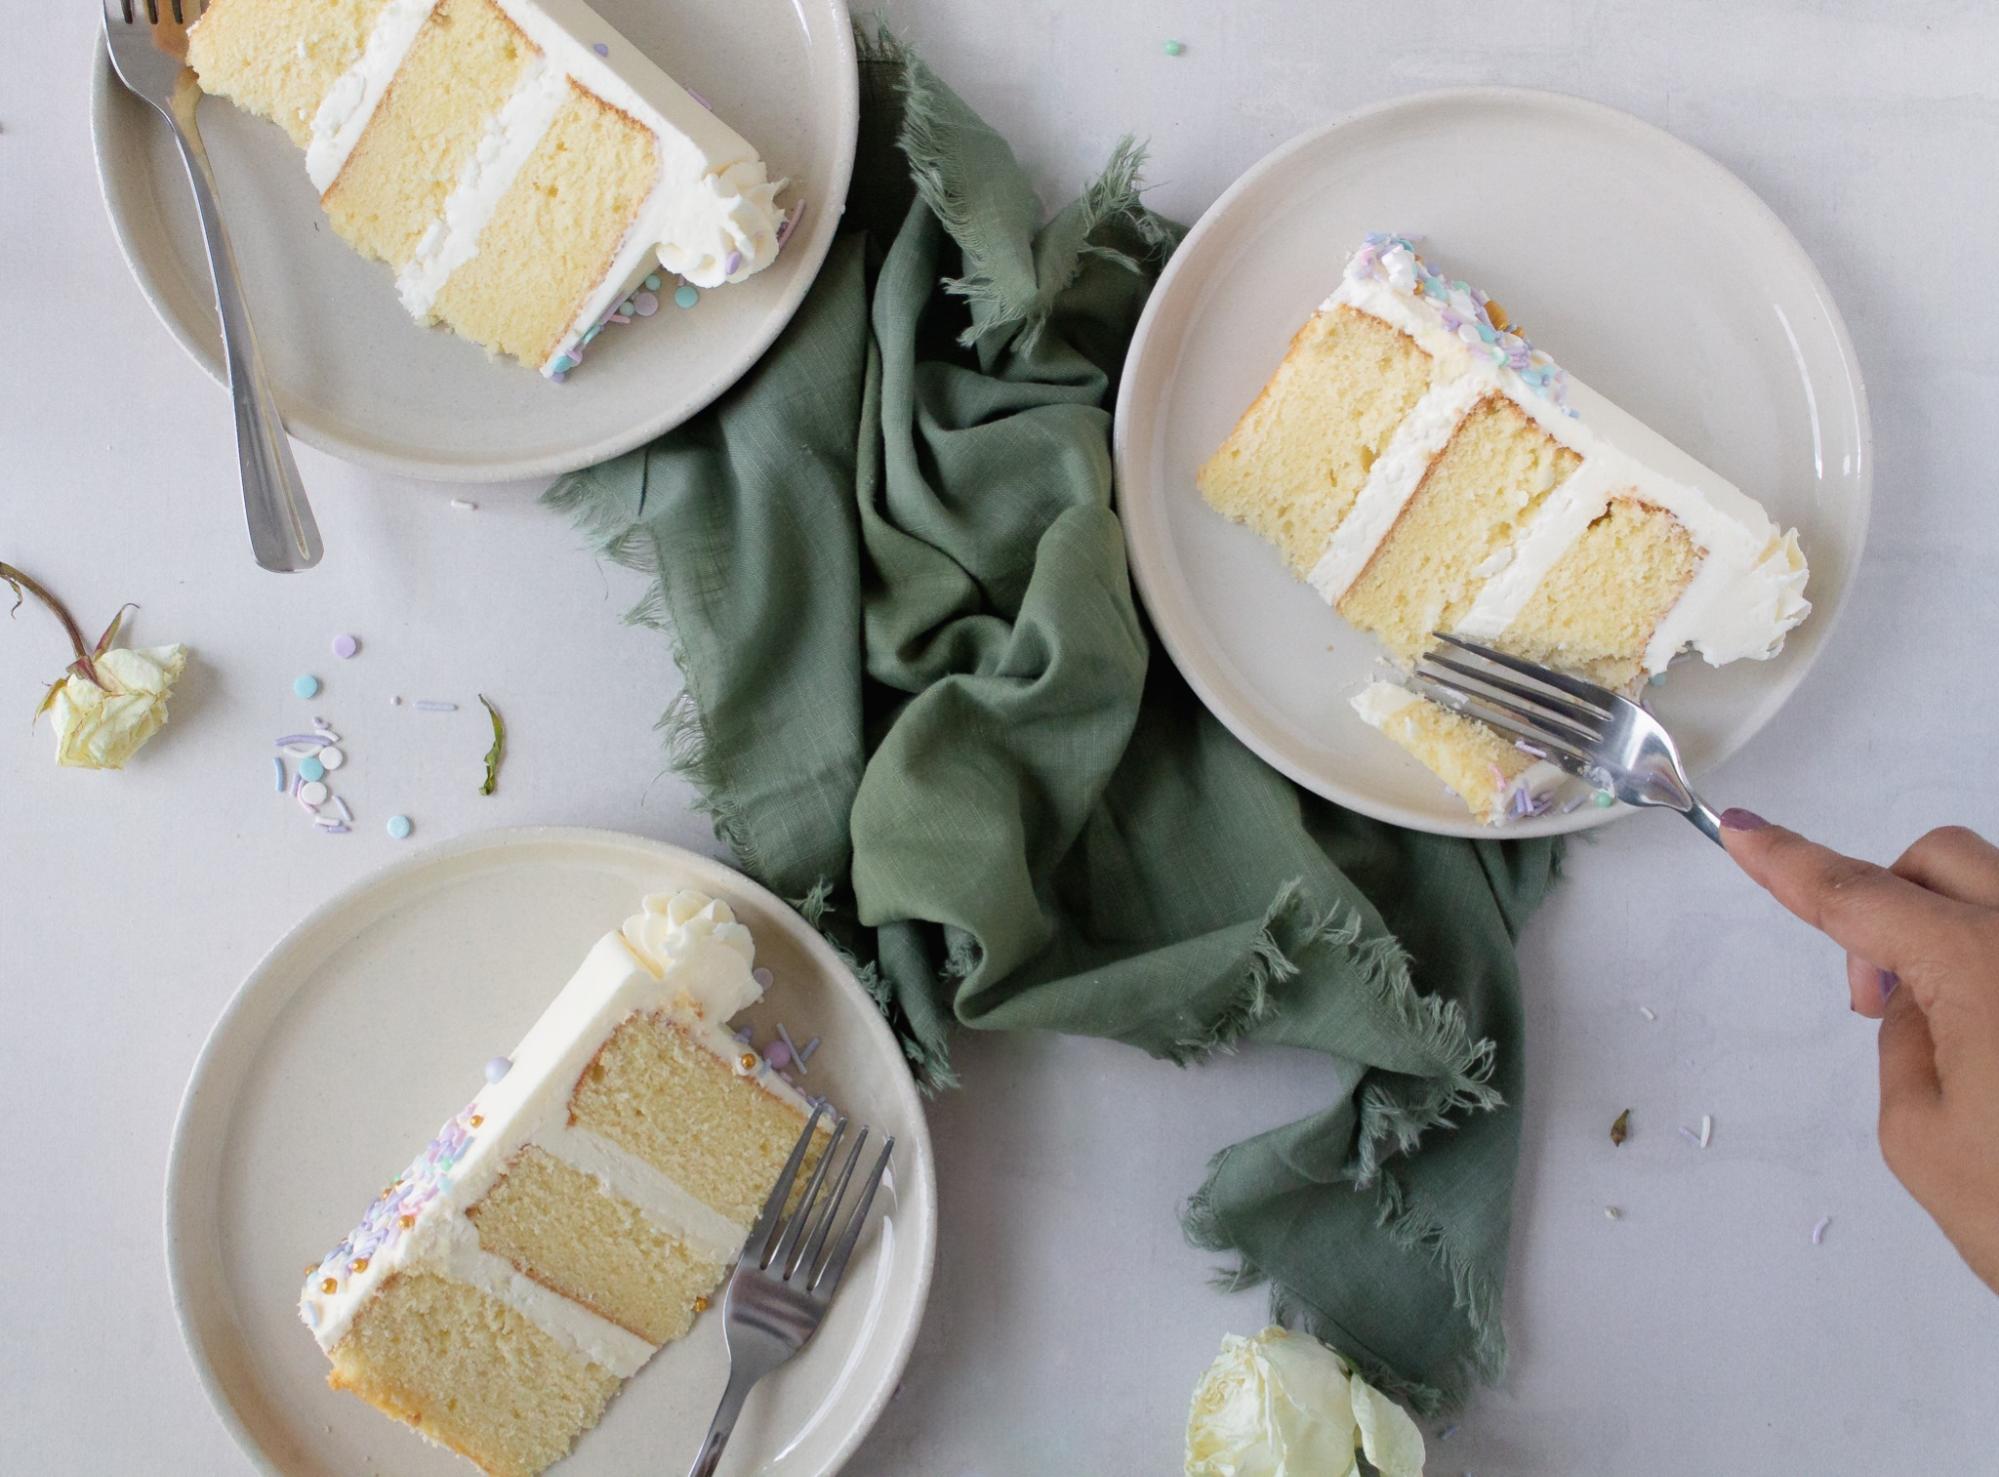
Alright let’s break this down. If you’re more of an advanced baker, you can probably skip down to the recipe at this point. But I do have a few tips and tricks that will help you get the best results.
The Ingredients
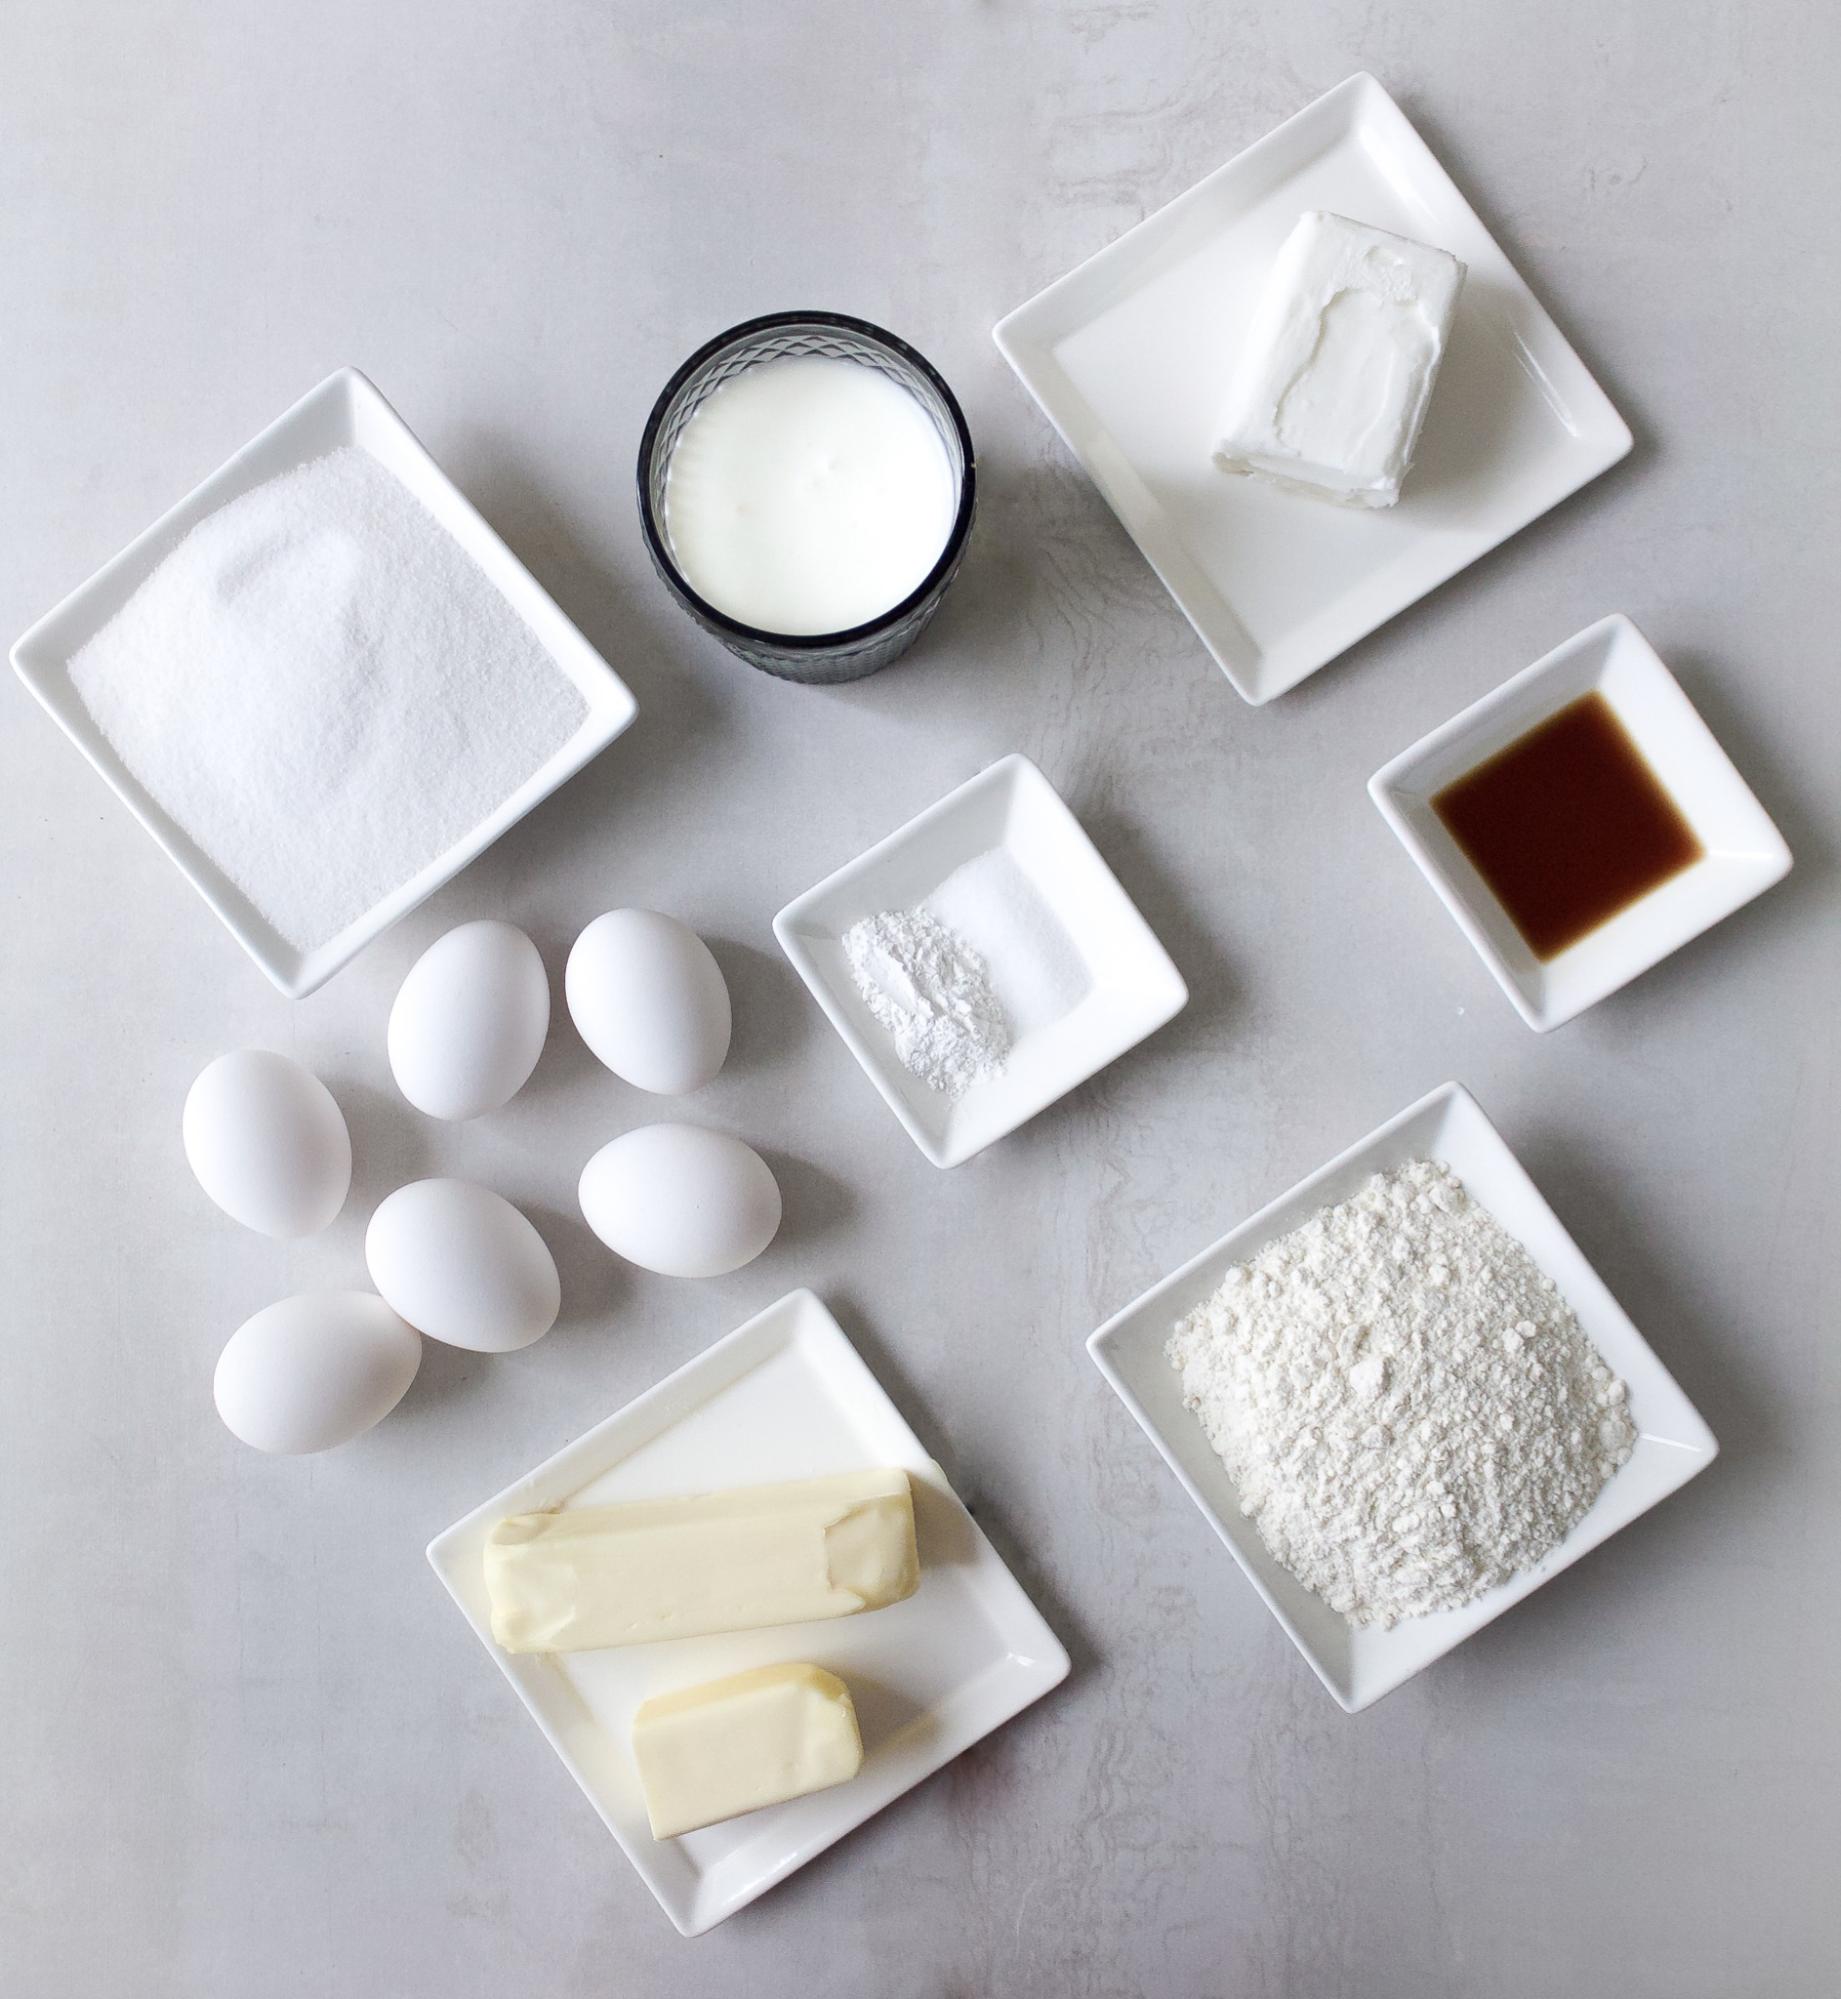
Most of the ingredients are straight forward but if you need to substitute anything here are my suggestions.
Cake Flour–though I highly recommend you use cake flour for this recipe, you can totally substitute it for all-purpose or even a cup-for-cup gluten free flour. The one I’ve linked is what I typically use when baking gluten free and it’s worked incredibly well. If you do use all-purpose flour make sure not to overmix the batter after you incorporate it. If it is overmixed it can negatively affect the texture of your cake in the end.
Vanilla Extract–for an even richer flavor you can substitute the 2 tsp of vanilla extract for vanilla bean paste with the conversion amount typically found on the bottle, this brand is by far the best I’ve tried. Or you can go straight to the source and use about 2 inches of a vanilla bean pod to equate the 2 tsp of vanilla extract in my recipe.
Eggs–if you are egg-free you can make a flax egg to substitute as a binding agent by mixing 1 tbsp of ground flaxseed with 3 tbsp of water and then letting it sit for about 15 minutes to thicken up.
Buttermilk–buttermilk in my opinion gives the best flavor and texture to my cakes but it can easily be substituted with sour cream, whole milk or your favorite unsweetened plant based milk mixed with fresh lemon juice.
Baking Supplies
This is a layer cake meaning we will be baking it in three different cake pans and assembling it with buttercream frosting in the end. Here are the supplies you need to complete the bake and some substitution ideas if you don’t have these things at home! A more detailed description of the supplies I use can be found in the tools section!
Cake Pans
Mixer-if you don’t have a stand mixer a hand mixer works just fine, and lots of people even prefer it for more control.
Offset spatula-you could easily use a spoon and a butterknife to assemble the cake instead of an offset spatula
Parchment paper
Regular Spatula
Mixing bowls
Tips for the Baking Process
There are many things that can go wrong when baking a cake. The most frustrating and fascinating thing about the process is that it’s one big science experiment! Science was without a doubt consistently my worst subject in school, but baking is a science I can proudly get behind. Here are a few key elements of the process that should ensure delicious final results.
Beat butter and sugar properly
You want to really beat the butter and sugar together on medium-high speed for at least 2-3 minutes until the color has gotten lighter. This is the first step in ensuring that your final texture will be light and fluffy. The air incorporated into the butter sugar mix is what does the trick!
Don’t overbeat the flour
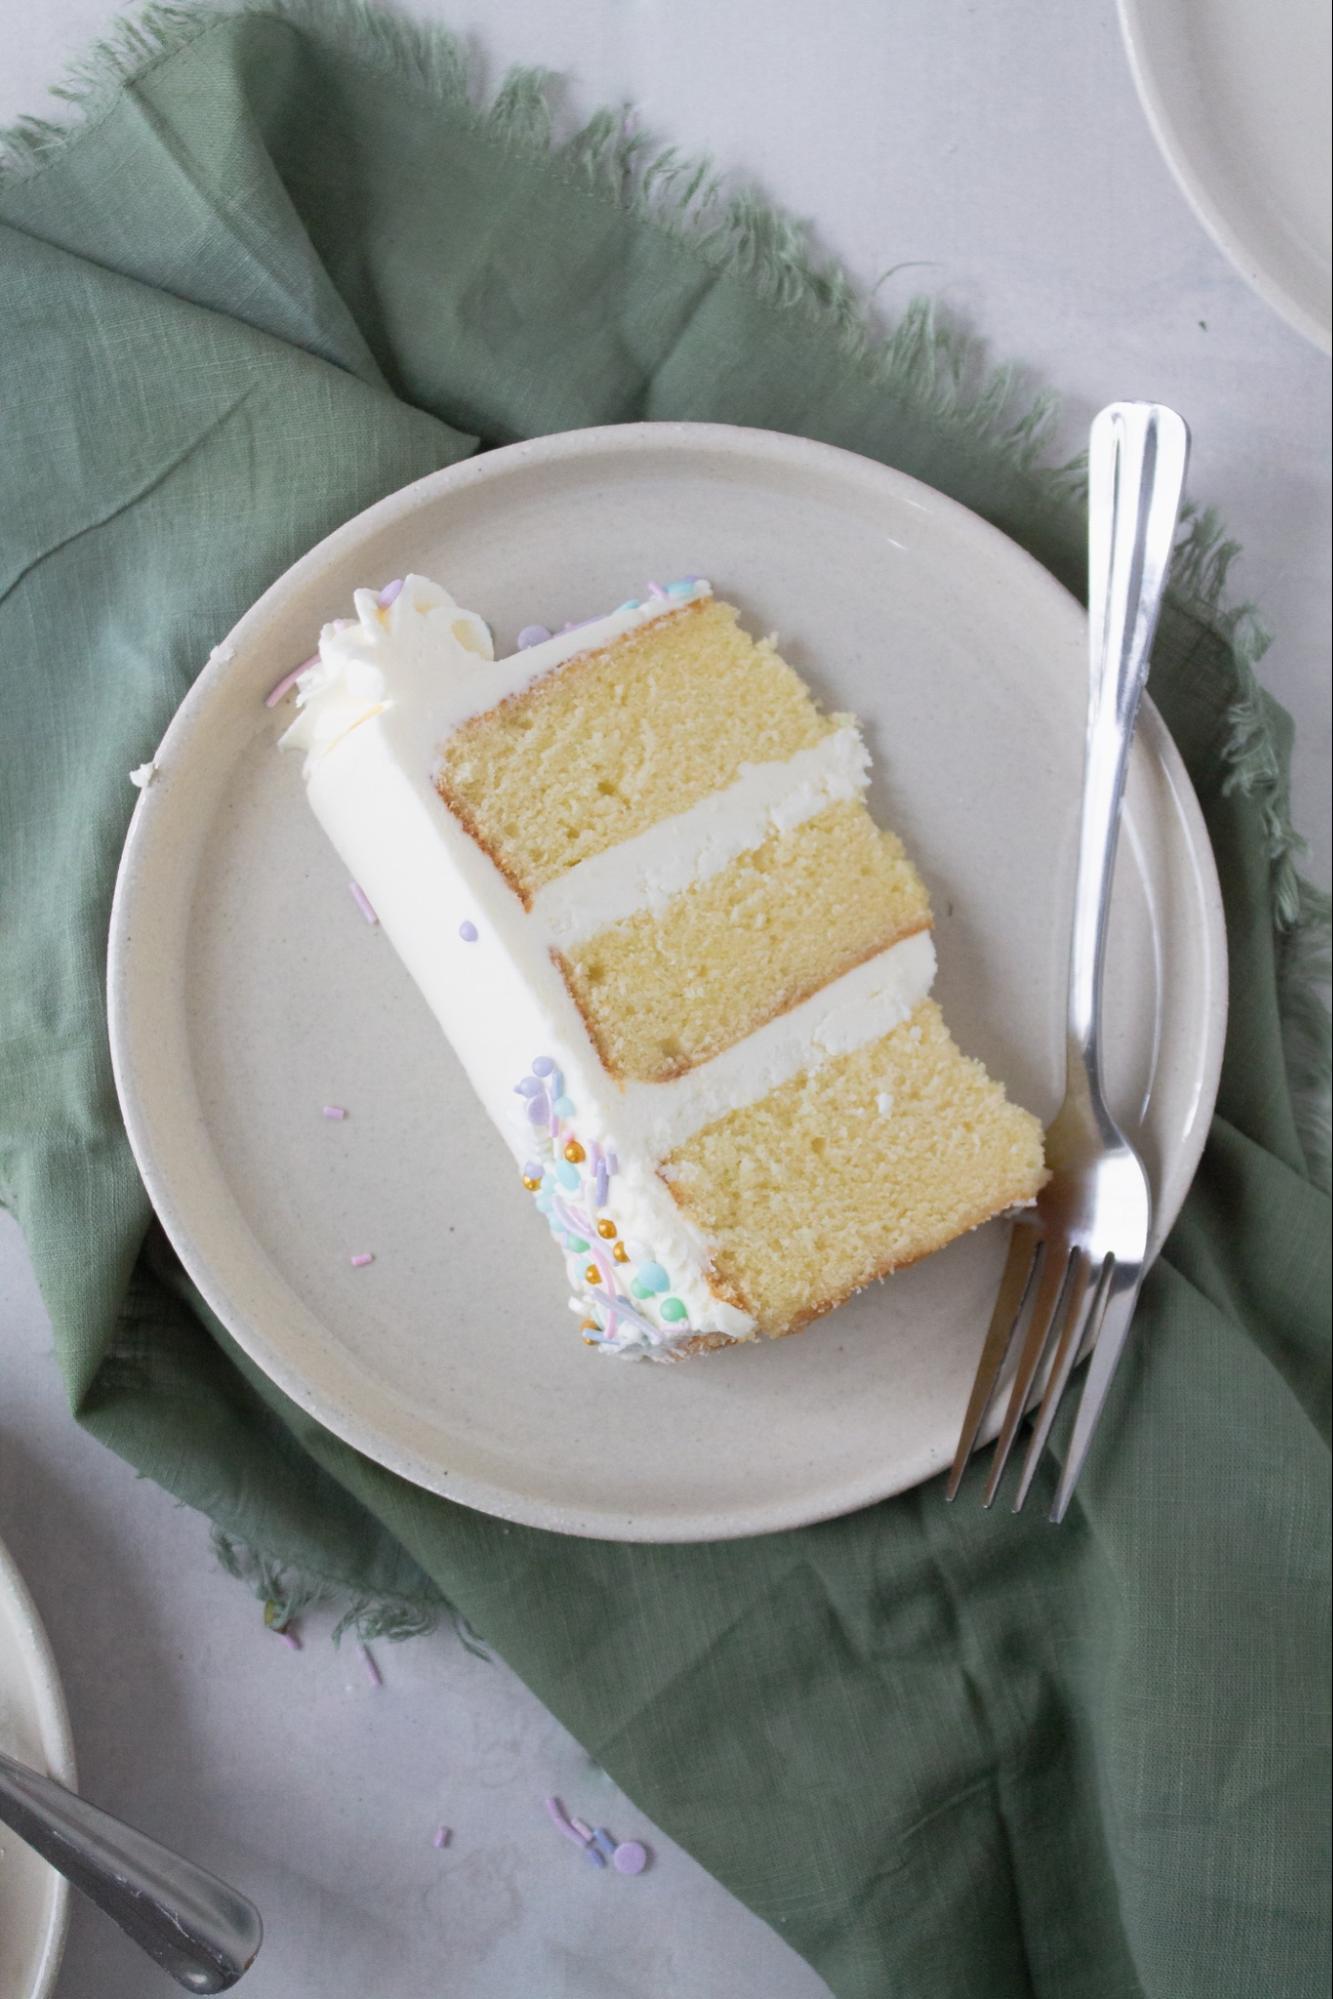
I like cake flour because of its lower protein content than all-purpose flour. The lower protein content produces less gluten. Gluten, when worked, produces a denser, chewy texture which is why you knead bread dough, to work the gluten and build up that elasticity that makes bread so yummy. But we don’t want that in our cakes, so once you start to add your flour, be very careful not to overmix it.
Scrape down your bowl regularly
Hand mixers and stand mixers are both great, but nothing beats actually hand-working something. Be sure to scrape the sides and bottom of your bowl after each, or every other step to make sure all ingredients are being incorporated properly.
Underbaking vs. overbaking
Determining when a cake is done can be difficult and takes practice. I have both under and over baked many a cake back in my day. In fact one time I was bringing a cake to a birthday party I was attending and somehow didn’t realize the entire middle was still soupy until I got to the party *cut to a mini meltdown outside in the driveway where I asked myself “how can you claim to be a baker and you sunk the cake!?” Whew. Things have come a long way since then.
The moral of the story is, connect with your cake; use all of your senses. Can you smell the aroma in your kitchen? That’s a sign it’s almost there. How about the feel? Does it spring back when you lightly touch your finger to the center, or does it sink in? If it springs back that could be another indication of doneness. What about looks? Is it becoming a nice golden color on top? Are the sides of the cake pulling away from the outer edge of the pan? And if you stick a toothpick in the center does it come out wet or clean? Lastly, listen to the cake! Yes, listen! If you hold it up to your ear and it still sounds like it’s bubbling too much, it might not be done yet (just please don’t burn the side of your face!). That’s a trick I learned from The Great British Bake Off. Who else loves that show as much as I do?? My recipe gives suggested times but everyone’s oven is different. It’s more important to me that you connect with the cake to know when it’s ready to come out.
Can baking be therapeutic?
I often talk about baking being a therapeutic hobby but I’d like to share more about why I feel that way as well as how it can become a relaxing hobby for you!
When I bake, it’s my creative time. I may put on my favorite nostalgic movie or tv show in the background, or a Spotify playlist titled “French café” and leave my troubles behind.
Sometimes I pour myself a glass of wine and light a candle. Then, with the mood set, the mixing of batter, kneading of dough and smoothing of icing is my only care in the world.
When I say baking is therapeutic, sometimes people respond saying “not for me it isn’t!” I completely understand why someone might feel that way. There have been plenty of times where I spend hours on something only for it to fail or something breaks that shouldn’t or I forget to clean as I go and am left with a disastrous kitchen to clean.
So I should in reality, have a caveat to my “baking as therapy” claims…
Baking is therapy when you curate the experience to be relaxing.
How do you curate that relaxing experience for yourself, you ask?
How to make baking therapeutic…
- Prepare your mind–know that it’s okay if the cake doesn’t rise, or the butter wasn’t chilled enough. Shift your mindset from seeing your failures as mistakes to seeing them as opportunities for learning.
- Prepare your space–I cannot and will not bake on top of a messy kitchen. If I were to do this I would be starting from a place of stress! Take an extra 10 minutes to clean any dishes in the sink and wipe down the counters, this small effort will pay you back greatly in brain space and clarity.
- Clean as you go! I’ll tell you the one way to make baking stressful and tiresome, is to not clean as you go! After I use each ingredient that I no longer need, I put it away.
After each major step in the process, I wipe down the counters and put dishes that are no longer needed in the sink. If there is chill time or baking time I don’t sit, I do the cleaning then. Make this shift and you’ll really notice the difference!
By the way, this last tip really helped me when I was on The Great American Baking Show–and the crew that cleaned up behind us made a point to tell me that my workspace was always so clean they didn’t have much to do!
I would reply by saying “it’s how I stay sane in this tent!”
Additional suggestions:
*Maybe try printing off the recipe instead of looking at it on your phone, tablet or laptop and use this time to unplug from technology for a few hours
**Invite friends or family over to share your creation with you. Time spent with loved ones over food is a universally special experience
And that’s how I discovered baking for my mental health. If you try any of these suggestions, let me know how it went for you! I’m really invested in spreading this message to others in hopes that baking will enhance your lives more than it already does!
So now that I’ve essentially written an essay on vanilla cake, let’s get to the recipe!
 |
Classic Vanilla Layer CakeYield: 10-12 slices Prep Time: 30 minutes Baking Time: 30 minutes Total Time: 1 hour |
Ingredients:
For the cake:
- 2 1/2 cups granulated sugar
- 3/4 cup (1 1/2 sticks) unsalted butter (room temperature)
- 1/2 cup vegetable shortening
- 4 large eggs (room temperature)
- 2 egg whites (room temperature)
- 3 cups cake flour
- 2 tsp baking powder
- 1/4 tsp salt
- 1 cup buttermilk (room temperature)
- 2 tsp vanilla extract
For the frosting:
- 2 cups (4 sticks) unsalted butter (room temperature)
- 2 tsp vanilla extract
- 1/2 tsp salt
- 8 cups powdered sugar (10x sifted is the best)
- 2 Tbsp heavy cream or milk
Instructions:
The Cake
- Preheat the oven to 350°F (180 Celsius) and prepare 3 6″ cake pans with nonstick spray and parchment paper.*
- In a large bowl or in the bowl of a stand mixer, place 1 1/2 sticks of unsalted butter, 1/2 cup of vegetable shortening and 2 1/2 cups of granulated sugar and beat on medium speed until the mixture is light and fluffy (at least 2-3 minutes)
- While the butter, shortening and sugar is mixing, in a medium bowl measure out 3 cups of cake flour, 2 tsp of baking powder and 1/4 tsp of salt. Lightly whisk this mixture together.
- Add in 4 whole eggs, 2 egg whites one egg at a time to the butter sugar mixture, mixing after each egg is added and only adding a new egg after the previous one is incorporated into the batter. Add 2 tsp of vanilla extract and mix on low speed until incorporated.
- Scrape down the bowl to make sure everything is mixed thoroughly. At this point, your batter should look pretty light and fluffy.
- Alternate adding the flour mixture and the buttermilk to the batter, starting and ending with the flour. Add ⅓ of the flour mixture, then put my mixer on low speed until it’s incorporated, then 1/2 of the buttermilk, mix on low, ⅓ of the flour, mix, last 1/2 of the buttermilk, mix, final ⅓ of the flour mixture until all is barely incorporated.
- Finally, take a spatula and finish mixing the batter lightly by hand to ensure it is even and smooth.
- Pour even amounts of batter into the pans and bake,** at 350°F for 30-35 minutes depending on your oven and using the four sensory tips above.
- Once cakes are baked, take them out of the oven and let them cool in their pans for at least 20 minutes on the counter or a cooling rack.
- If you are going to decorate the cake right away, place the layers in the freezer for about 10 minutes before doing so. This helps trap in the crumbs and makes decorating easier. If you won’t be using the cake layers immediately, wrap each layer tightly in plastic wrap or an airtight plastic bag and place in either the refrigerator or the freezer to use for later.
The Frosting
- Beat 2 cups of room temperature butter on medium speed with a hand or stand mixer fitted with the paddle attachment until smooth (about 30-45 seconds)
- Add in 8 cups of powdered sugar cup by cup while mixing on low speed. Do this carefully, it can make a mess.
- Increase the speed to medium once most of powdered sugar is incorporated and add in 2 tsp vanilla extract and 1/2 tsp salt
- Add 2 Tbsp of heavy cream or milk to the frosting and continue mixing for 2-3 minutes until frosting has lightened in color and is fluffy
- Turn speed to low to release any air bubbles that accumulated in the beating process
The Assembly
- Level the top of the completely cooled cakes with a serrated knife to create a flat top surface
- Place a small amount of buttercream on the cake board and then place your first layer of cake on top. The buttercream will work as your “glue” to stick the cake to the board
- Scoop about 1/2-1 cup of buttercream frosting onto the first cake layer, spread it out evenly and place second, leveled layer of cake on top, repeat the process until all three layers are assembled
- Spread frosting around sides and top of cake with an offset spatula and then smooth those layers with a putty knife or bench scraper to trap in the crumbs
- Place cake in the fridge for 5-10 minutes for the frosting to harden
- Take the cake out of the refrigerator and place a second layer of frosting on the top and the sides of the cake. Smooth the frosting and decorate as you please!
Notes:
- * Undoubtedly this part is a bit annoying but it really helps ensure your cakes don’t get stuck to the pans. I just cut out my parchment paper into circles to fit the bottom of the pans though you can buy them precut.
- ** Bake on the same rack for a more even bake.
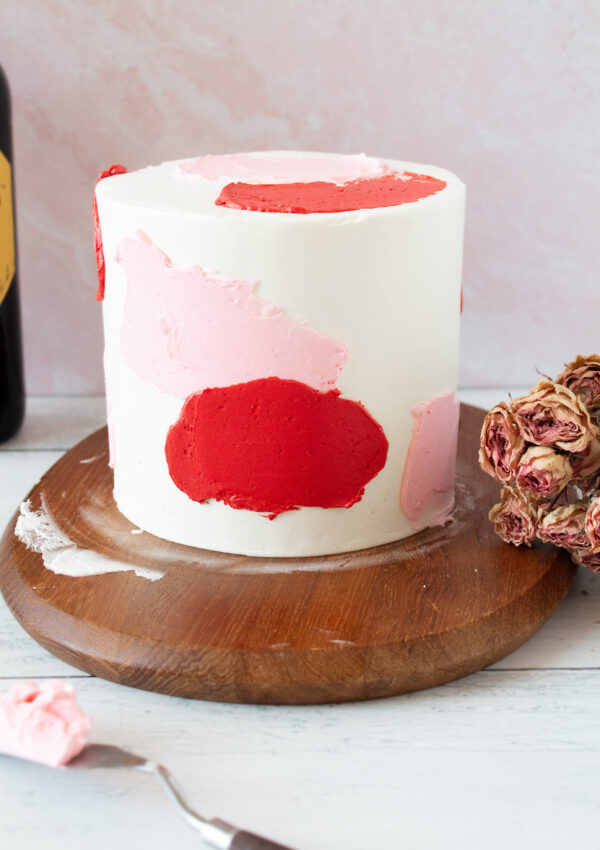
[…] this cake I whipped up my Classic Vanilla Layer Cake Recipe, though you can use any recipe you like! My Strawberry Chocolate Cake is another great option for […]