This cake pop bouquet is a really cute and easy Valentine’s Day gift idea! Made with boxed cake mix and a 5 minute homemade buttercream frosting, it’s one you’ll want to share with loved ones this holiday!
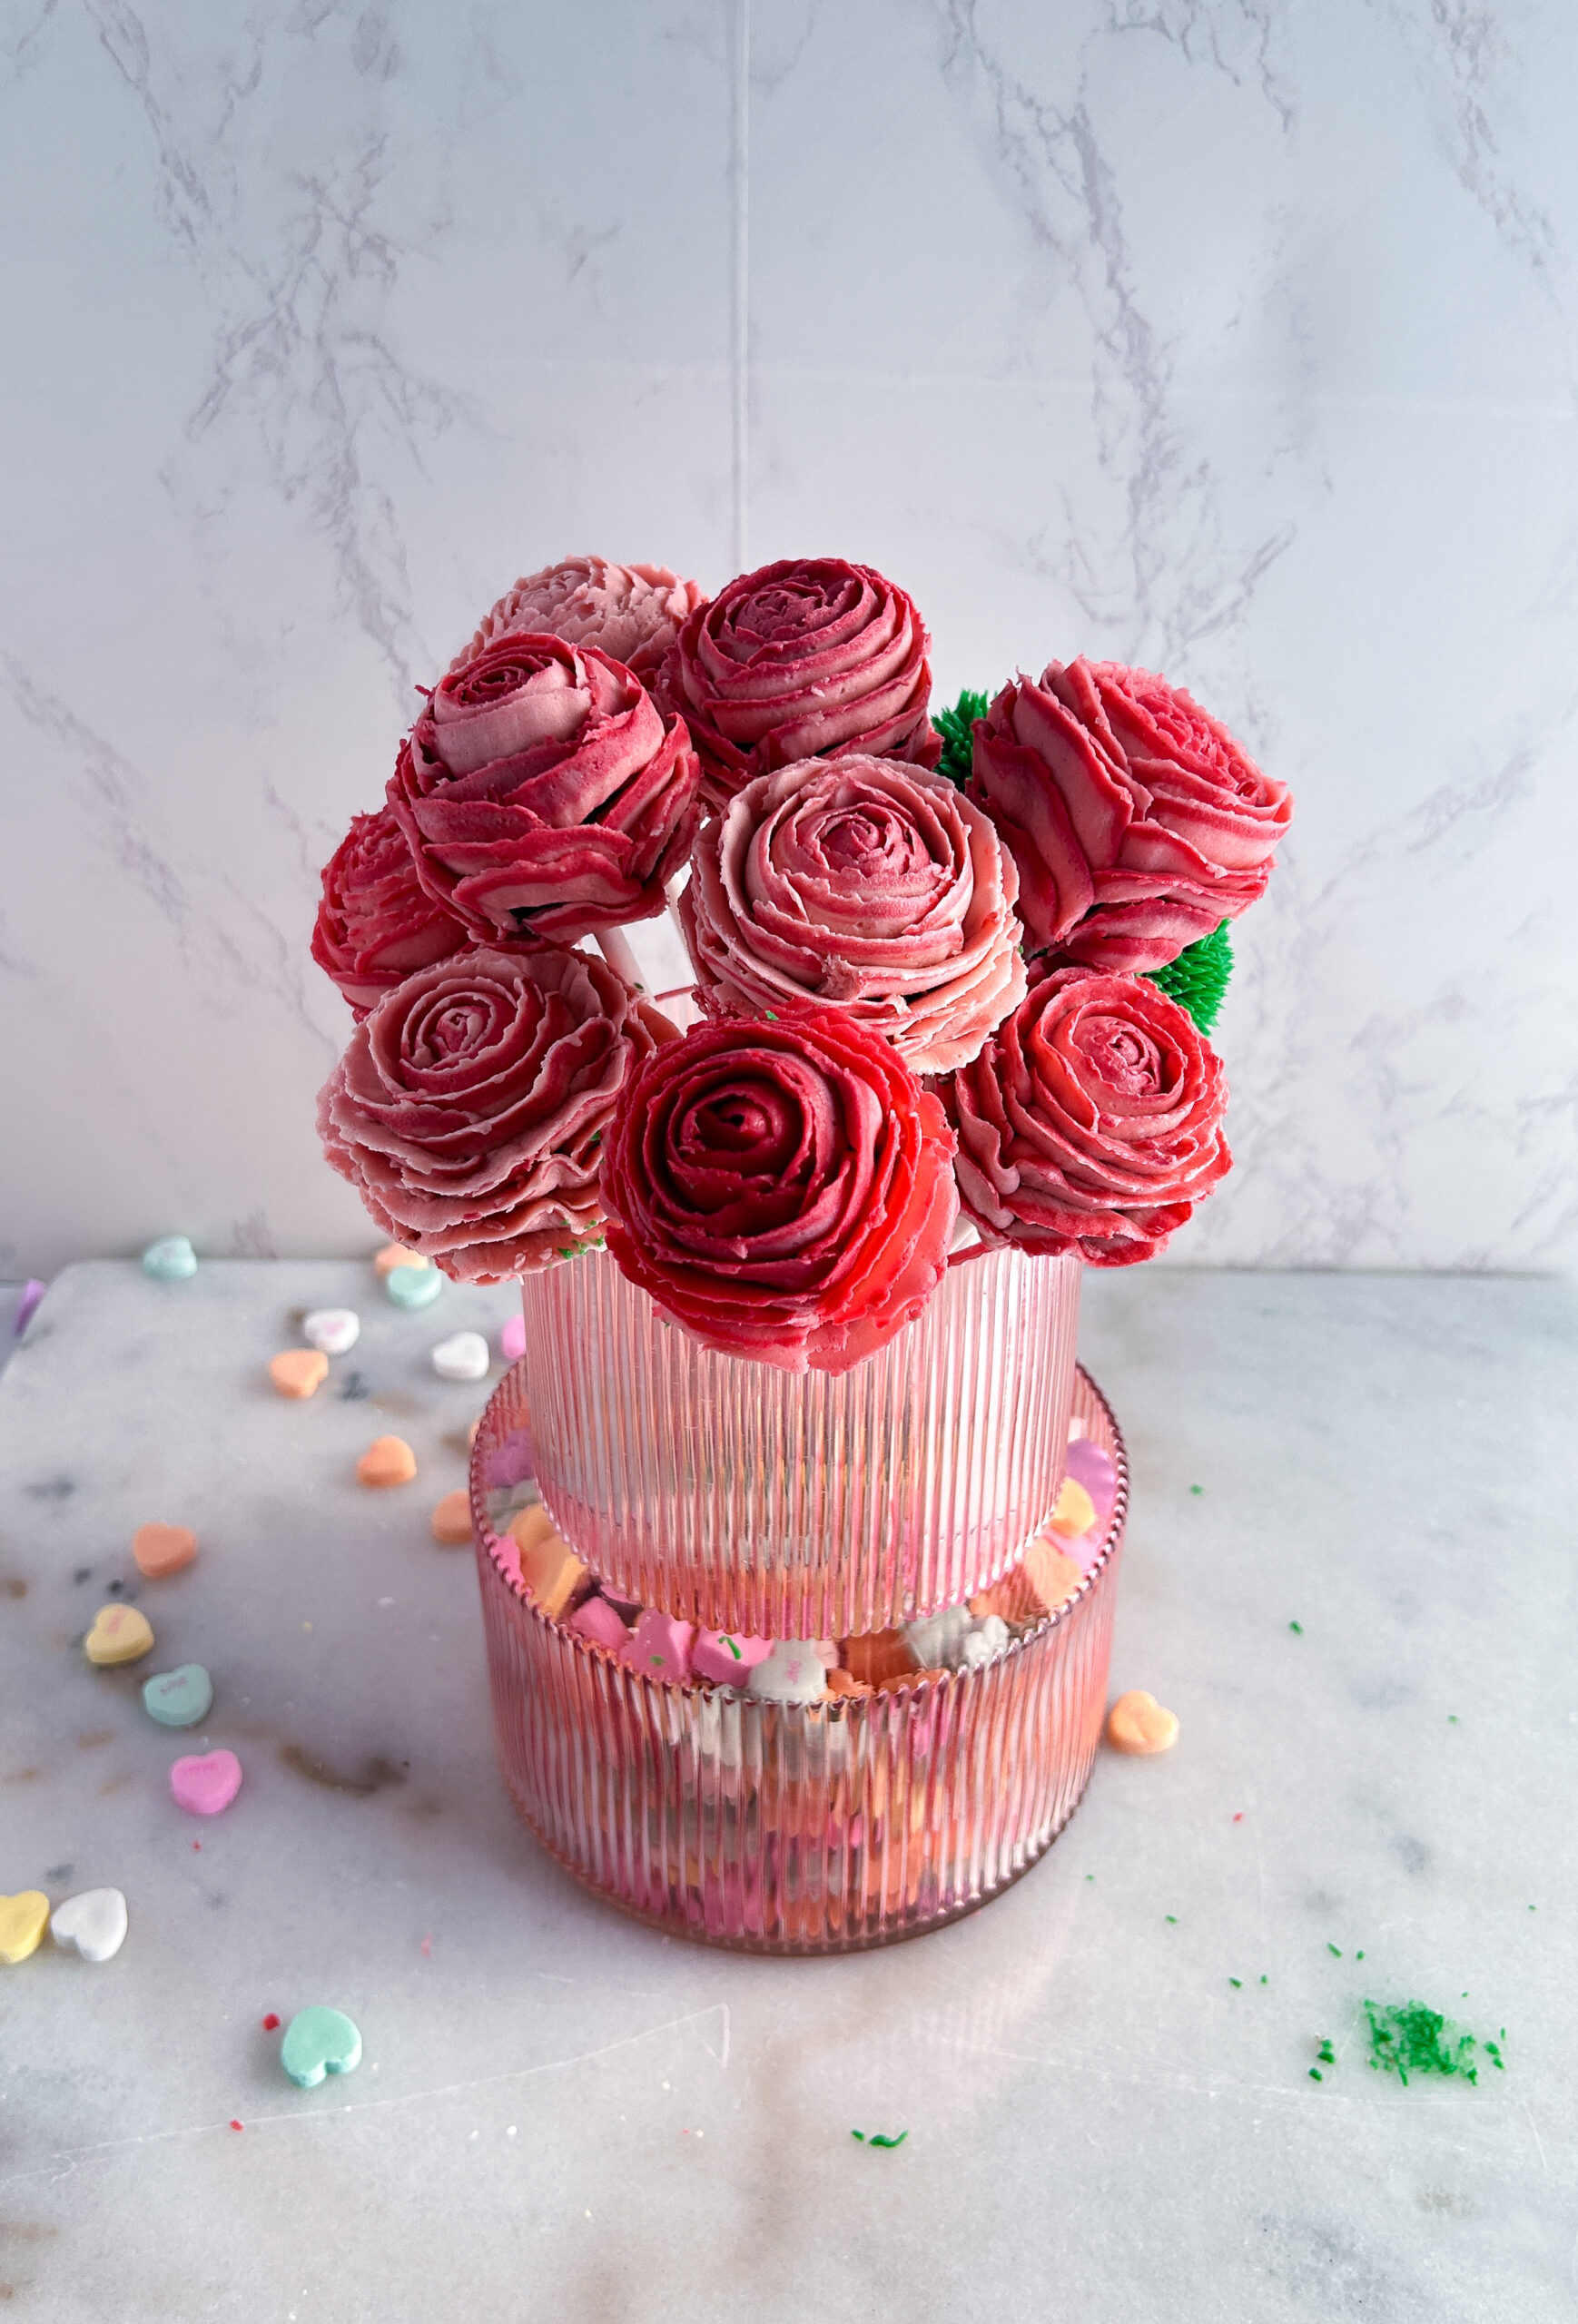
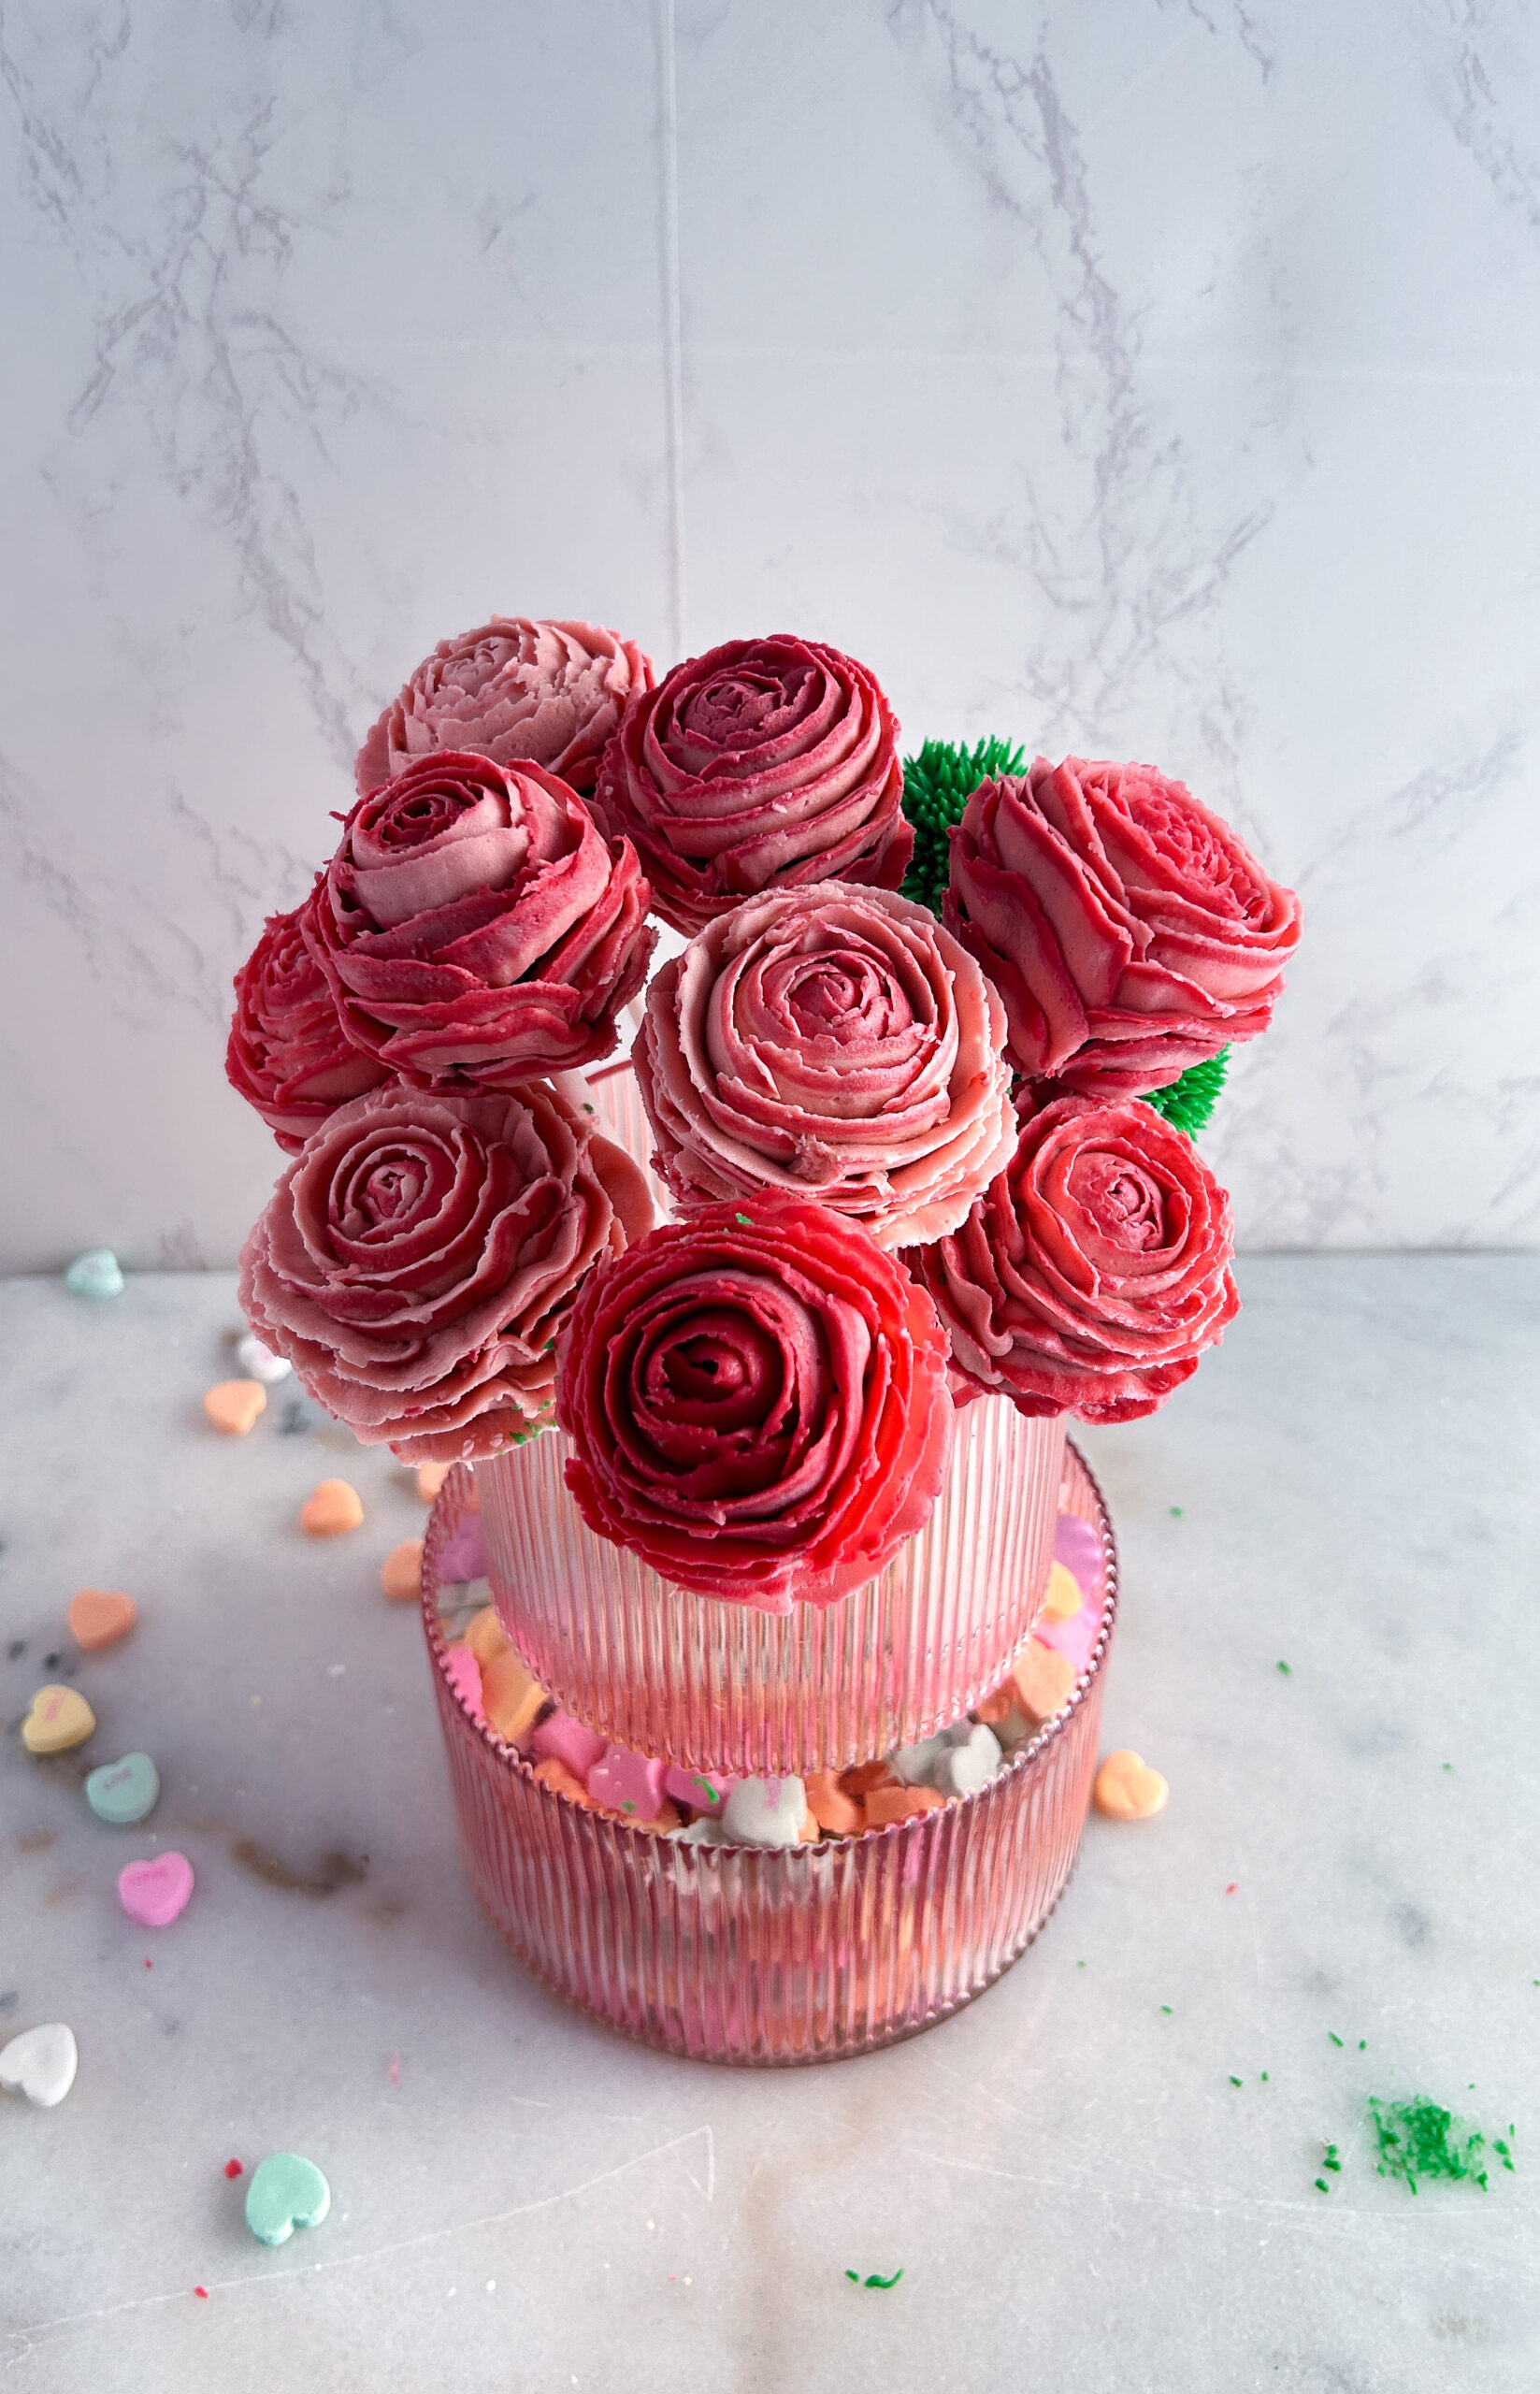
Truthfully I’ve never been the biggest fan of cake pops, but I cannot deny the cuteness of this cake pop bouquet! Whether you’re making them for your loved one or a galentines party, they’ll definitely be a hit!
Why Boxed Cake Mix?
I’ll say it once I’ll say it again—there is NO SHAME in boxed ANYTHING when it comes to baking. My whole philosophy is that baking is a therapeutic hobby. I chose to use boxed cake mix to help you cut down on time for this cake pop bouquet. Below you’ll find my suggestions for how to recreate this recipe, instructions on how to pipe buttercream flowers and a shopping list of supplies!
The Cake Pops
You know the expression “it’s as easy as pie?” I’m starting to think it should be changed to “easy as boxed cake mix!” Grab your favorite flavor of boxed cake mix, I chose Betty Crocker Devils Food Cake Mix mainly because it’s chocolate for Valentines Day!
For a video tutorial of how I make the cake pops watch here!

A few minor tweaks:
- ELIMINATE THE OIL from the boxed cake recipe. If you include the oil, the cake pops will have a harder time adhering to the cake pop stick. No need to worry about whether they’ll still be moist because with the added buttercream these cake pops have the perfect texture!
- Substitute water for milk to get some extra richness and flavor. I added my favorite milk instead of water when I mixed the cake which just helps elevate the fact that we’re not making the cake from scratch!
Once the cakes are baked and cooled all that’s left to do is break them apart and crumble them. It’s easiest to crumble them using a stand mixer, but using your hands works too–and is probably more fun! You’ll crumble them until no large pieces of cake are left.
Add your buttercream to the crumbled cake and mix until everything has been evenly incorporated and you can grab the mixture, squeeze it and it will stick together.
Scoop about 2” of cake pop mixture and roll into a ball. If you’re weighing them to make sure that they’re all the same size, each cake pop should be around 45-50g. This recipe will make you 20 cake pops for your cake pop bouquet!
No need for fancy cake pop holders, just turn the pops upside down in a rimmed dish and freeze them for at least 30 minutes. They’ll come out with a flat top which is exactly what we want to pipe the buttercream flowers for the cake pop bouquet!

The Buttercream Flowers
If you have wanted to learn how to pipe buttercream flowers, or practice those piping skills, the cake pop bouquet is the perfect way to do so! You have multiple opportunities to make a few mistakes and if you do, just place those flowers in the back when you arrange the bouquet!
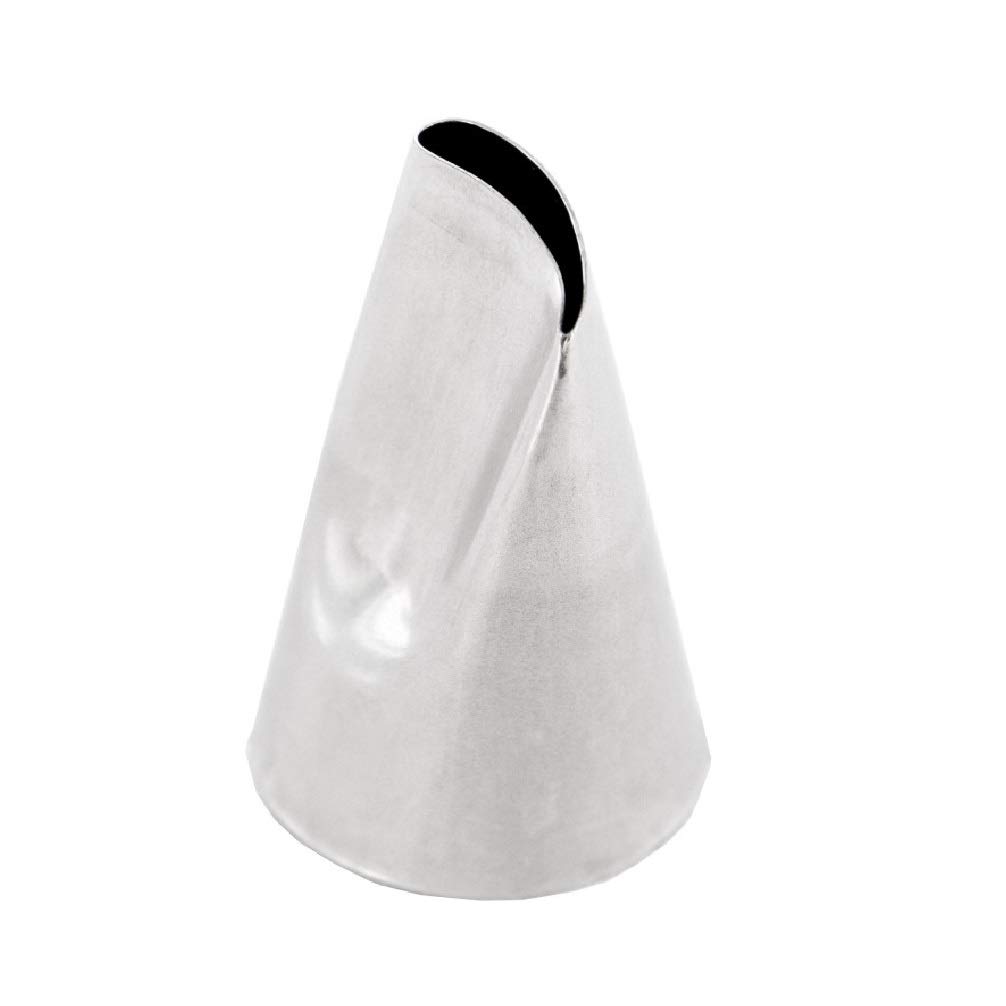
First things first you’ll need a flower tip for piping the buttercream flowers. I am linking both the individual piping tip that I used for this cake pop bouquet and a starter set that will give you more options to pipe with.
There are lots of different floral piping tips out there but this rose tip is the most classic. It has a characteristic curve, a pointed end and a wide end. The pointed end is what we use to create our flower petals!
How to Pipe Buttercream Flowers Step by Step
- Make the easy American Buttercream recipe and color it how you prefer. I colored in two tones, a rose and a deep rose for a more complex flower. If you choose to do the same, the darker color should be about ⅓ of the amount of the lighter color.
- Place the floral piping tip in a piping bag
- Place the two colored buttercreams into two different piping bags without tips.
- Cut about ¼ inch of the tips of the two piping bags with buttercream in them.
- Take the darker buttercream and the piping bag fitted with the floral piping tip and pipe a line of dark colored buttercream vertically up the bag, aligned with the skinny, pointed edge of the floral tip.
- Take the lighter buttercream and pipe it into the bag fitted with the floral tip around the darker line of buttercream (essentially fill the rest of the bag with the lighter color). Secure the bag with a rubber band or clip.
- Grab a frozen cake pop and hold it in your non-dominant hand. Starting on the flat surface of the cake pop (the part that was facing down when it was in the freezer) hold the piping bag fitted with the floral tip and filled with the two toned buttercream perpendicular to the flat surface of the cake pop and with the skinny, pointed end up. You should start directly in the middle, we are creating the bud of the flower.

- Apply pressure to the piping bag so that buttercream starts to come out of the tip while simultaneously spinning the cake pop stick with your non-dominant hand slowly. Stop when you have created the bud, or center of the flower.
- Return the piping tip directly outside of the center bud and repeat the process, piping a circle of buttercream until you have made a complete circle. Repeat this process until you have made a few full circles around.
- Then use the exact same piping tip all the way down the cake pop but instead of creating full circles pipe about ⅓ or ¼ around, stop, slightly overlap the last petal you piped, and go ⅓ or ¼ around again. It will look like petals and the more you create, the more detailed your flowers will look!
Cake Pop Bouquet Shopping List
Here are the main supplies you will need to recreate this cake pop bouquet. Other ingredients can be found in the recipe below.
Happy Floral Baking!
Can baking be therapeutic?
I often talk about baking being a therapeutic hobby but I’d like to share more about why I feel that way as well as how it can become a relaxing hobby for you!
When I bake, it’s my creative time. I may put on my favorite nostalgic movie or tv show in the background, or a Spotify playlist titled “French café” and leave my troubles behind.
Sometimes I pour myself a glass of wine and light a candle. Then, with the mood set, the mixing of batter, kneading of dough and smoothing of icing is my only care in the world.
When I say baking is therapeutic, sometimes people respond saying “not for me it isn’t!” I completely understand why someone might feel that way. There have been plenty of times where I spend hours on something only for it to fail or something breaks that shouldn’t or I forget to clean as I go and am left with a disastrous kitchen to clean.
So I should in reality, have a caveat to my “baking as therapy” claims…
Baking is therapy when you curate the experience to be relaxing.
How do you curate that relaxing experience for yourself, you ask?
How to make baking therapeutic…
- Prepare your mind–know that it’s okay if the cake doesn’t rise, or the butter wasn’t chilled enough. Shift your mindset from seeing your failures as mistakes to seeing them as opportunities for learning.
- Prepare your space–I cannot and will not bake on top of a messy kitchen. If I were to do this I would be starting from a place of stress! Take an extra 10 minutes to clean any dishes in the sink and wipe down the counters, this small effort will pay you back greatly in brain space and clarity.
- Clean as you go! I’ll tell you the one way to make baking stressful and tiresome, is to not clean as you go! After I use each ingredient that I no longer need, I put it away.
After each major step in the process, I wipe down the counters and put dishes that are no longer needed in the sink. If there is chill time or baking time I don’t sit, I do the cleaning then. Make this shift and you’ll really notice the difference!
By the way, this last tip really helped me when I was on The Great American Baking Show–and the crew that cleaned up behind us made a point to tell me that my workspace was always so clean they didn’t have much to do!
I would reply by saying “it’s how I stay sane in this tent!”
Additional suggestions:
*Maybe try printing off the recipe instead of looking at it on your phone, tablet or laptop and use this time to unplug from technology for a few hours
**Invite friends or family over to share your creation with you. Time spent with loved ones over food is a universally special experience
And that’s how I discovered baking for my mental health. If you try any of these suggestions, let me know how it went for you! I’m really invested in spreading this message to others in hopes that baking will enhance your lives more than it already does!
Cake Pop Bouquet
Equipment
- cake pop sticks
- floral piping tip
- piping bags
Ingredients
For the Cake Pops
- 1 (13.25 oz) boxed cake mix eliminate the oil and substitute water for milk
- 4 Tbsp (56g) chocolate chips melted, for dipping cake pop sticks
- 3/4 cup -1 cup (170g-210g) homemade buttercream
For the American Buttercream
- 2 cups (440g) (4 sticks) unsalted butter room temperature
- 2 tsp vanilla extract
- 1/2 tsp salt
- 8 cups (810g) powdered sugar 10x sifted is the best
- 2 Tbsp (30ml) heavy cream or milk
Instructions
For the Cake Pops
- Make the cake according to the boxed instructions making sure to eliminate the oil and swap water for milk to elevate the flavor!
- Remove from the oven and allow cakes to cool completely.
- While the cakes are baking and cooling, prepare the buttercream.
For the Buttercream
- Beat 2 cups (440g) of room temperature butter on medium speed with a hand or stand mixer fitted with the paddle attachment until smooth (about 30-45 seconds).
- Add in 8 cups (810g) of powdered sugar cup by cup while mixing on low speed. Do this carefully, it can make a mess.
- Increase the speed to medium once most of the powdered sugar is incorporated and add in 2 tsp vanilla extract and 1/2 tsp salt.
- Add 2 Tbsp (30ml) of heavy cream or milk to the frosting and continue mixing for 2-3 minutes until the frosting has lightened in color and is fluffy. Turn speed to low to release any air bubbles that accumulated in the beating process.
- Reserve 3/4c-1c (170g-210g) of buttercream to mix with the cake to create the cake pops. Divide the remaining buttercream to color it by removing about 1/4 of the what remains out for a darker color and leaving the rest for a lighter color.
- Color the buttercream as you desire. I chose a light pink and a dark pink to create some dimension in the flowers.
- Place the floral piping tip in a piping bag and then place the two colored buttercreams into two different piping bags without tips. Cut about ¼ inch of the tips of the two piping bags with buttercream in them.
- Take the darker buttercream and the piping bag fitted with the floral piping tip and pipe a line of dark colored buttercream vertically up the bag, aligned with the skinny, pointed edge of the floral tip.
- Take the lighter buttercream and pipe it into the bag fitted with the floral tip around the darker line of buttercream (essentially fill the rest of the bag with the lighter color). Secure the bag with a rubber band or clip.
For the Assembly
- Break apart the cooled cakes and mix them in a stand mixer, or by hand until there are no more large pieces of cake left.
- Mix in 3/4c (170g) of the reserved buttercream. Once everything is mixed together, see if you can grab some cake pop mix and squeeze it in your hand. If it stays together without a problem, begin to form the cake pops, if it doesn't, add another 1/4c (40g) of buttercream and mix once more.
- Melt 4 Tbsp (56g) of chocolate chips in a microwave safe bowl in 30 second increments, removing and stirring between each time in the microwave.
- Use a 2" cookie scoop or a Tablespoon scooped twice to scoop out the cake pop mixture and roll it into a ball. If you are weighing for accuracy each cake pop should come out between 45g-50g.
- Grab a cake pop stick and dip it into the melted chocolate, then into the cake pop and place it cake pop facing down, into a tray that will fit into your freezer.
- Repeat the process until all cake pops have been formed and then freeze for at least 30 minutes. Take this time to clean up and save yourself the stress of a messy kitchen later!
- Before starting to pipe the flowers, take a tall cup and fill it with popcorn kernels, dried beans, small candy link m&m's, whatever you can find on hand. This will serve as a holder for the cake pops when you're done piping each flower.
- Grab a frozen cake pop and hold it in your non-dominant hand. Starting on the flat surface of the cake pop (the part that was facing down when it was in the freezer) hold the piping bag fitted with the floral tip and filled with the two toned buttercream perpendicular to the flat surface of the cake pop and with the skinny, pointed end up. You should start directly in the middle, we are creating the bud of the flower.
- Apply pressure to the piping bag so that buttercream starts to come out of the tip while simultaneously spinning the cake pop stick with your non-dominant hand slowly. Stop when you have created the bud, or center of the flower.
- Return the piping tip directly outside of the center bud and repeat the process, piping a circle of buttercream until you have made a complete circle. Repeat this process until you have made a few full circles around.
- Then use the exact same piping tip all the way down the cake pop but instead of creating full circles pipe about ⅓ or ¼ around, stop, slightly overlap the last petal you piped, and go ⅓ or ¼ around again. It will look like petals and the more you create, the more detailed your flowers will look!
- Once you have completed each flower, stick it into the cup filled with the popcorn, beans or candy and stick it in the freezer to firm up.
- Pipe all of the flowers and freeze each one after piping.
- When you're ready to assemble, fill a flower vase with your valentines candy of choice (preferably smaller candies like skittles or m&m's) and place each frozen cake pop as if you were arranging a flower bouquet!
- Allow to get to room temperature before serving and enjoy!
Leave a Reply