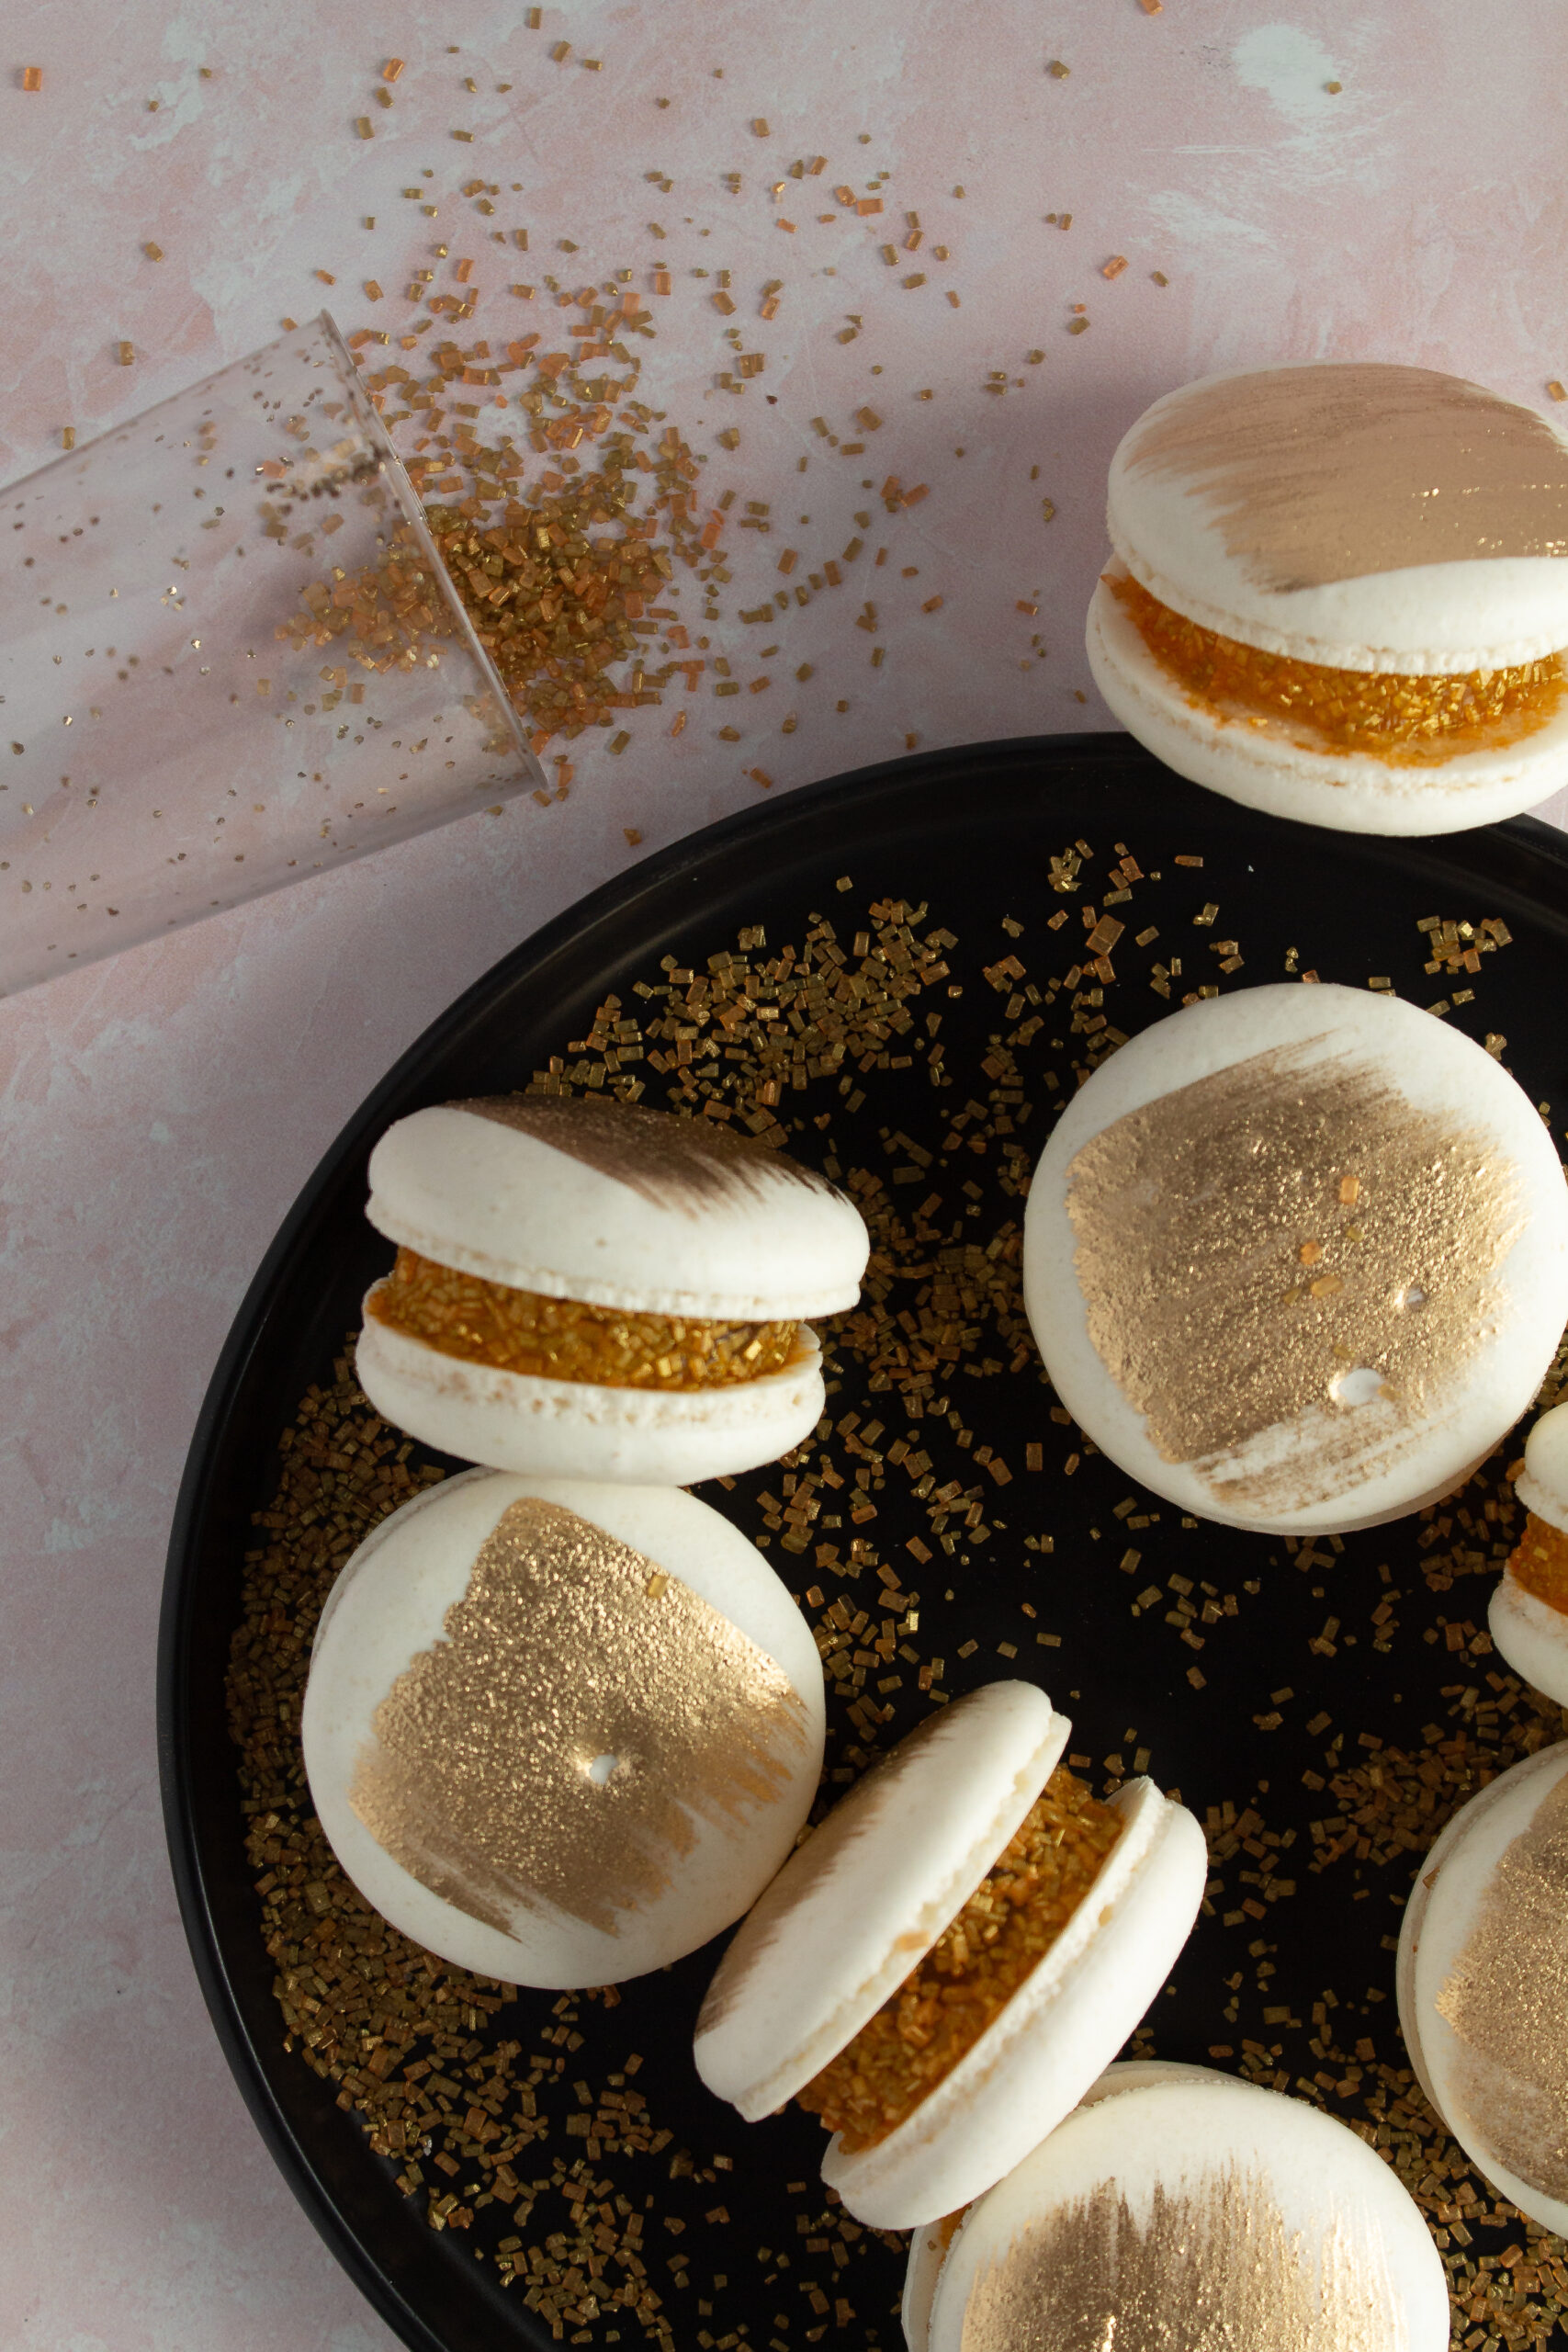
Champagne macarons–they’re an elegant way to ring in the New Year. Boozy and festive, these macs are a textural adventure and a delight for the tastebuds as well!
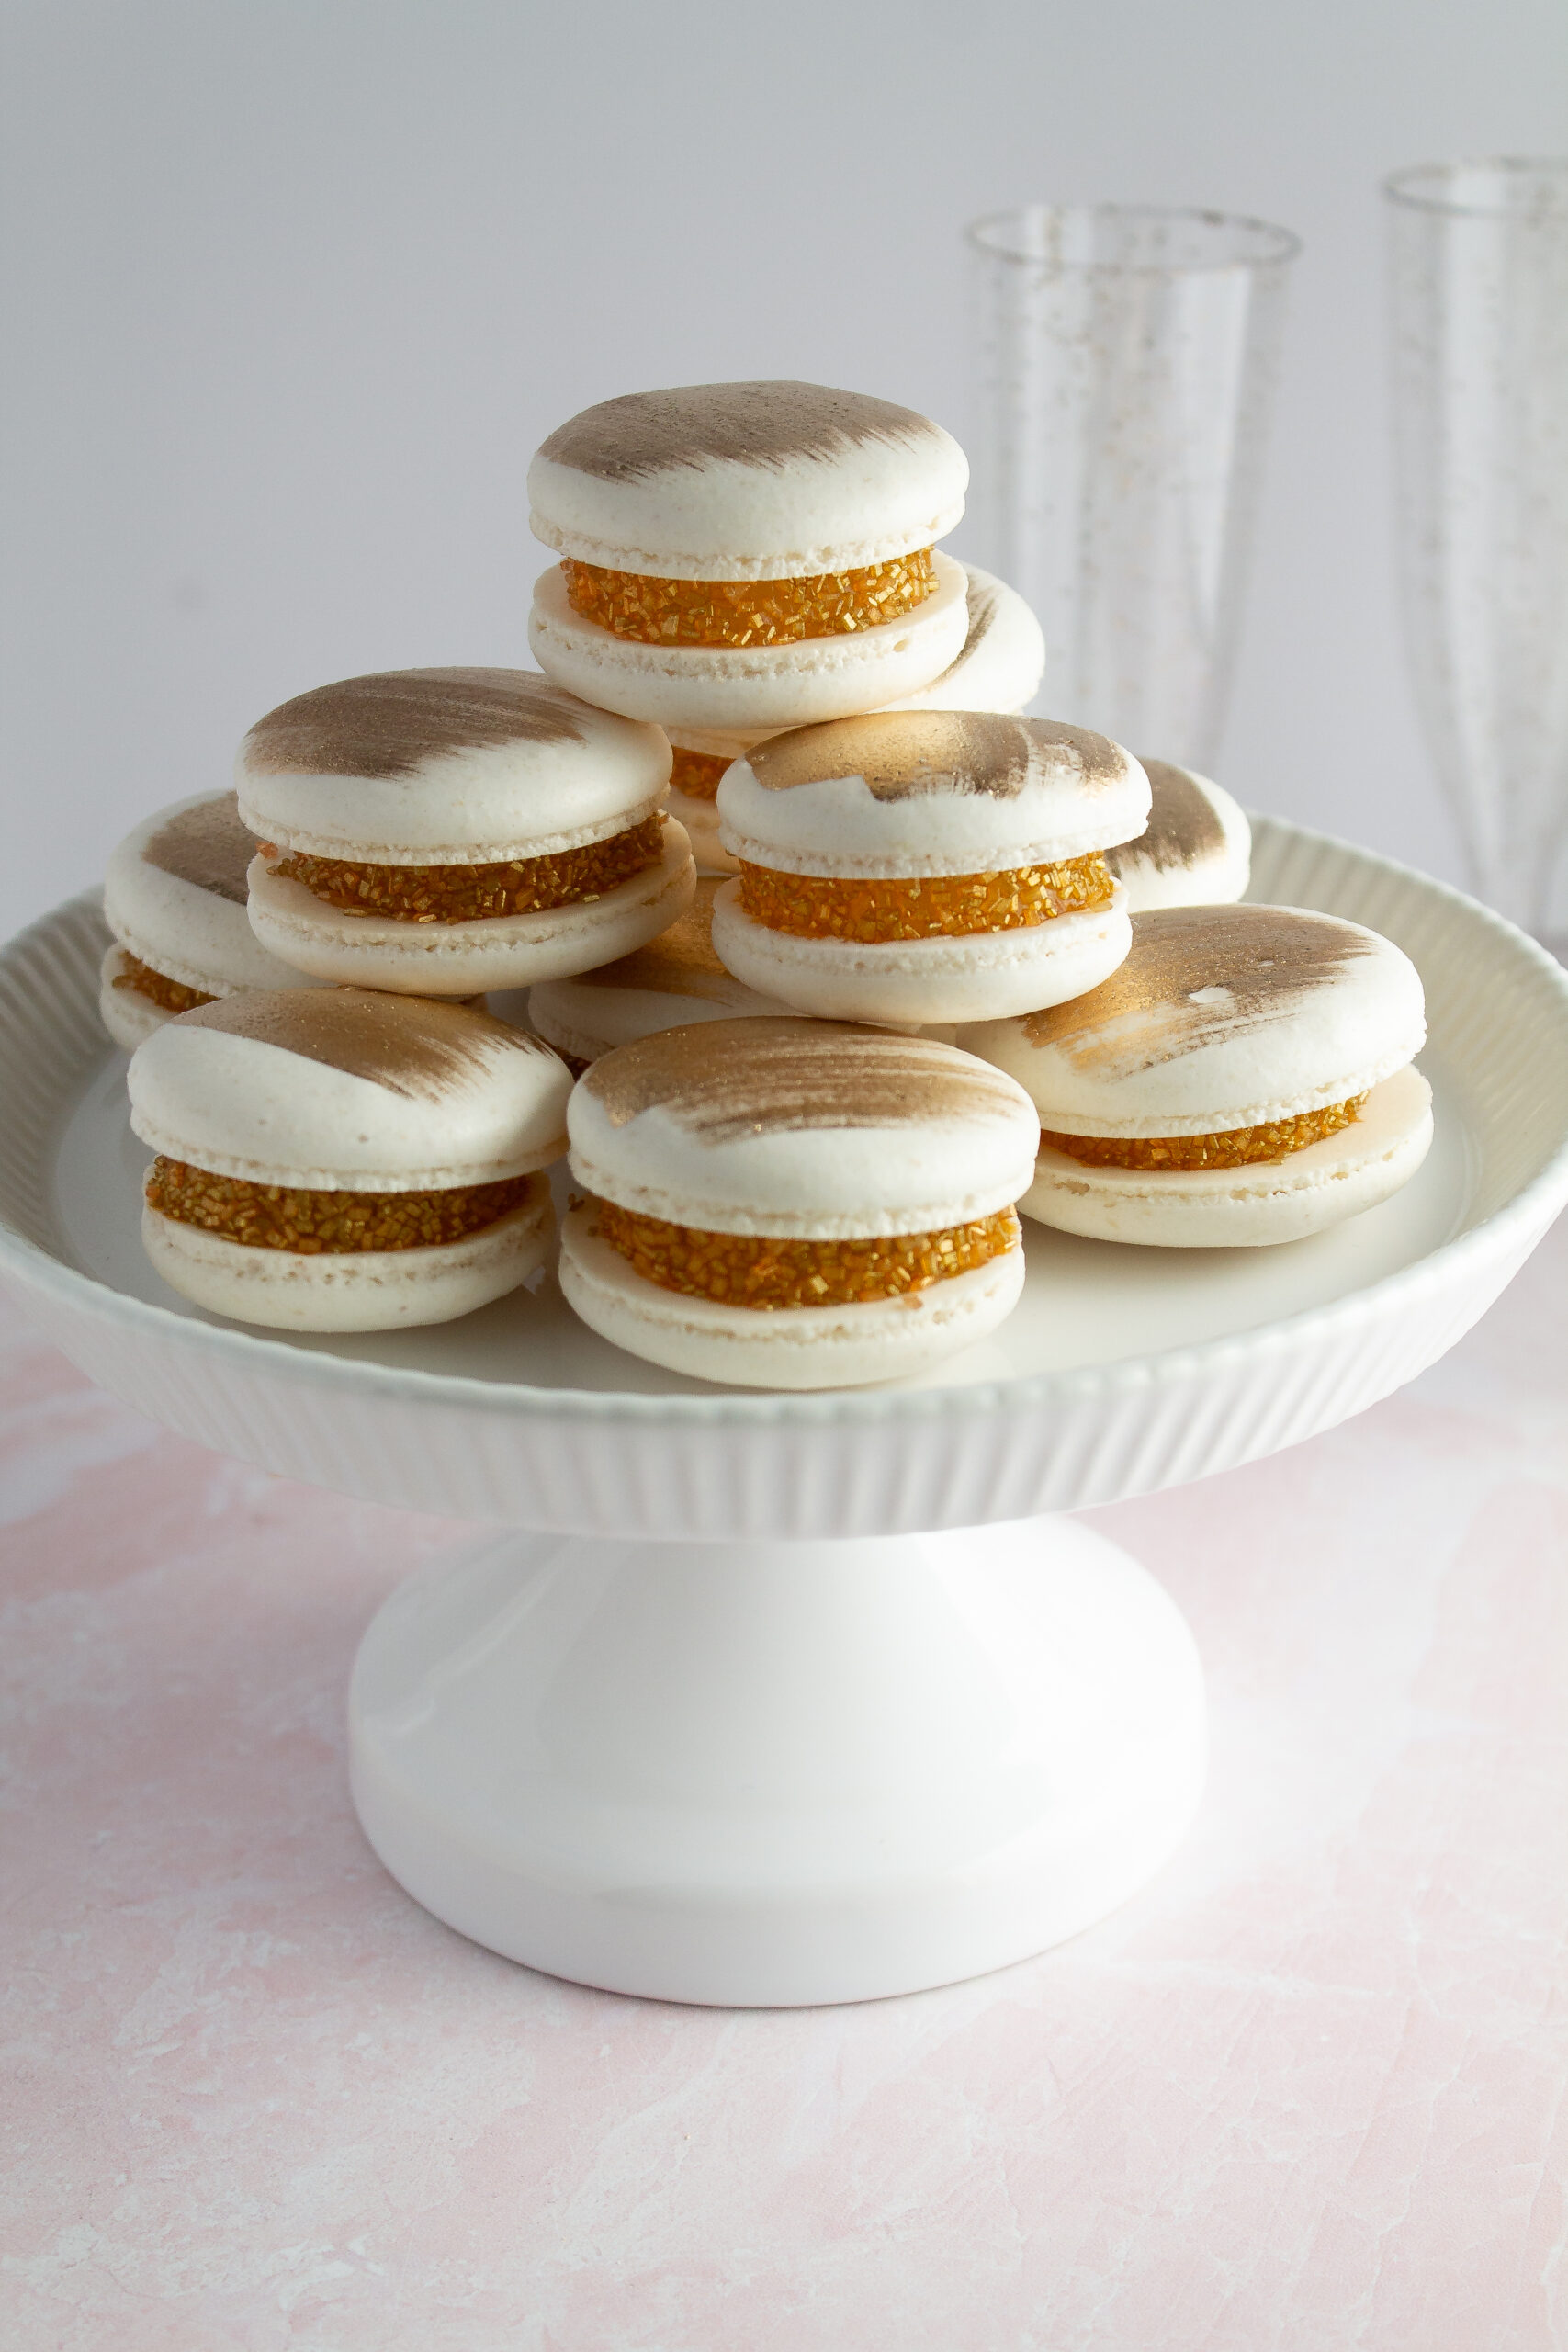
I’m on a mission to create as many recipes using champagne as possible for New Years. I created my champagne cupcakes a few years back which I also highly recommend. But these champagne macarons have a certain elevated quality about them. Most champagne macarons have a champagne infused buttercream filling, but I thought I’d think outside of the box and give these ones a jelly filling!
For this recipe, you need to use a scale to measure the ingredients for the macarons. I use this Arboleaf rechargeable scale from Amazon!
How to make the Champagne Jellies
The champagne jellies are the stars of the show here. I’ll be honest, they’re VERY boozy…but that’s the way I intended it! I’m talkin’ 2 full bottles of champagne in this recipe okay friends?! I recommend making the champagne jello the night before you need this recipe, since it takes quite a while to cool in the fridge.
- First things first, pour you up a glass or two when making these–that’s just good sense!
- When sprinkling the gelatin, sprinkle it in an even layer over the champagne so no large clumps form.
- After mixing everything together, let the mixture sit for a few minutes before pouring it into the pan to set. This will allow some of the foam to dissolve.
- Scrape any extra foam off the top so that it doesn’t show up in the final jellies.
- This recipe requires a 24” x 16” x 2” pan to set the jellies, however, if you don’t have one, I don’t think it’s necessary to buy one for this recipe. Simply use whatever you do have at home, even if it’s multiple pans. The goal is to get the jellies to measure ½ inch in thickness.
- Use a 1” circle cutter to cut out the jellies to fit perfectly between the macaron shells.
- Roll each circle in gold sprinkles or coarse sugar to give them an extra festive look!
For the BEST results, assemble the macarons right before serving, so the jellies don’t soak into the macarons too much.
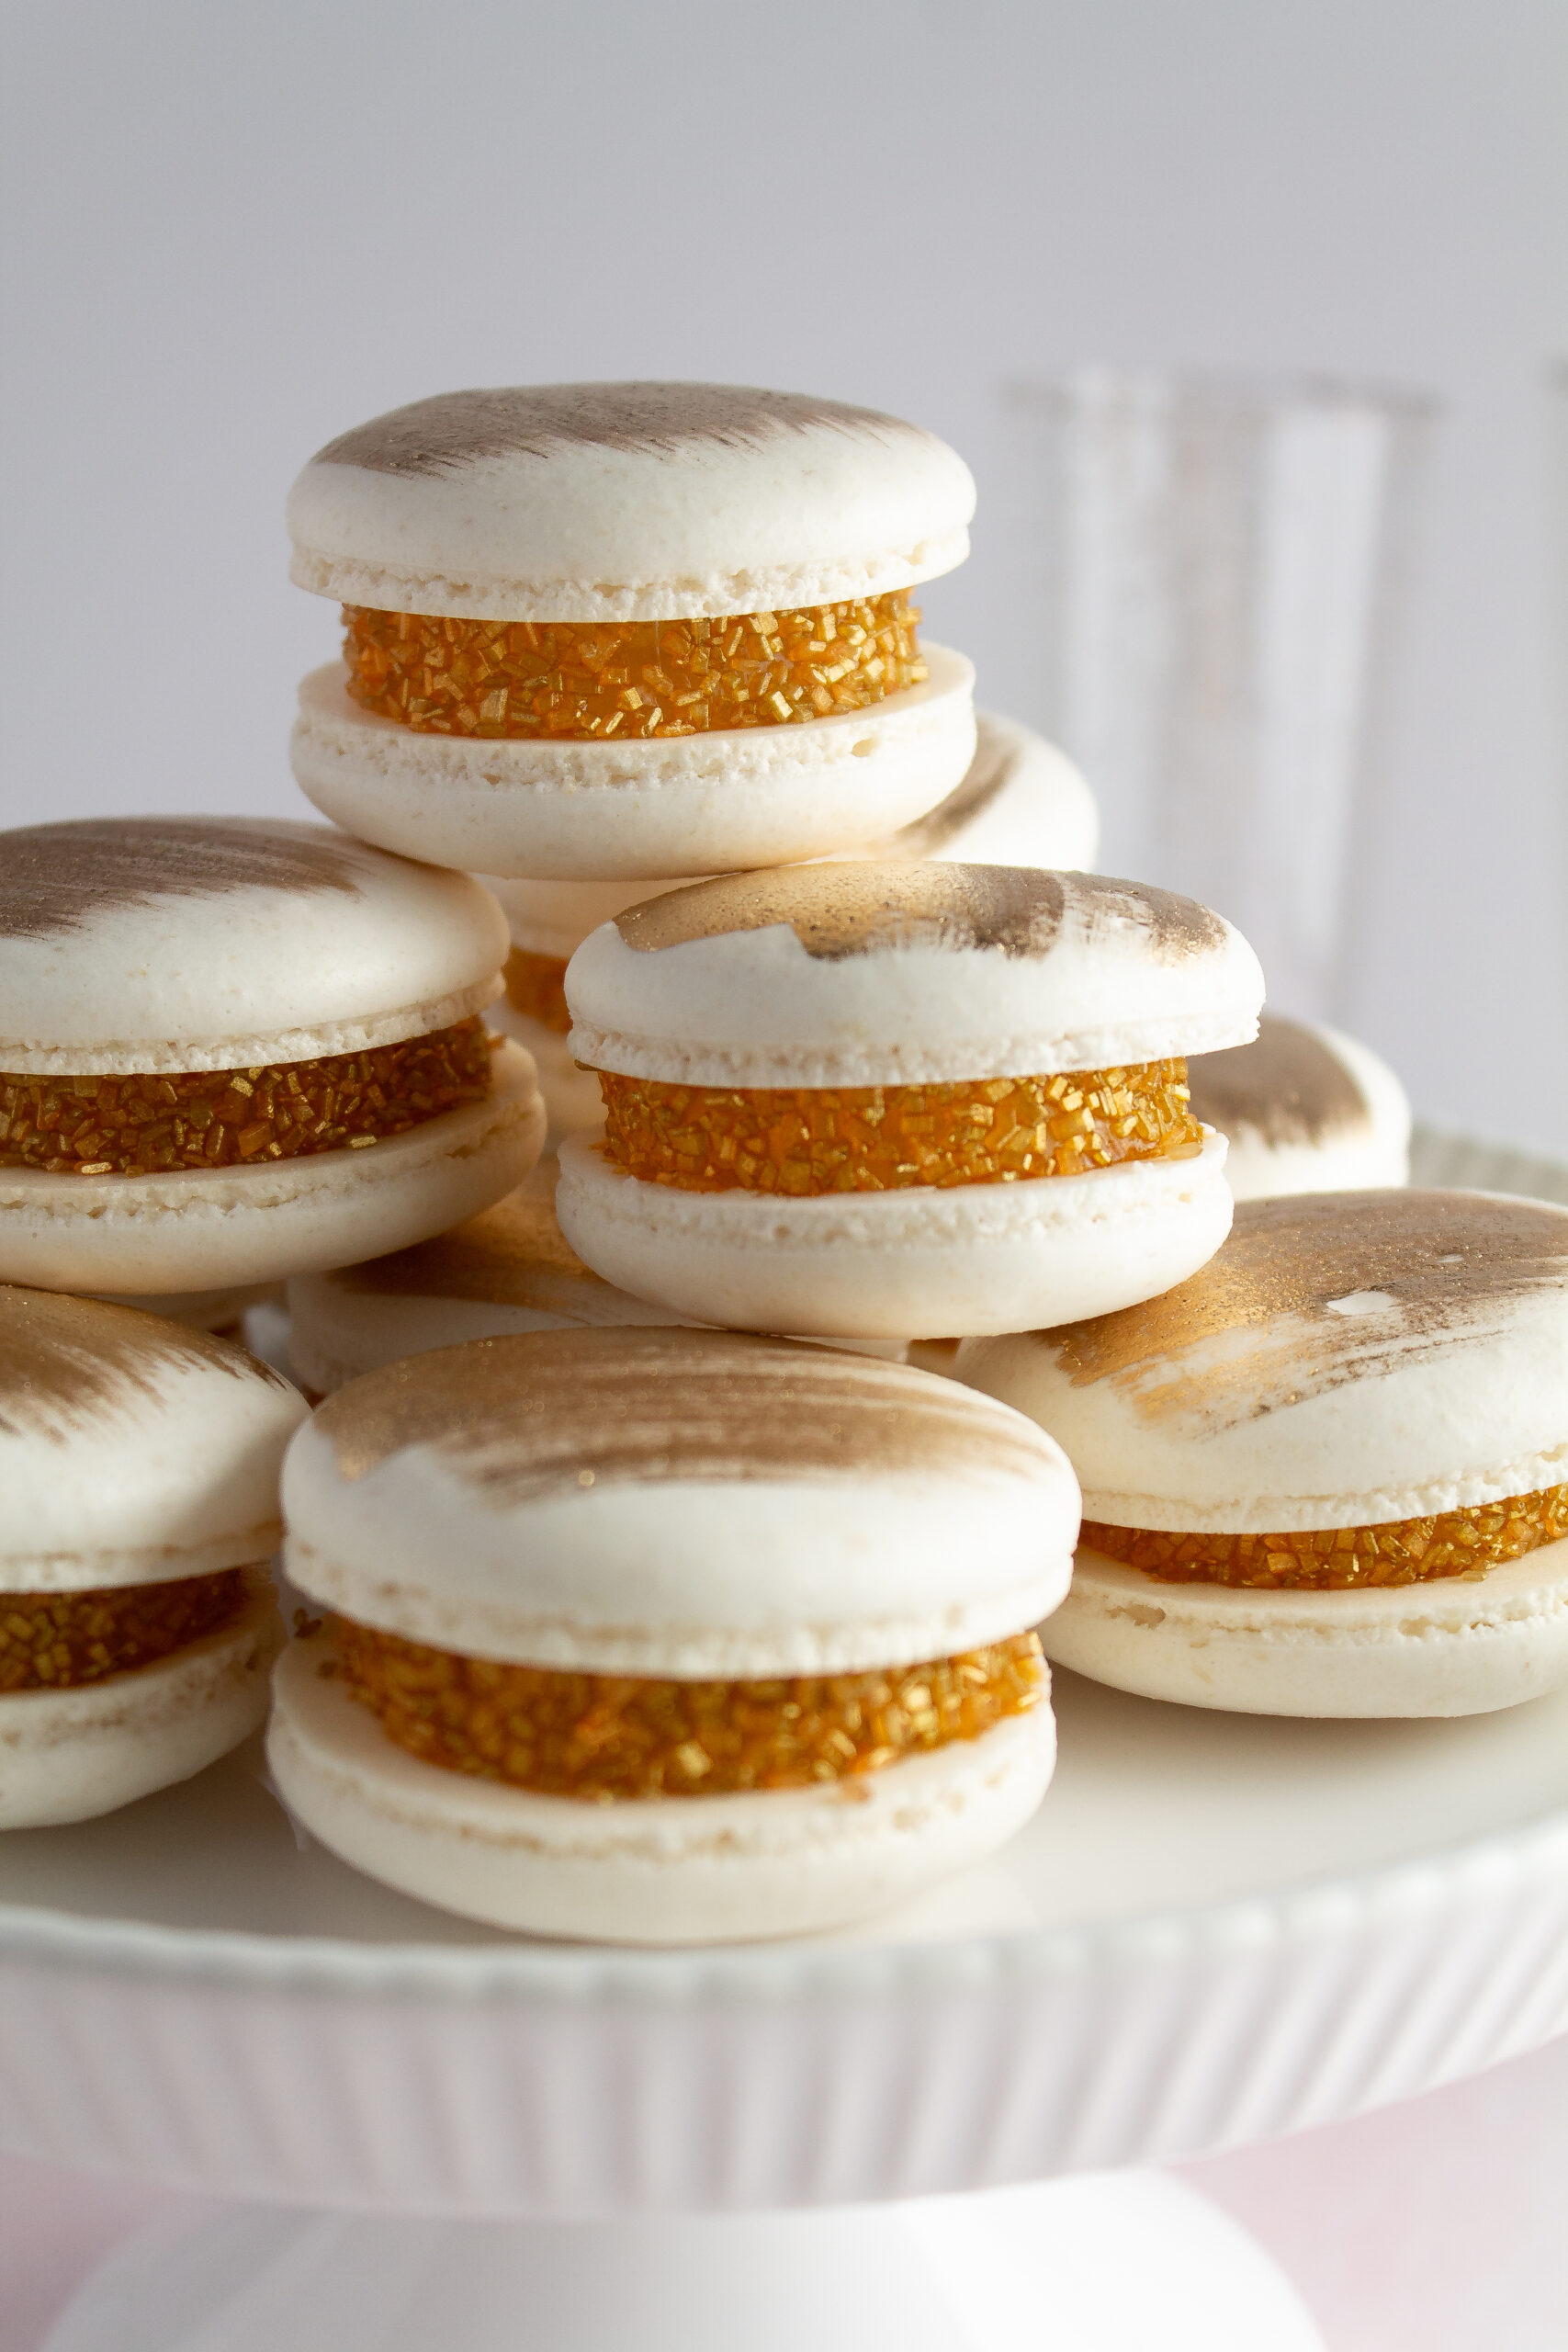
How to make the Vanilla Macarons
I will make an in depth and dedicated post for anyone who is interested in mastering macarons in the new year, but for now here are the most important tips.
- Sift the dry ingredients thoroughly–the powdered sugar and almond flour. Double sifting is a good idea. The more superfine the ingredients are the better.
- Aged egg whites work the very best. For the best results, leave the egg whites out for about 6-12 hours to age, this changes the composition of the proteins in the whites and makes for a more stable macaron.
- Be sure that the meringue has actually reached stiff peaks.
- The batter is ready once it flows off of the spatula in ribbon-like strands.
- Allow the macs to rest properly before baking!
Can baking be therapeutic?
I often talk about baking being a therapeutic hobby but I’d like to share more about why I feel that way as well as how it can become a relaxing hobby for you! When I bake, it’s my creative time. I may put on my favorite nostalgic movie or tv show in the background, or a Spotify playlist titled “French café” and leave my troubles behind.
Sometimes I pour myself a glass of wine and light a candle. Then, with the mood set, the mixing of batter, kneading of dough and smoothing of icing is my only care in the world.
When I say baking is therapeutic, sometimes people respond saying “not for me it isn’t!” I completely understand why someone might feel that way. There have been plenty of times where I spend hours on something only for it to fail or something breaks that shouldn’t or I forget to clean as I go and am left with a disastrous kitchen to clean.
So I should in reality, have a caveat to my “baking as therapy” claims…
Baking is therapy when you curate the experience to be relaxing.
How do you curate that relaxing experience for yourself, you ask?
How to make baking therapeutic…
- Prepare your mind–know that it’s okay if the cake doesn’t rise, or the butter wasn’t chilled enough. Shift your mindset from seeing your failures as mistakes to seeing them as opportunities for learning.
- Prepare your space–I cannot and will not bake on top of a messy kitchen. If I were to do this I would be starting from a place of stress! Take an extra 10 minutes to clean any dishes in the sink and wipe down the counters, this small effort will pay you back greatly in brain space and clarity.
- Clean as you go! I’ll tell you the one way to make baking stressful and tiresome, is to not clean as you go! After I use each ingredient that I no longer need, I put it away.
After each major step in the process, I wipe down the counters and put dishes that are no longer needed in the sink. If there is chill time or baking time I don’t sit, I do the cleaning then. Make this shift and you’ll really notice the difference!
By the way, this last tip really helped me when I was on The Great American Baking Show–and the crew that cleaned up behind us made a point to tell me that my workspace was always so clean they didn’t have much to do!
I would reply by saying “it’s how I stay sane in this tent!”
Additional suggestions:
*Maybe try printing off the recipe instead of looking at it on your phone, tablet or laptop and use this time to unplug from technology for a few hours
**Invite friends or family over to share your creation with you. Time spent with loved ones over food is a universally special experience
And that’s how I discovered baking for my mental health. If you try any of these suggestions, let me know how it went for you! I’m really invested in spreading this message to others in hopes that baking will enhance your lives more than it already does!
Happy New Year Baking!
Champagne Macarons
Equipment
- pastry brush
- 1" circle cutter
- large circular piping tip
- piping bag
- 2 silicone mat or parchment paper
- 2 baking sheets
- 1 24" x 16" x 2" baking pan for the jellies, see note
Ingredients
For the Vanilla Macarons
- 68 g egg whites room temperature, preferably aged
- 68 g granulated or caster sugar
- 75 g powdered sugar 10x sifted
- 80 g almond flour superfine
- 1/8 tsp cream of tartar
- 1/2 tsp vanilla extract
For the Champagne Jelly Center
- 2 bottles champagne
- 6 envelopes unflavored gelatin
- 3/4 cup agave nectar
- 1 tsp unflavored oil (vegetable, avocado, etc.) cooking spray can substitute
For the Decor
- 3 Tbsp gold sprinkles, glitter or coarse sugar
- 1 tsp edible gold luster dust
- 1/8 tsp vodka or lemon juice may need to increase amount to get the right consistency, increase by 1/8 tsp increments
Instructions
For the Champagne Jelly Center
- The first step is to make the champagne jelly center because it needs time to chill in the refrigerator.
- Start by pouring yourself a glass of bubbly, if you wish. Then add roughly 1/2 the bottle of Champagne, Prosecco or Sparkling Rosé to a medium saucepan.
- Place the saucepan over medium/low heat and bring to a simmer, this should take no more than 5 minutes.
- While the champagne is warming on the stovetop, pour the other half of the bottle into a large bowl.
- Sprinkle 6 envelopes of unflavored gelatin in an even layer over the champagne that is in the bowl. Leave and allow it to bloom for about 5 minutes.
- Remove the champagne in the saucepan from the heat once it has been brought to a simmer. Add the softened gelatin and champagne mixture into the heated champagne.
- Stir until all of the gelatin has dissolved. Return the mixture to the large bowl.
- Add the second full bottle of champagne to the bowl as well as 3/4 cup of agave. Set aside.
- Add 1 tsp of unflavored oil to a 24" x 16" x 2" baking pan* (see note) and spread in an even layer with a pastry brush or paper towel. You can also use cooking spray for this.
- Use a spoon to scrape any excess foam off the top of the bowl of champagne mixture.
- Carefully pour the champagne mixture into the greased tray. Place in the refrigerator to set for a minimum of 5 hours.
For the Vanilla Macarons
- Line two baking sheets with silicon mats or parchment paper.
- Place a sieve over a medium bowl and measure 75g of powdered sugar and 80g of almond flour directly into the sieve. Sift the two ingredients into the medium bowl using a spatula to gently help break up some of the larger piece in the sieve. Discard any bits that won't sift through. Set aside.
- Measure 68g of room temperature (preferably aged) egg whites into the bowl of a stand mixer fitted with the whisk attachment. A large bowl and a hand mixer will work fine, but they will take longer. If unsure that the bowl has no grease residue, wipe out the bowl with a tiny splash of vinegar and a paper towel before adding the egg whites.
- Add 1/8 tsp of cream of tartar to the egg whites begin to whip on medium speed. While mixing, measure out 68g of granulated sugar into a bowl.
- Once the egg whites look like a very foamy bubble bath, begin to slowly and in a steady stream, add the 68g of granulated sugar. Do not add all the sugar in at once. Another good method is to add spoonfuls of the sugar in a steady stream.
- Whip until soft peaks form. Then add 1/2 tsp of vanilla extract. Whip again until stiff peaks form. Keep a close eye, you do not want to over or under whip the meringue.
- In small batches, add the almond flour and powdered sugar mixture and use a spatula to carefully fold the dry mixture into the meringue. This is called the macaronage. You want to scrape around the outside of the bowl a few times, then a few times down the middle. The idea is to achieve the correct texture to pipe the macarons.
- Continue this process until all of the dry mixture has been added and the batter falls in a continuous "ribbon" off of the spatula. A good test is if you can draw a figure eight with the batter.
- Fit a piping bag with a large round tip and place that bag into a tall cup.
- Scrape the macaron batter into the piping bag and seal with a rubber band or clip.
- Pipe equal (roughly 1 1/2 inch in diameter) circles of batter onto the lined baking sheets. Tap the baking sheet onto the counter a few times to release any air bubbles. Allow the macarons to rest for 30 minutes, or until the outer shell has dried a bit. In total you should have 24 macaron shells.
- Towards the end of the drying process, preheat the oven to 310°F (roughly 154°C). If you can lightly touch your finger to the macaron and it feels dry, they are ready to bake. Bake the macarons for 13-15 minutes, rotating the pan halfway through the process.
- Remove from the oven and allow to cool before carefully removing them from the parchment paper.
For the Assembly
- Remove the pan (or pans) with the champagne jello from the refrigerator and cut out 12 1" circles using the 1" circle cutter. There will be a lot of leftover champagne jello. Cut it up into any shape you'd like and serve or snack on them!
- Place about 3 Tbsp of gold sprinkles, glitter or coarse sugar onto a plate.
- Roll each 1" circle of champagne jello in the sprinkles so that the outer edge is coated in them.
- Place each jelly in the center of two macaron shells. You may stop here or add the gold design on top. For the best results, do not add the jellies between the macaron cookies until you serve to your guests, the moisture from the champagne jellies can seep into the macarons when they sit for too long.
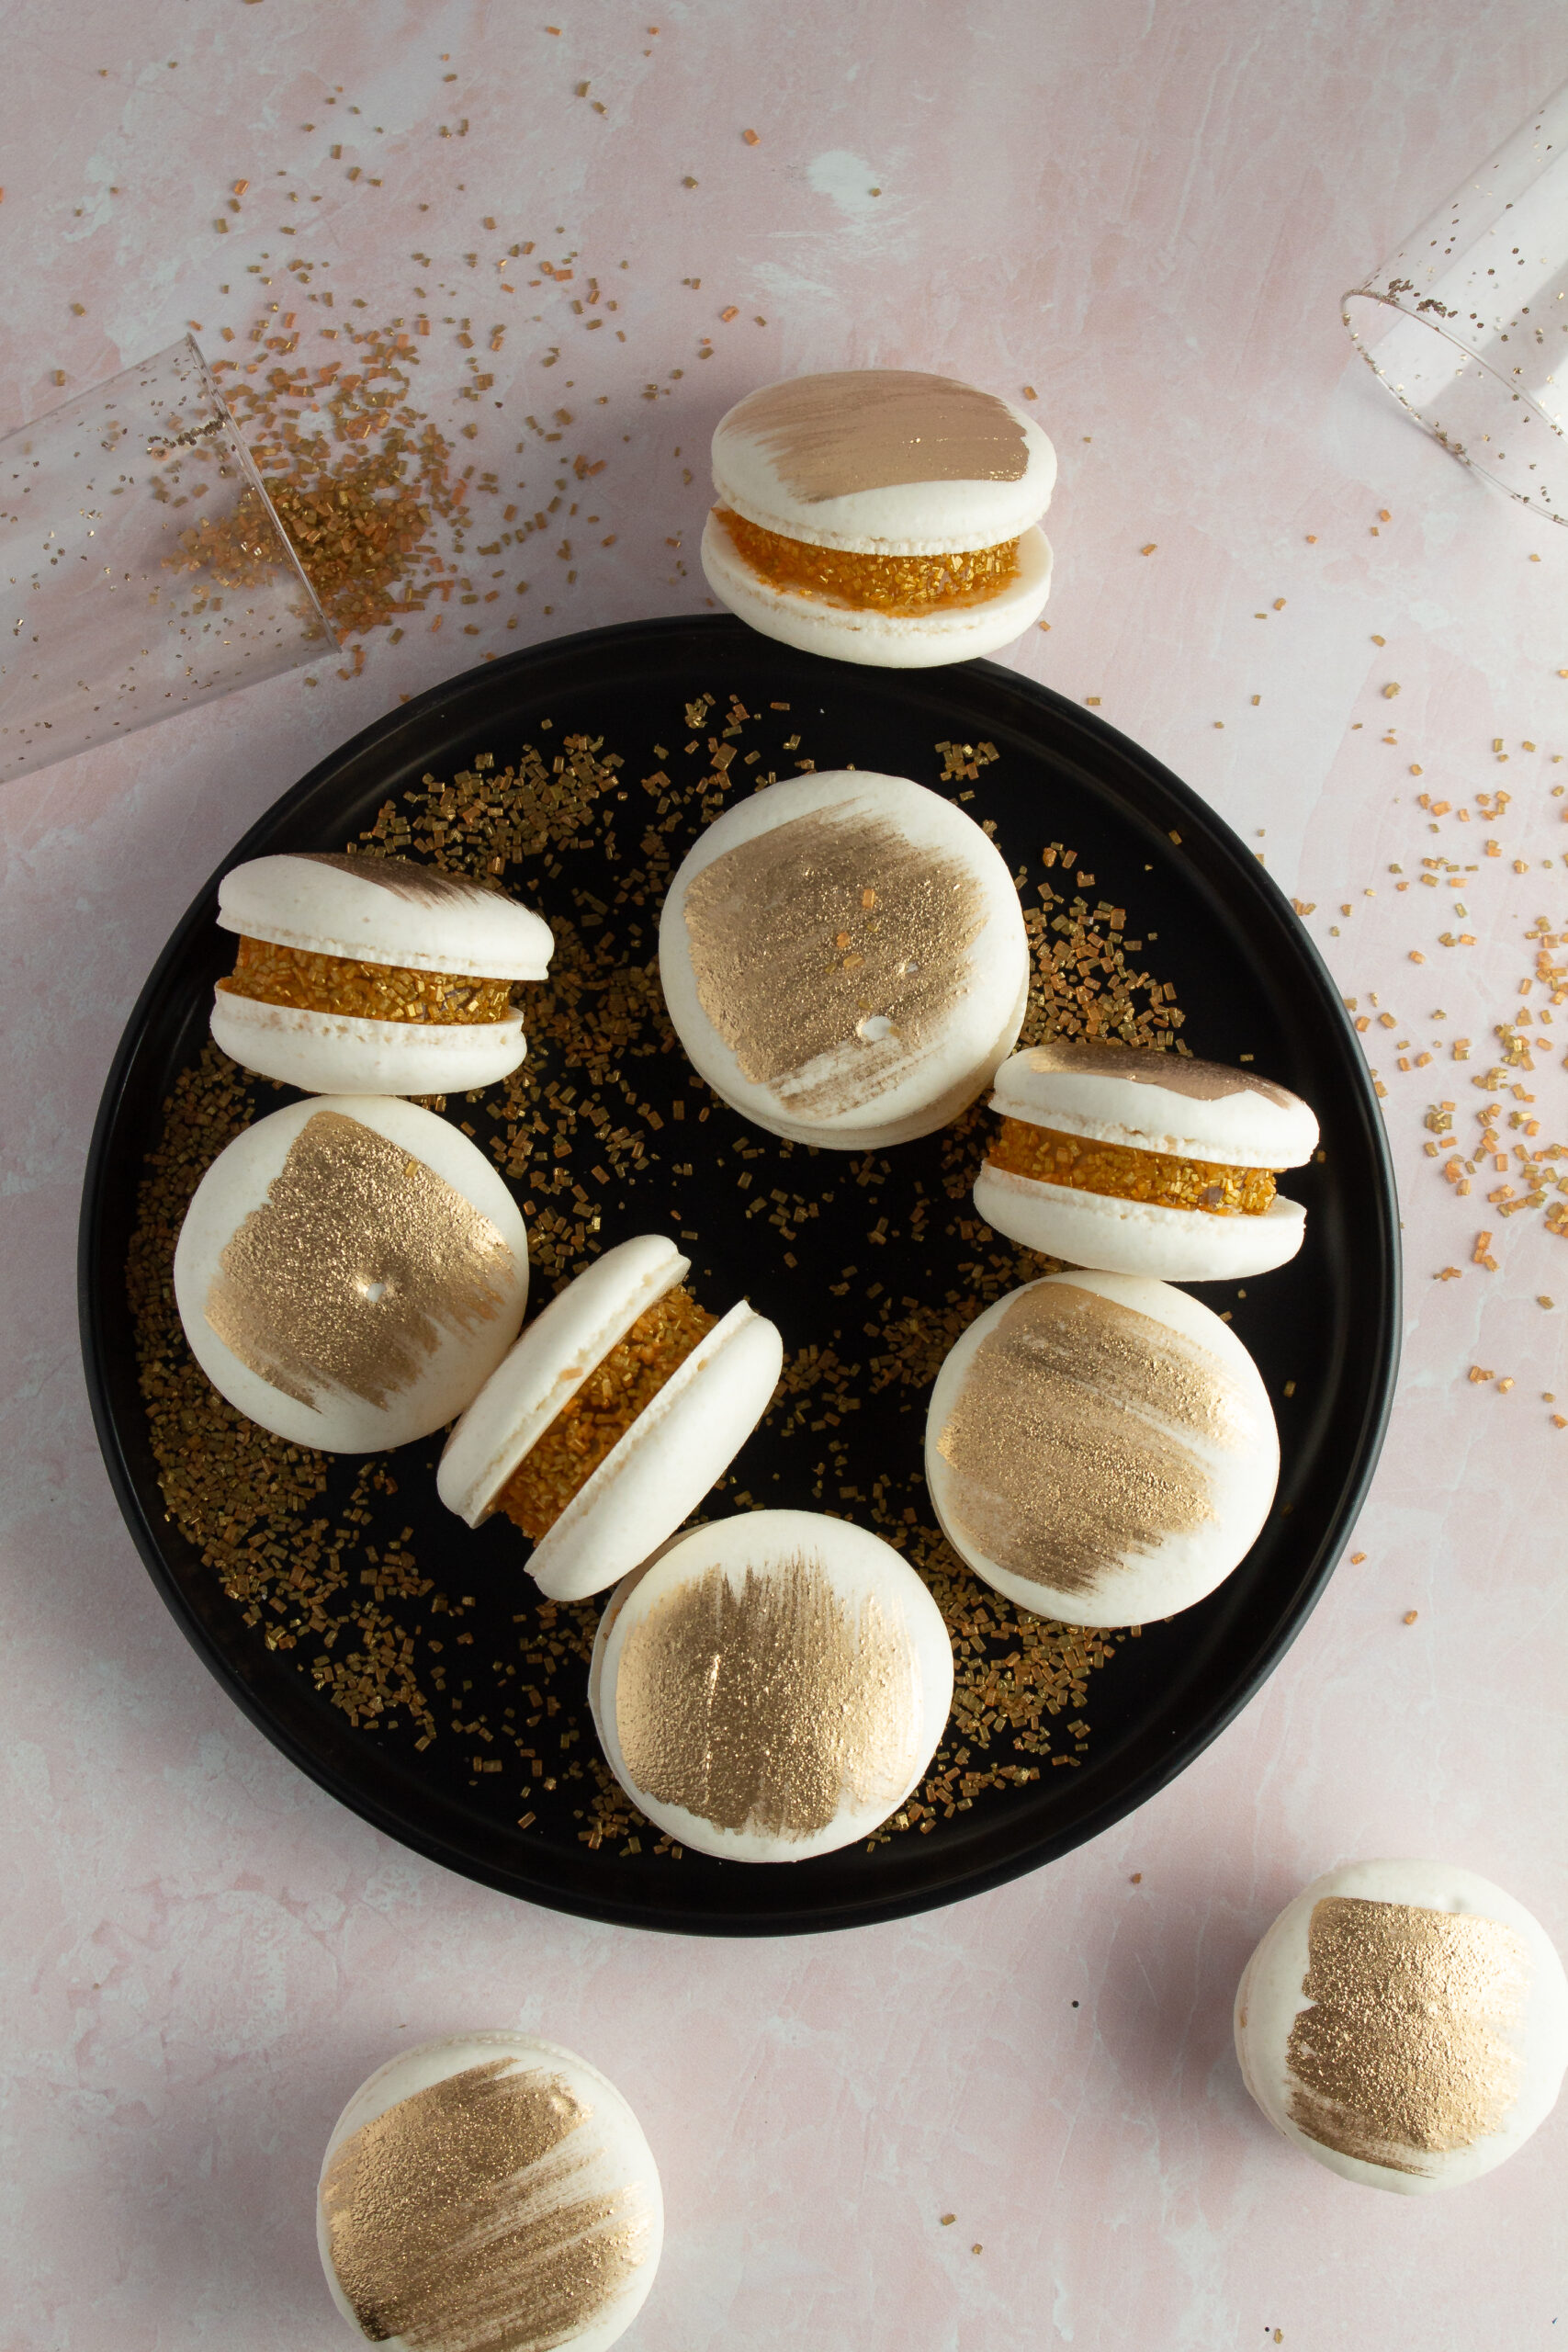
- For the gold design mix together 1 tsp of gold luster dish with 1/8 tsp of vodka or lemon juice. You may need to add another 1/8 tsp or two of liquid to achieve the right consistency. Brush the gold onto each macaron however you want!
- Serve, enjoy, and happy new year!
Leave a Reply