Imagine a fudgy cloud of chocolate that melts in your mouth and simultaneously feels like air on the tongue. This Flourless Chocolate Cake is a delicious option for both gluten free and gluten eaters alike!
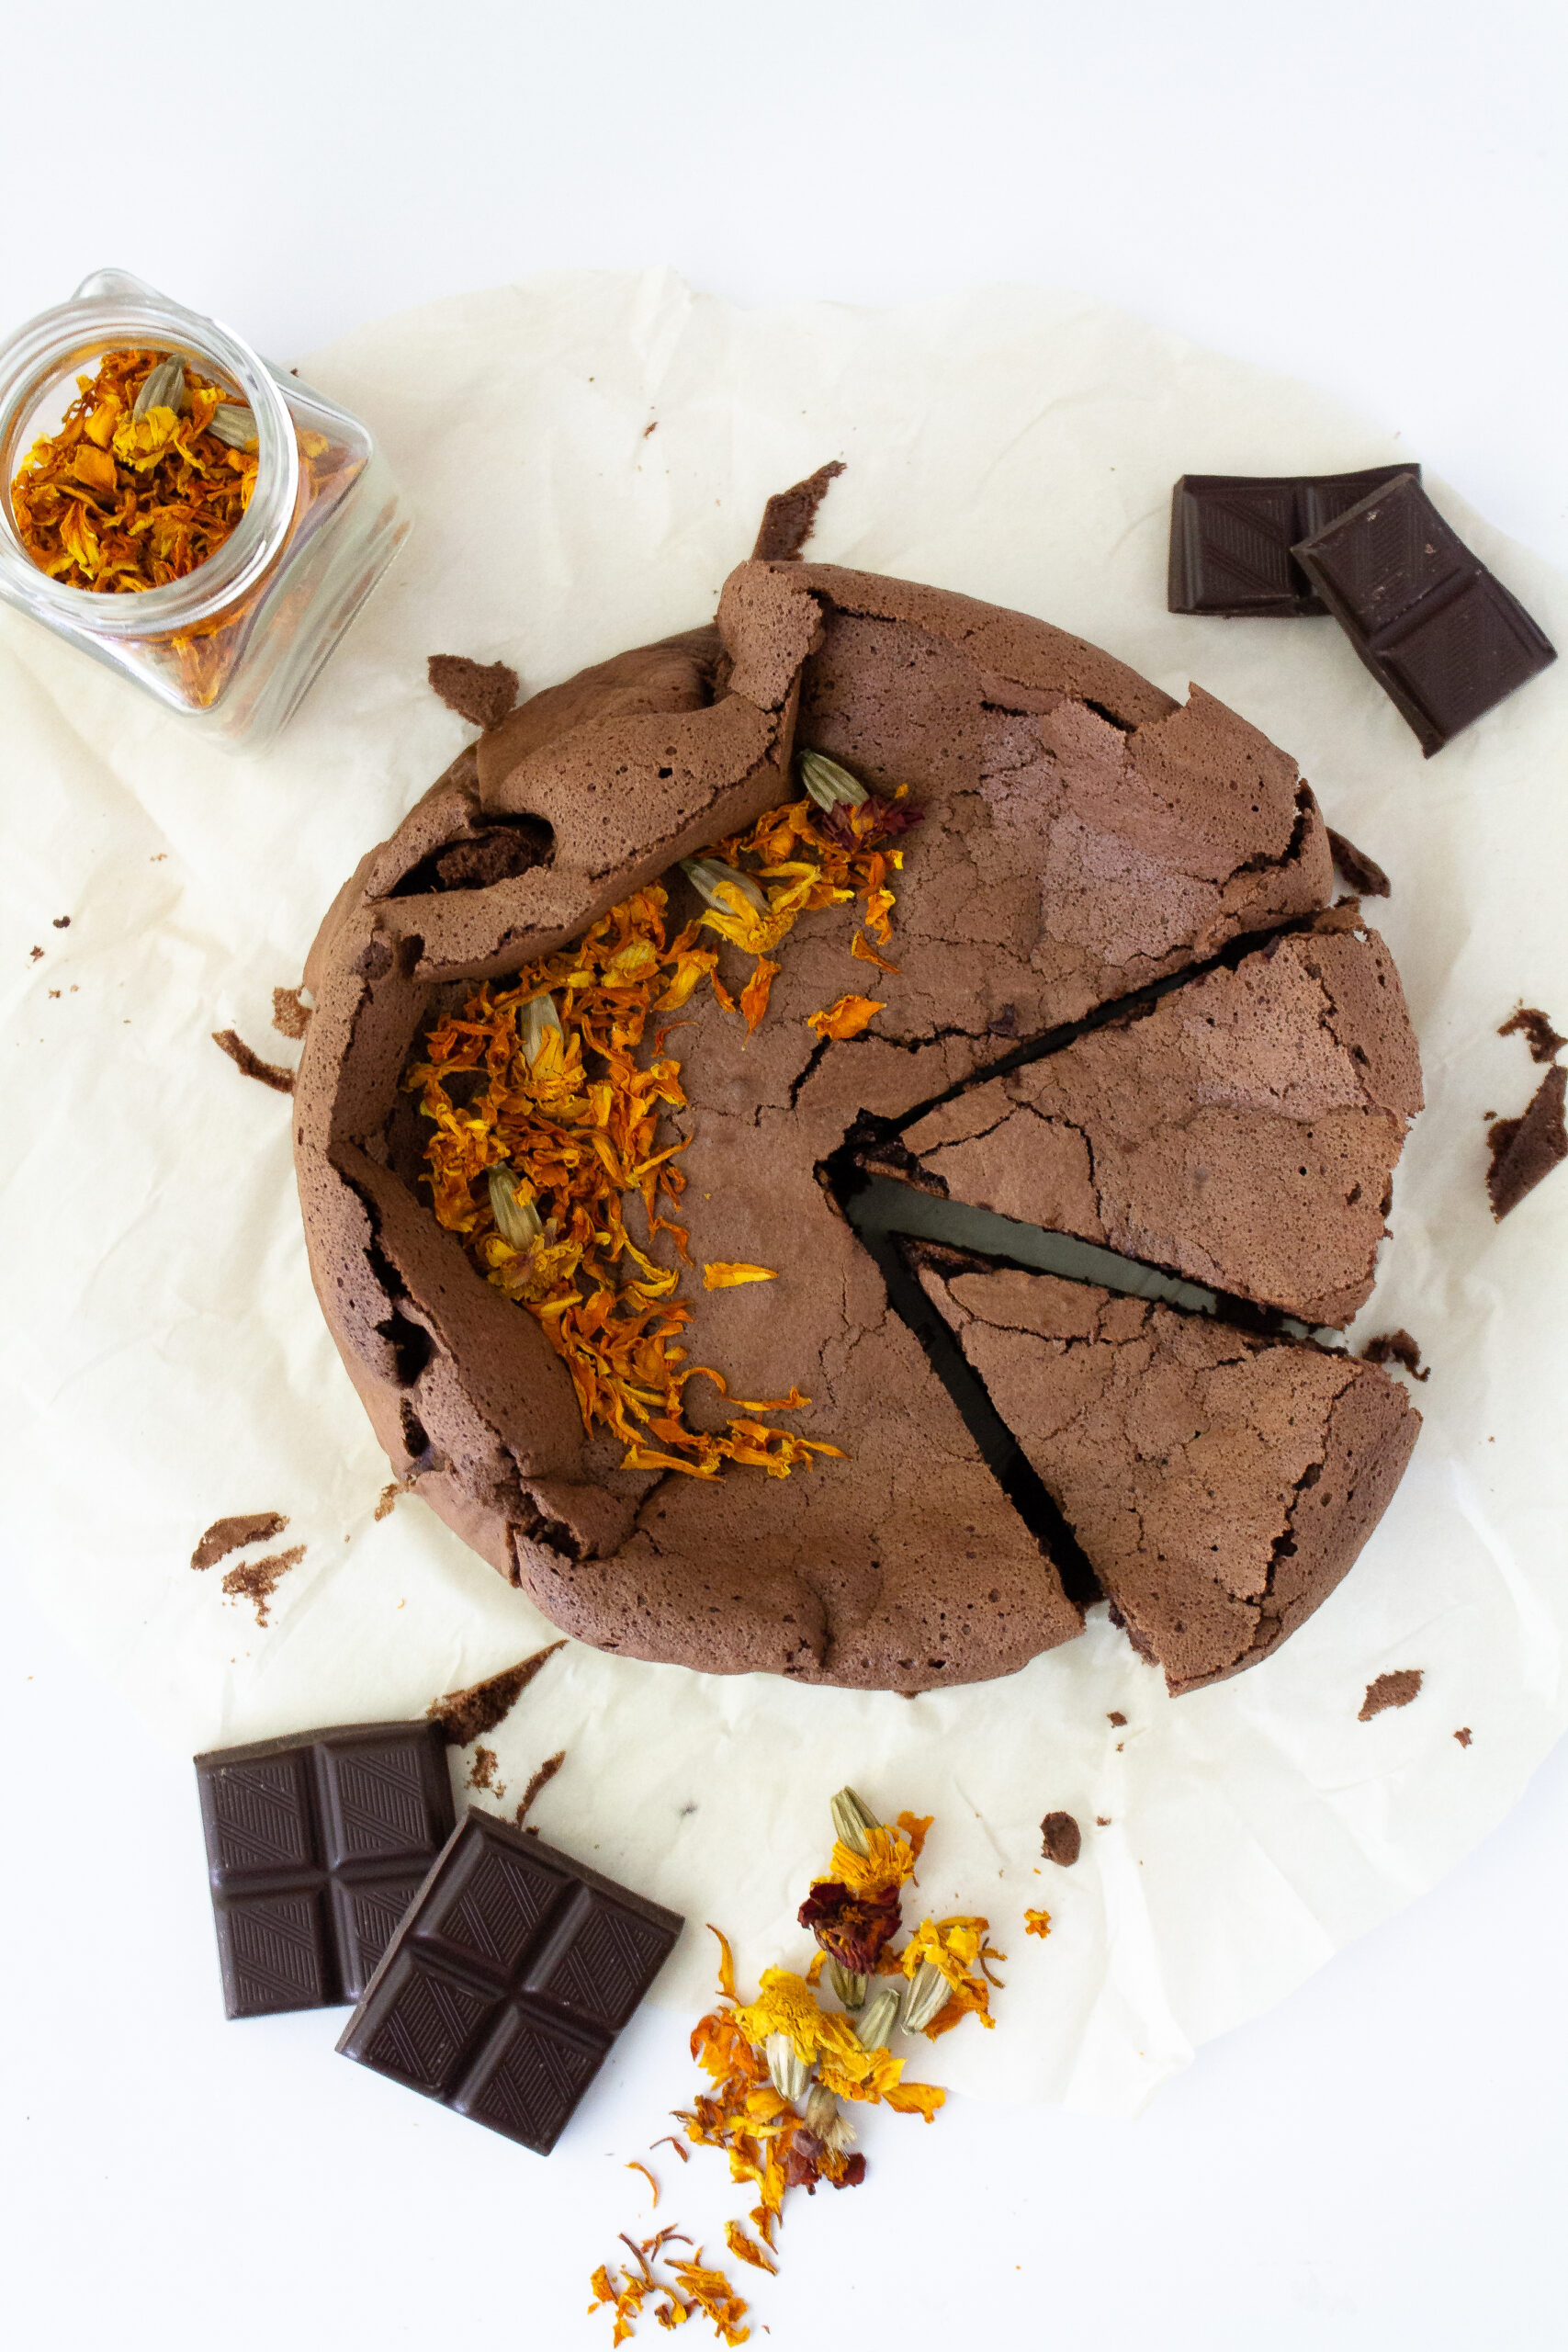
I have a confession. I don’t like chocolate. HOWEVER, this flourless chocolate cake has changed me. I am now, dare I admit, a chocolate convert. And all I want to do is swim in the pools of this silky chocolate cake batter until my dying days.
Dramatic? These are just my genuine emotions about this flourless chocolate cake. And when you make it, go back, re-read this post, and tell me if you think I’m being dramatic!
Simple yet delicious. This flourless chocolate cake is made using very few ingredients and very little kitchen equipment! We use whipped egg whites as a leavener, good quality chocolate for the best flavor and my favorite part, the folding method, for maximum therapeutic results. In the end, you will somehow have a fudgy yet light gluten free chocolate cake that you’ll no doubt be sharing with everyone….or hiding in the back of the fridge for yourself, no judgment girl.
How to nail this flourless chocolate cake, every single time.
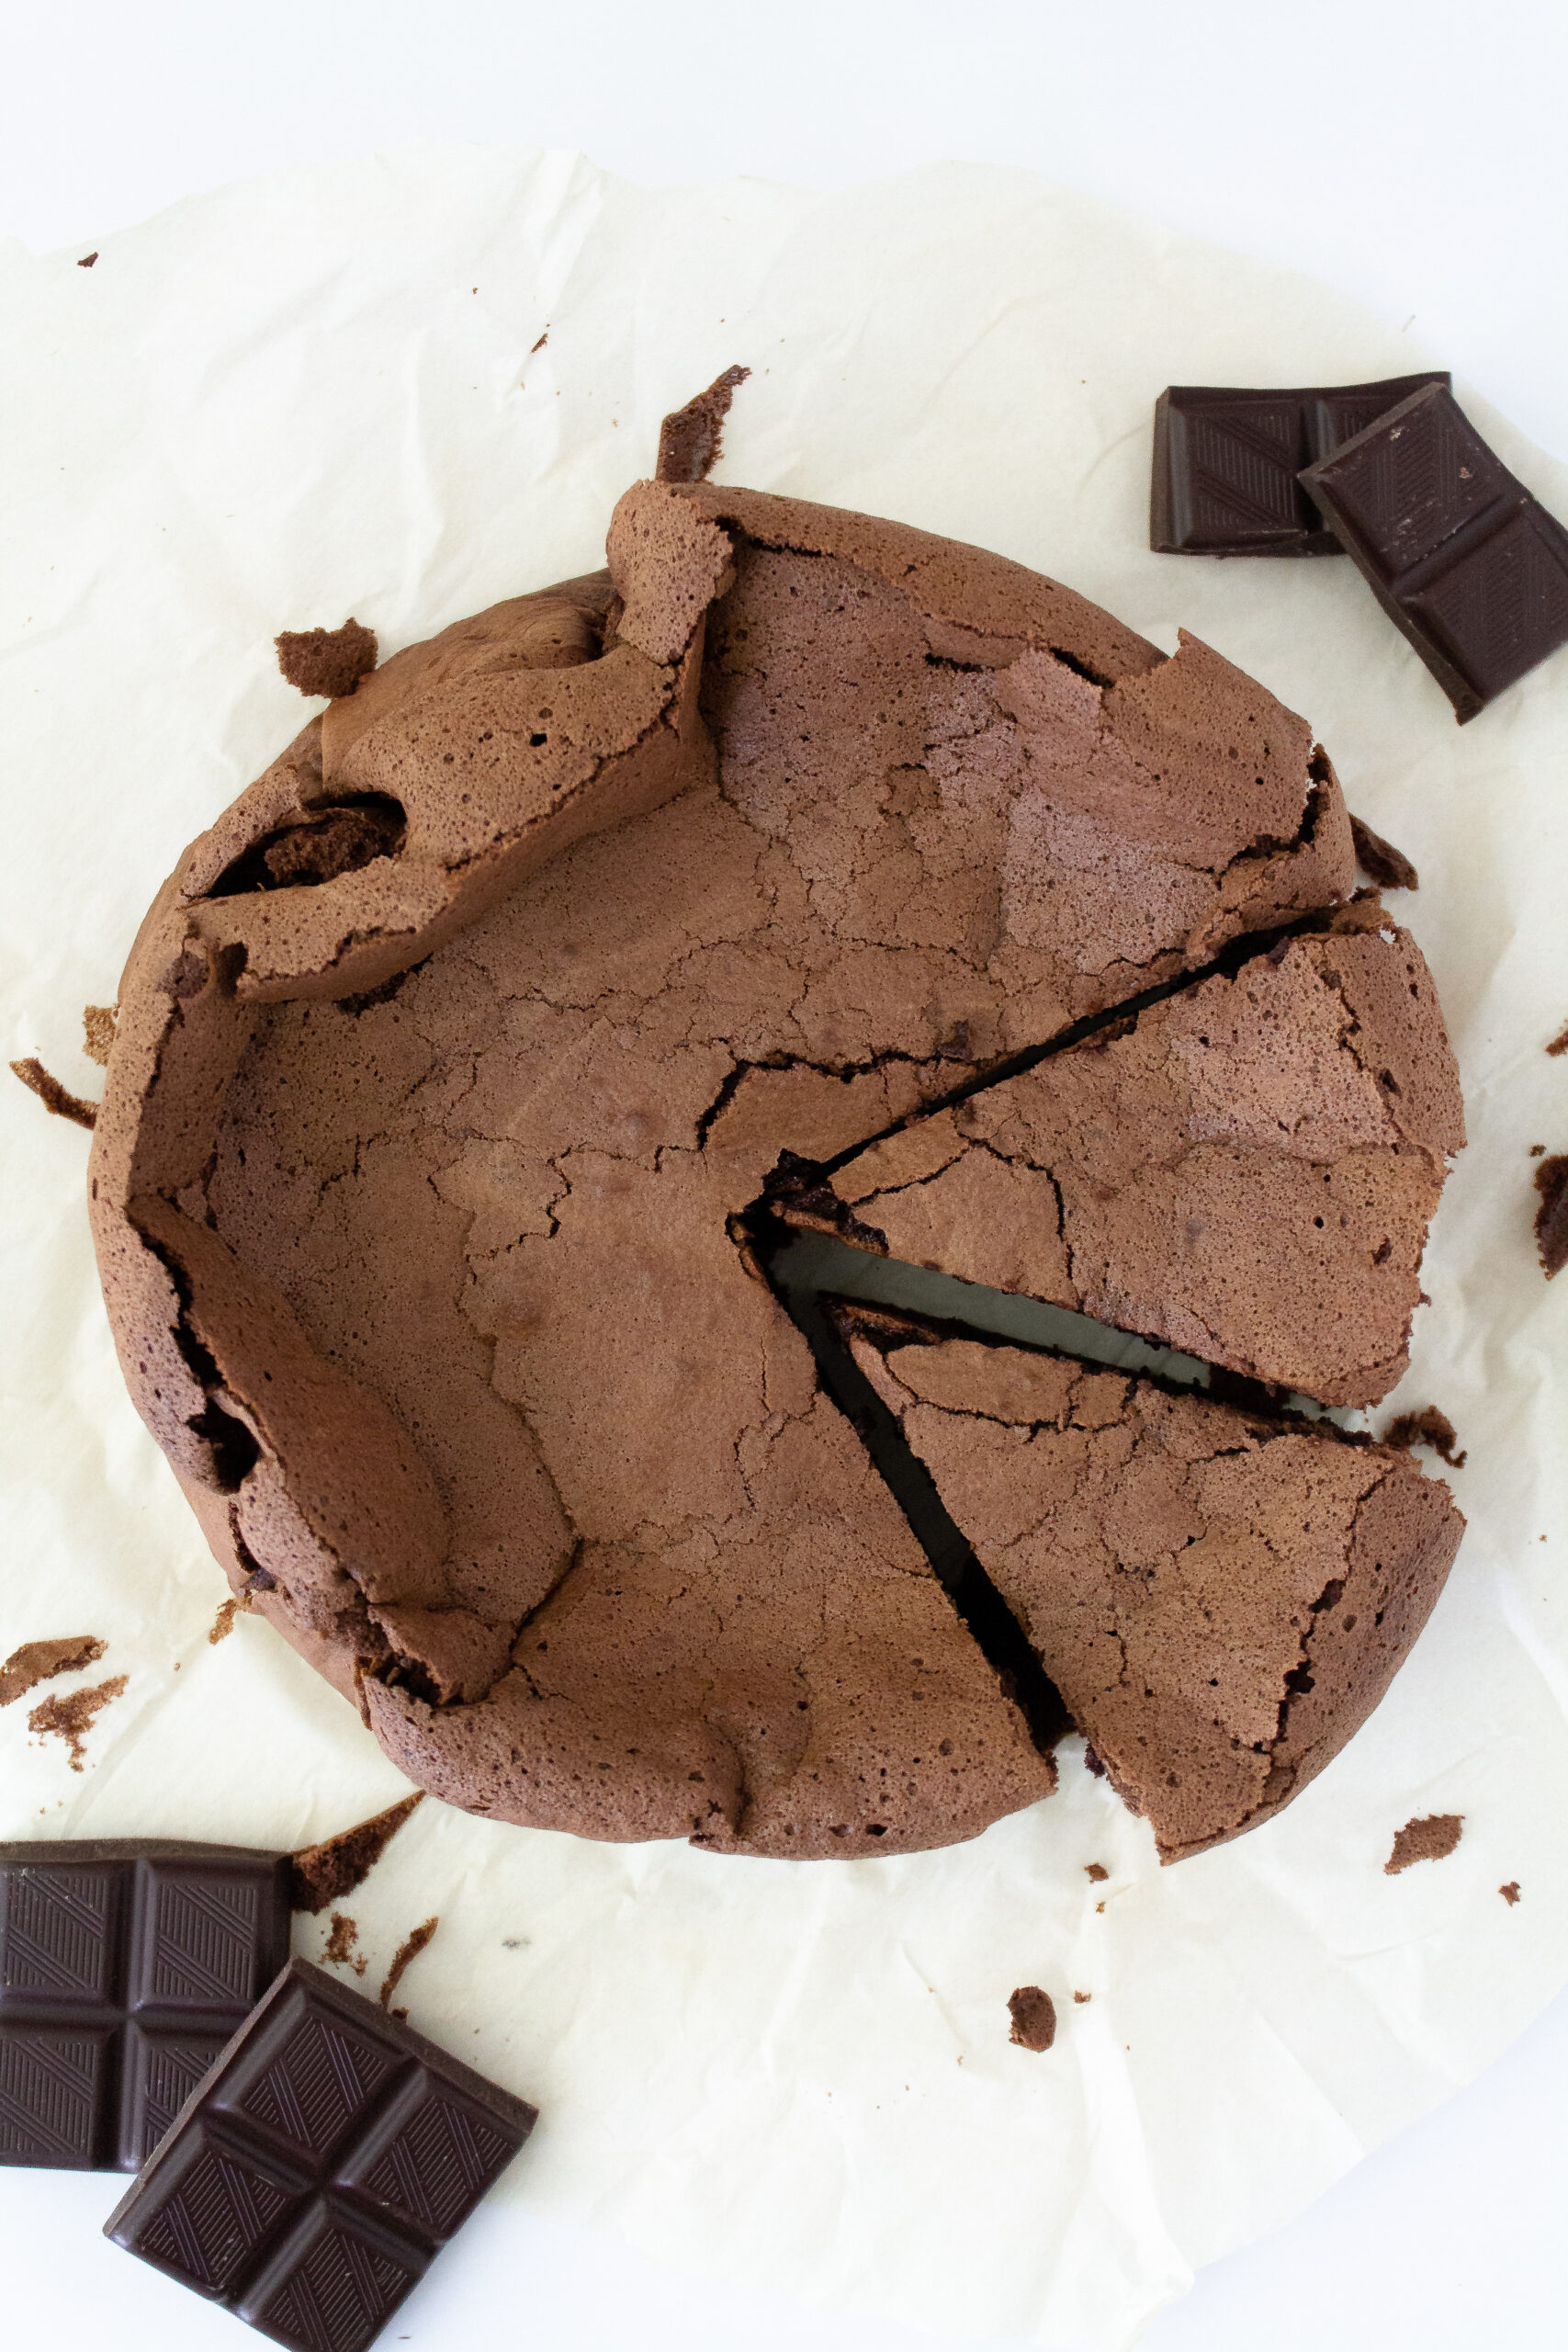
Fret not, it’s supposed to sink. Because there is no gluten in this cake, you don’t have the structure of a traditional cake. The air from the meringue will leaven the cake and then cause it to sink once it has cooled. This is normal and what leads to that gorgeous crackled top and fudgy yet airy middle.
Use good quality chocolate and butter. Since we are using so few ingredients in this flourless chocolate cake and chocolate is obviously the star flavor, be sure to grab a good quality chocolate bar and cocoa powder!
Temperature matters. After you melt your chocolate and butter it will be hot. It is important to not mix in the egg yolks right away so that the mixture does not cook the eggs. It is also important not to wait too long to add the egg yolks, so that the butter and chocolate mixture does not get too thick to fold in the egg whites later on. I recommend measuring out the brown sugar, cocoa powder and vanilla while the chocolate is cooling. Then mix in the sugar and cocoa powder first, helping the mixture to cool. Feel the bowl with your hands and once it has cooled slightly, add in the egg yolks one at a time for the best results.

Do not overmix the batter. I know, folding meringue into melted chocolate is fun, but we want to fold gently and stop mixing once there are no more streaks of meringue or chocolate mixture visible. Overmixing can deflate the meringue and affect the rise and final texture of the cake.
Patience, always. When you remove this chocolate dream cake from the oven there will be a temptation to dig into it while it is still hot. But take heart! Have patience! Allow the cake to cool for at least 30-45 minutes before you enjoy it. If you dig into it too soon it will not have set up correctly inside.
Have fun, like seriously. I can’t say it enough, baking is relaxing. It’s the perfect pastime after a busy work week or a stressful day. Something about folding whipped egg whites into the melted chocolate is just so soothing to me. I hope you take the time to enjoy that moment when you’re baking this cake.
A baby note on texture
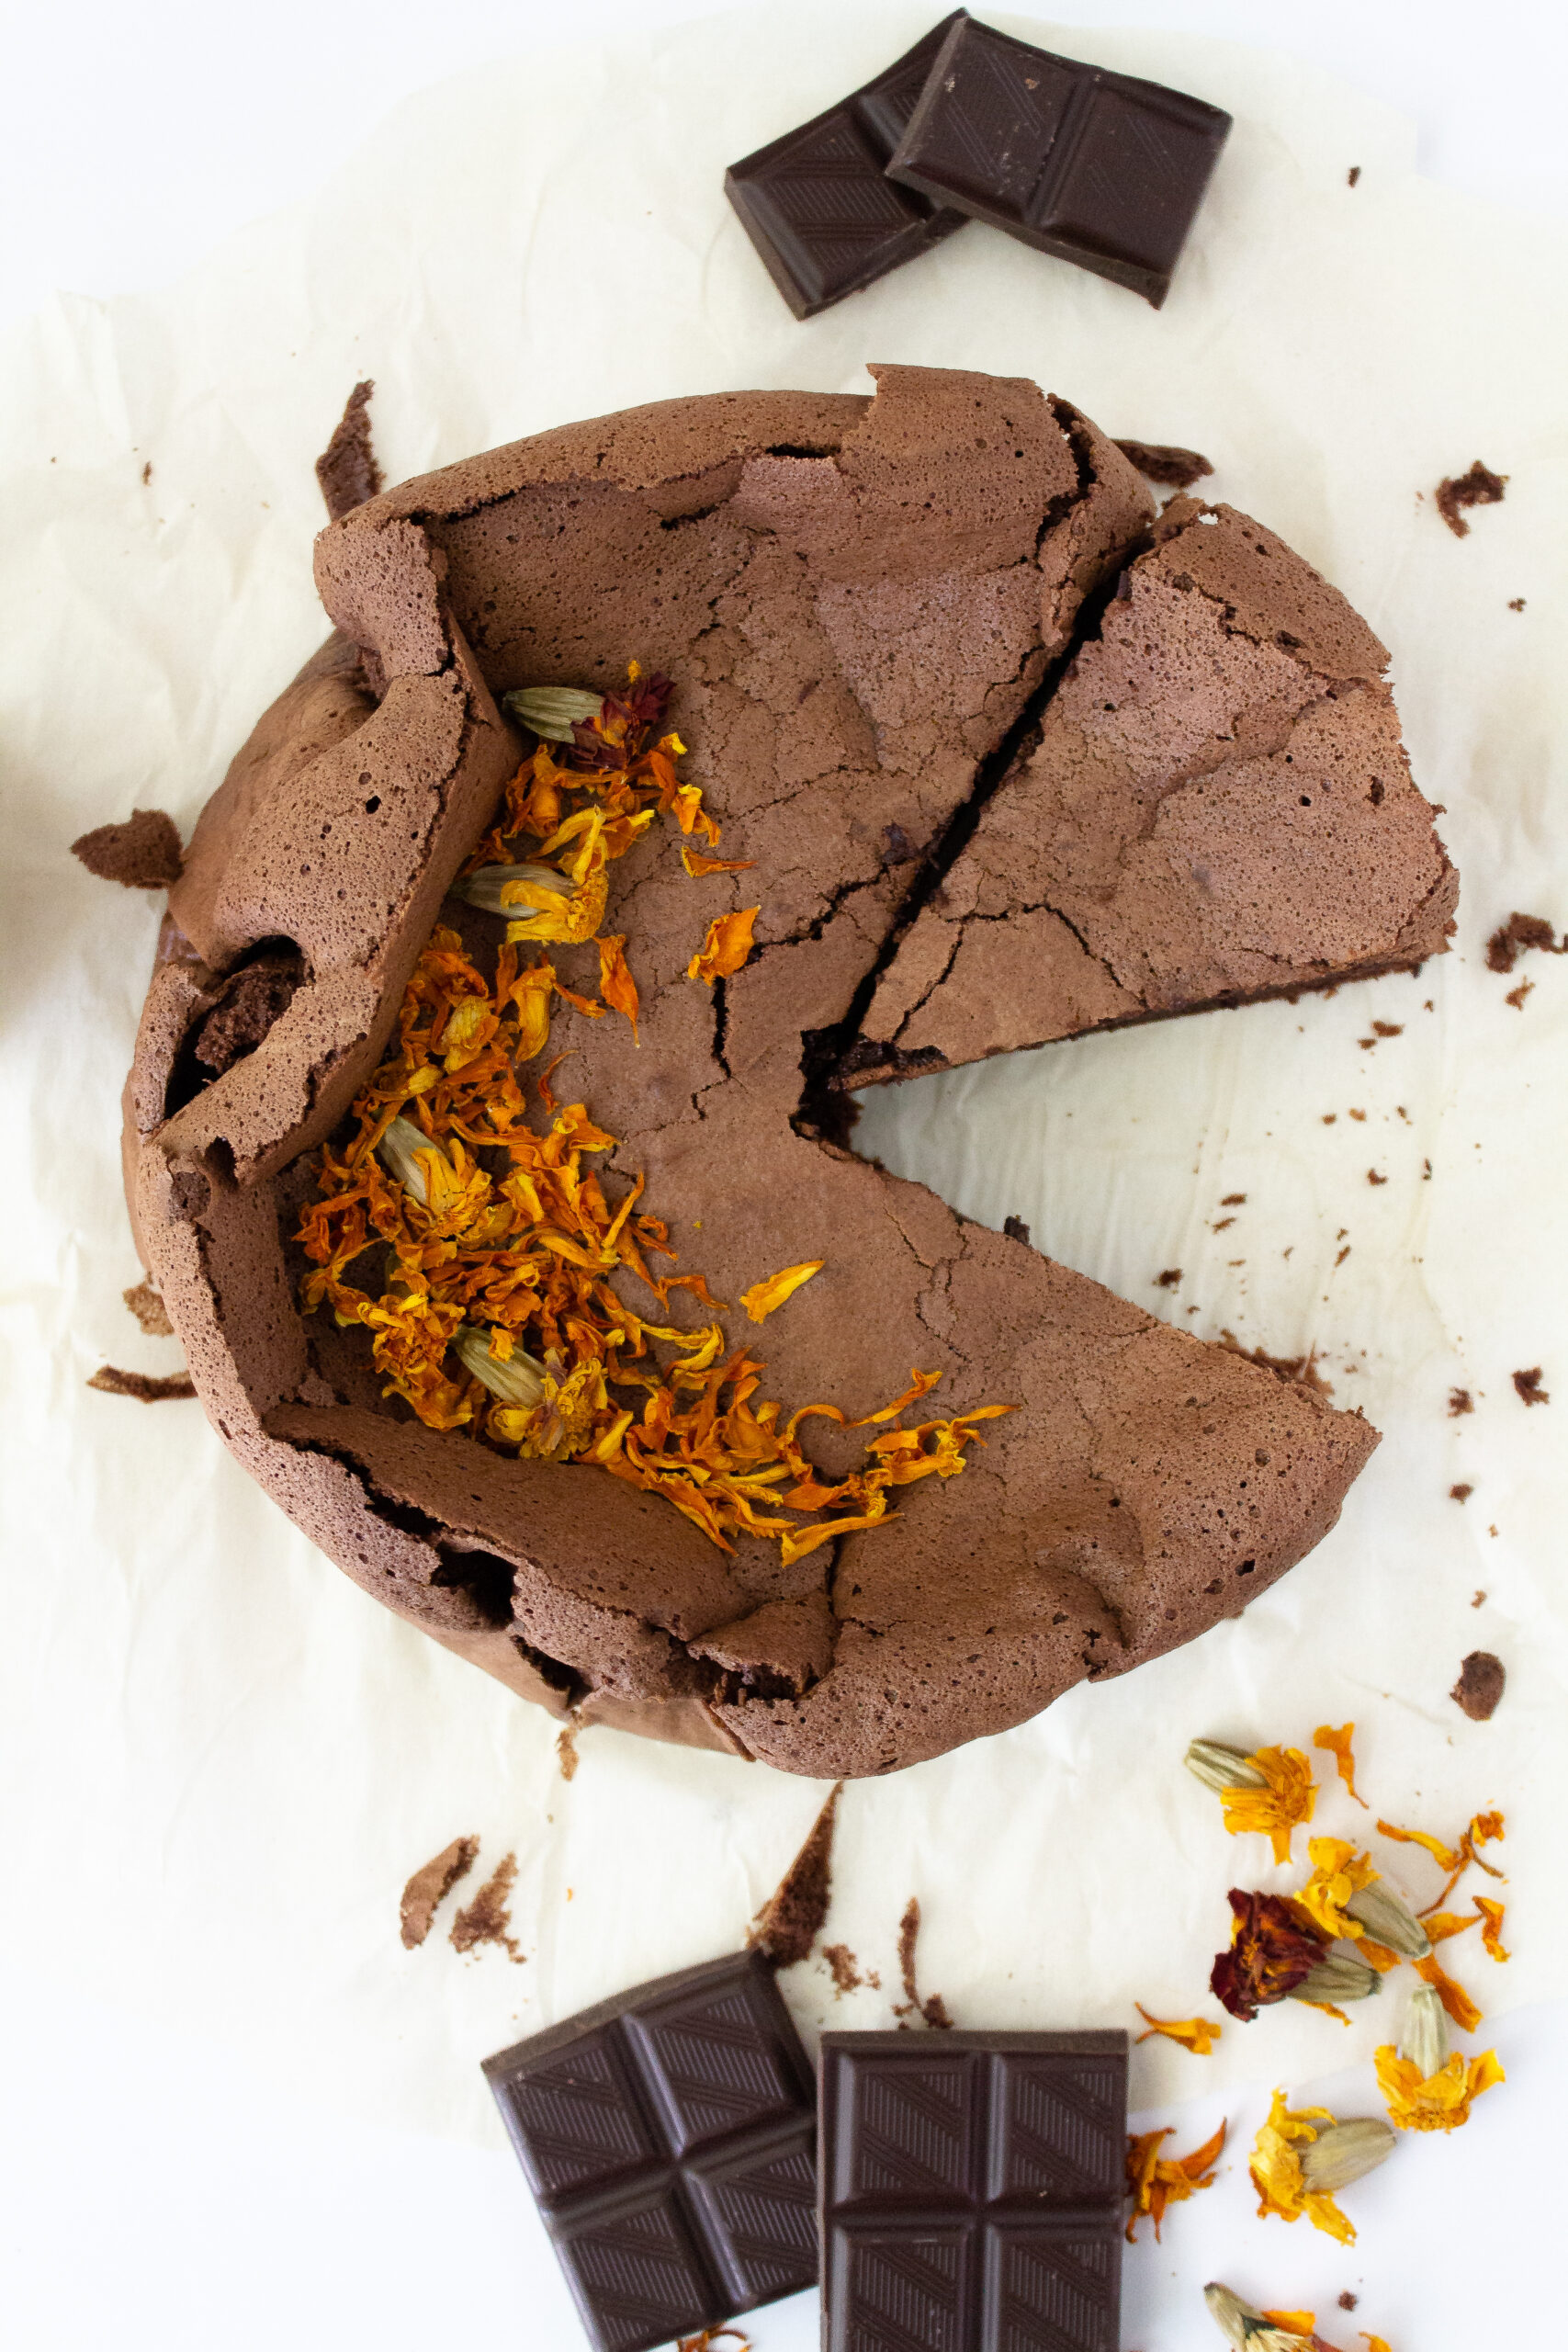
I think I’ve made it clear that the texture of this cake is really special. It is simultaneously fudgy and fluffy and so sooo good. But if you want to manipulate the texture to your liking, it’s all about how you store this cake.
If you want a fluffier cake, store it in an airtight container on the counter.
If you want a fudgier cake, store it in an airtight container in the refrigerator.
That’s it from me, my baking friends, happy flourless chocolate baking!
Can baking be therapeutic?
I often talk about baking being a therapeutic hobby but I’d like to share more about why I feel that way as well as how it can become a relaxing hobby for you!
When I bake, it’s my creative time. I may put on my favorite nostalgic movie or tv show in the background, or a Spotify playlist titled “French café” and leave my troubles behind.
Sometimes I pour myself a glass of wine and light a candle. Then, with the mood set, the mixing of batter, kneading of dough and smoothing of icing is my only care in the world.
When I say baking is therapeutic, sometimes people respond saying “not for me it isn’t!” I completely understand why someone might feel that way. There have been plenty of times where I spend hours on something only for it to fail or something breaks that shouldn’t or I forget to clean as I go and am left with a disastrous kitchen to clean.
So I should in reality, have a caveat to my “baking as therapy” claims…
Baking is therapy when you curate the experience to be relaxing.
How do you curate that relaxing experience for yourself, you ask?
How to make baking therapeutic…
- Prepare your mind–know that it’s okay if the cake doesn’t rise, or the butter wasn’t chilled enough. Shift your mindset from seeing your failures as mistakes to seeing them as opportunities for learning.
- Prepare your space–I cannot and will not bake on top of a messy kitchen. If I were to do this I would be starting from a place of stress! Take an extra 10 minutes to clean any dishes in the sink and wipe down the counters, this small effort will pay you back greatly in brain space and clarity.
- Clean as you go! I’ll tell you the one way to make baking stressful and tiresome, is to not clean as you go! After I use each ingredient that I no longer need, I put it away.
After each major step in the process, I wipe down the counters and put dishes that are no longer needed in the sink. If there is chill time or baking time I don’t sit, I do the cleaning then. Make this shift and you’ll really notice the difference!
By the way, this last tip really helped me when I was on The Great American Baking Show–and the crew that cleaned up behind us made a point to tell me that my workspace was always so clean they didn’t have much to do!
I would reply by saying “it’s how I stay sane in this tent!”
Additional suggestions:
*Maybe try printing off the recipe instead of looking at it on your phone, tablet or laptop and use this time to unplug from technology for a few hours
**Invite friends or family over to share your creation with you. Time spent with loved ones over food is a universally special experience
And that’s how I discovered baking for my mental health. If you try any of these suggestions, let me know how it went for you! I’m really invested in spreading this message to others in hopes that baking will enhance your lives more than it already does!
Flourless Chocolate Cake
Ingredients
For the Flourless Chocolate Cake
- 7 oz semisweet chocolate broken into pieces
- 1/2 cup (113g) unsalted butter 1 stick, cubed
- 6 large eggs separated
- 1/4 cup (60g) brown sugar
- 1/4 cup (28g) cocoa powder
- 2 tsp vanilla extract
- pinch of salt
- 1 cup (200g) granulated sugar
Instructions
For the Flourless Chocolate Cake
- Preheat the oven to 325°F (roughly 163°C) and line an 8" cake pan with parchment paper by pushing a sheet of parchment paper into the bottom of the pan and allowing the excess to fold over the sides. There should be no part of the pan that isn't covered by this sheet of parchment paper.
- Create a bain marie by adding water to a small saucepan about 1" high. Bring the water to a light simmer. Break 7oz of semisweet chocolate and cut 1/2 cup (113g) (1 stick) of unsalted butter into cubes and place both ingredients into a large bowl. Fit the bowl with the chocolate and butter over the saucepan and allow to melt, slowly. Optionally, use the microwave in 30 second intervals to melt the butter and chocolate.
- While the chocolate is melting, separate 6 eggs placing the yolks in a small bowl and the whites in a medium bowl. Be sure not to get any yolk into the egg whites. Optionally, wipe out the medium bowl with either vinegar or lemon juice and a paper towel, to make sure there is no fat residue in the bowl. This will ensure that the meringue will whip properly.
- By this time the chocolate and butter should be completely melted. Remove the mixture from the heat and set aside to cool slightly.*
- Measure out 1/4 cup (60g) of brown sugar, 1/4 cup (28g) of cocoa powder and 2 tsp of vanilla extract while waiting for the chocolate butter mixture to cool slightly.
- Using a spatula, mix in the brown sugar, cocoa powder and vanilla extract. Add the egg yolks one by one, mixing until incorporated.
- Add a pinch of salt to the bowl with the egg whites and begin to whip the egg whites using a hand mixer. Whip until the egg whites resemble a bubble bath.
- With the mixer still running, slowly pour in 1 cup (200g) of granulated sugar, a little at a time. Then whip until stiff peaks form.
- Scoop a few scoops of meringue into the chocolate mixture and begin to fold the two together using a spatula. The motion of folding involves scraping the spatula around the outer edge of the bowl, down through the bottom middle, bringing what is on the bottom of the bowl to the top. Mix gently so as to not deflate the batter.
- Repeat this process until all of the meringue is incorporated and the batter is homogeneous. Pour the batter into the lined cake pan, making sure not to overfill the pan.
- Once your batter has gone into the pan, cut the excess edges of parchment, leaving enough lip to be able to grab the finished cake in the end.
- Bake for 45-50 minutes, or until there is just a slight wobble in the center of the cake.
- Remove from the oven and allow to cool at room temperature for 30 minutes to 1 hour. The cake will sink, this is normal.
- Serve by itself, with whipped cream, ice cream or berries. Enjoy!

[…] Looking for more gluten free recipes? Try my flourless chocolate cake! […]