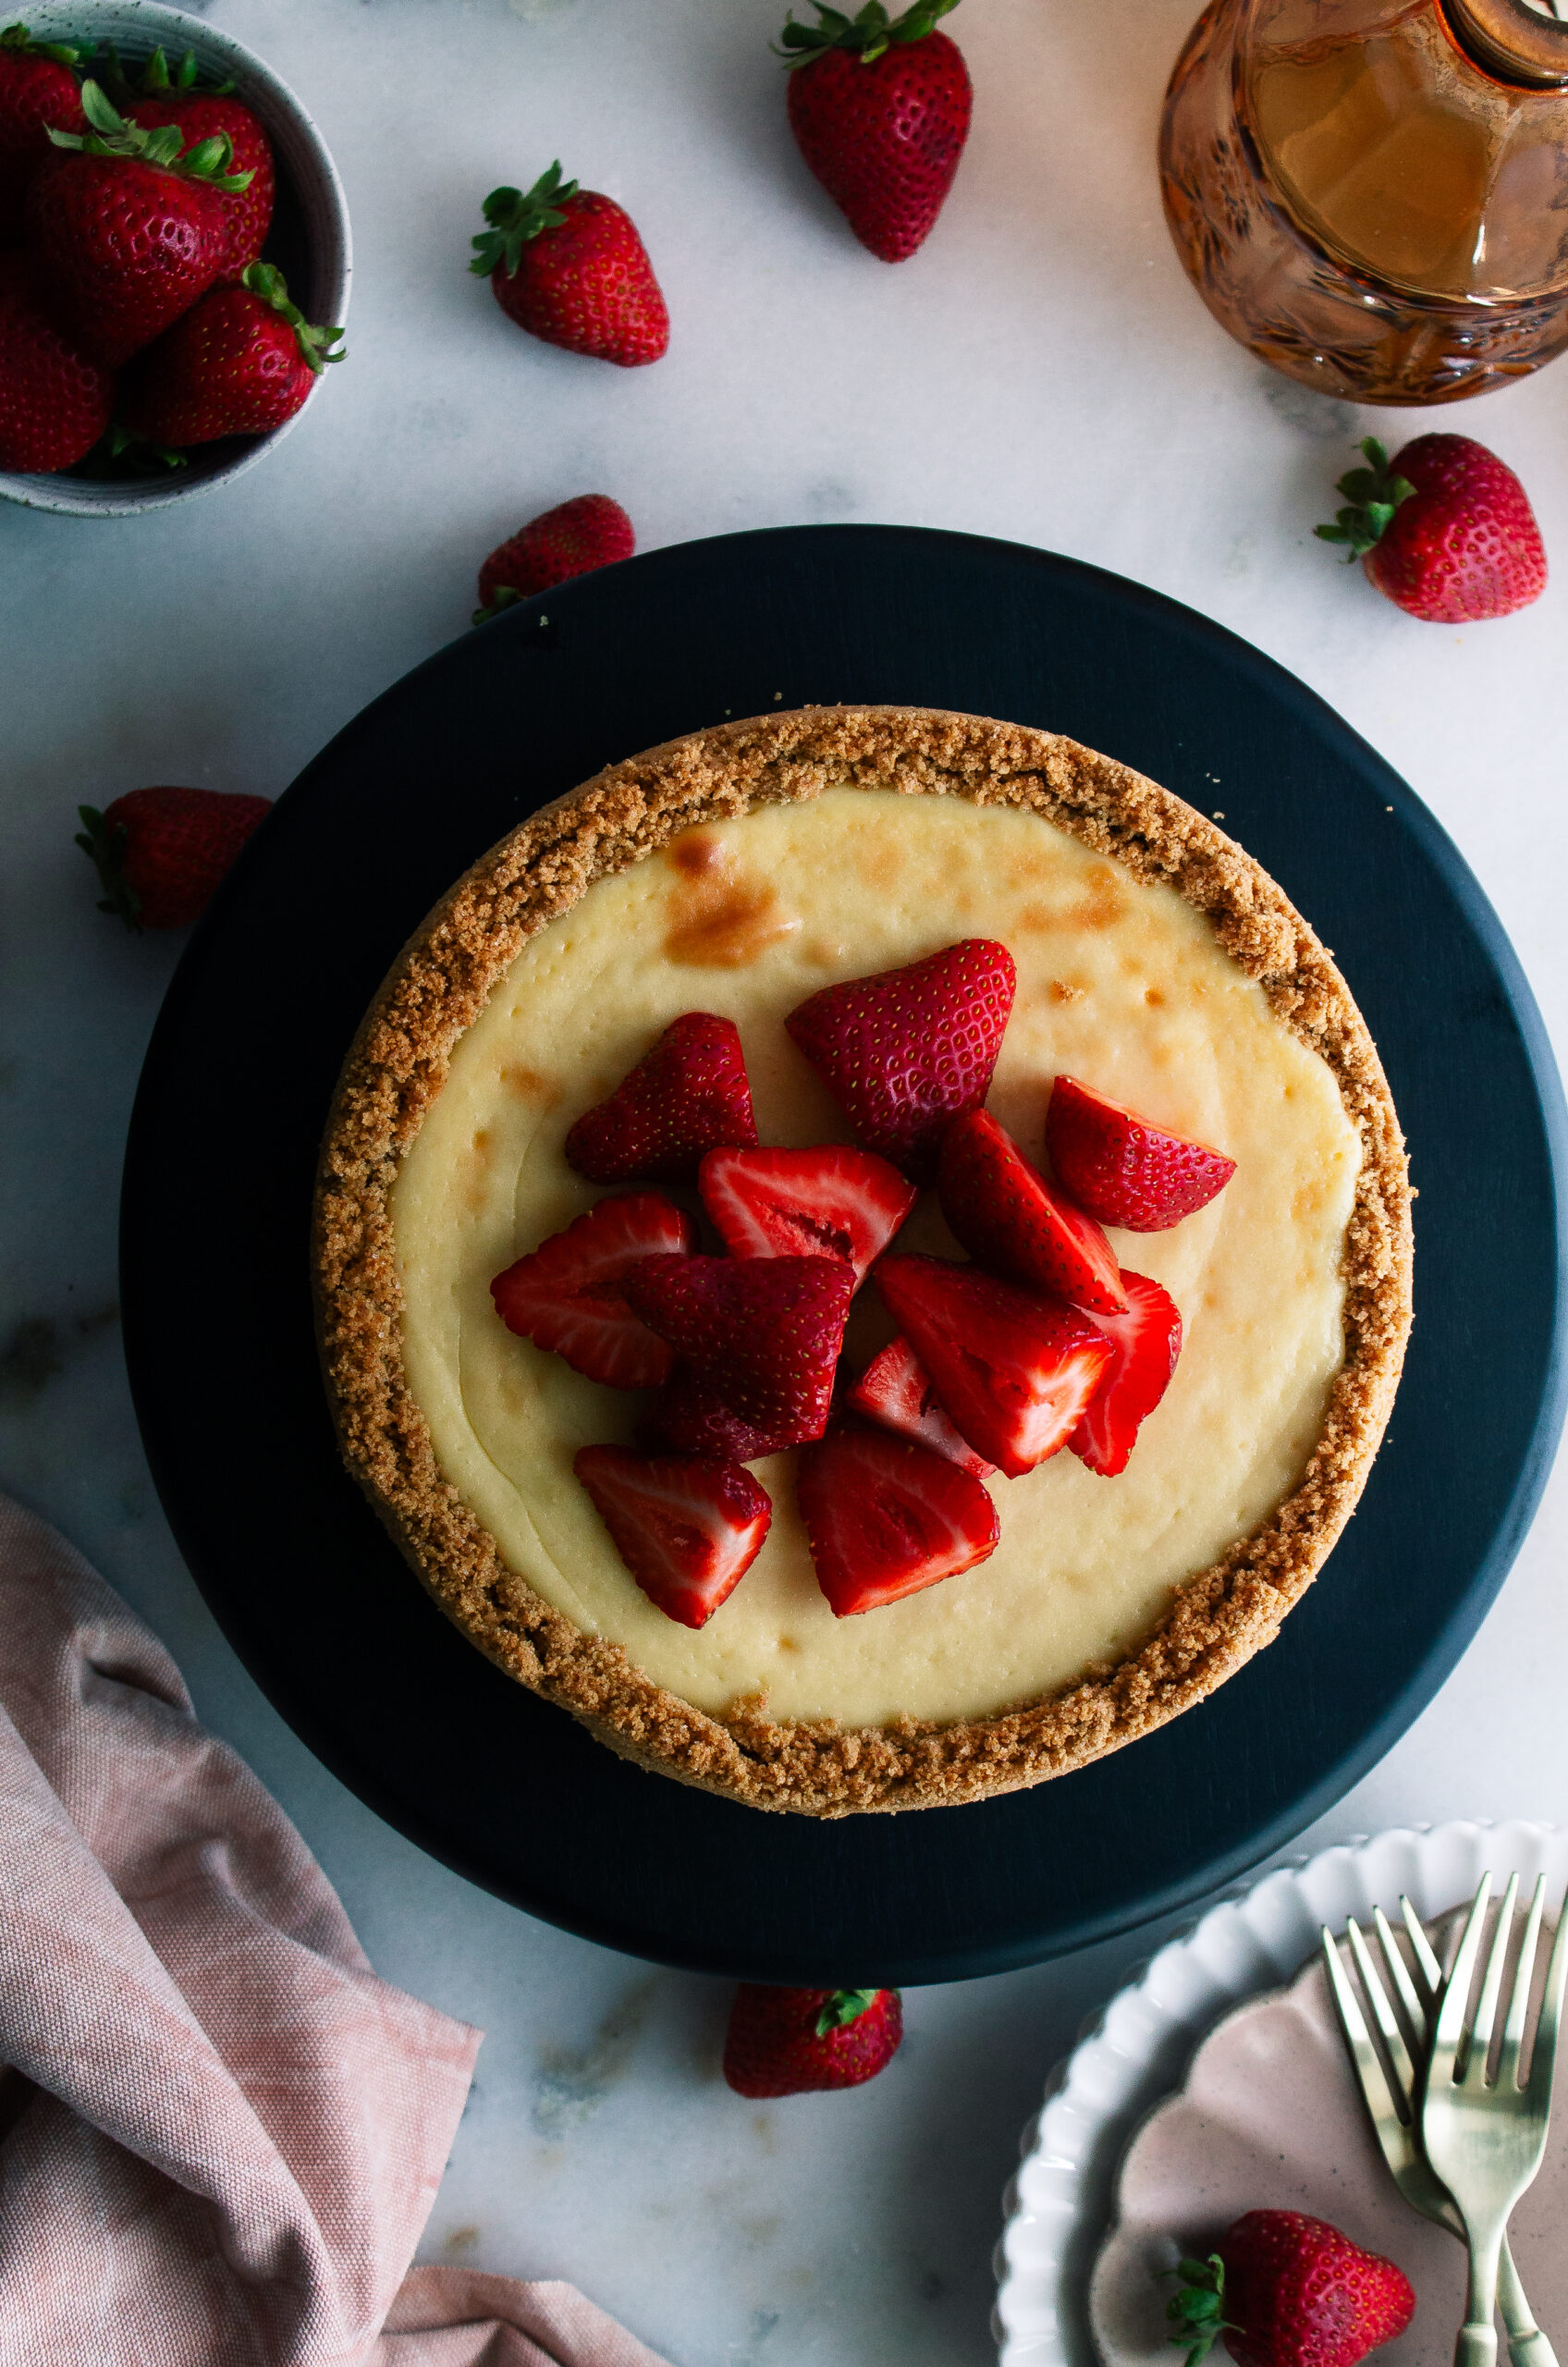
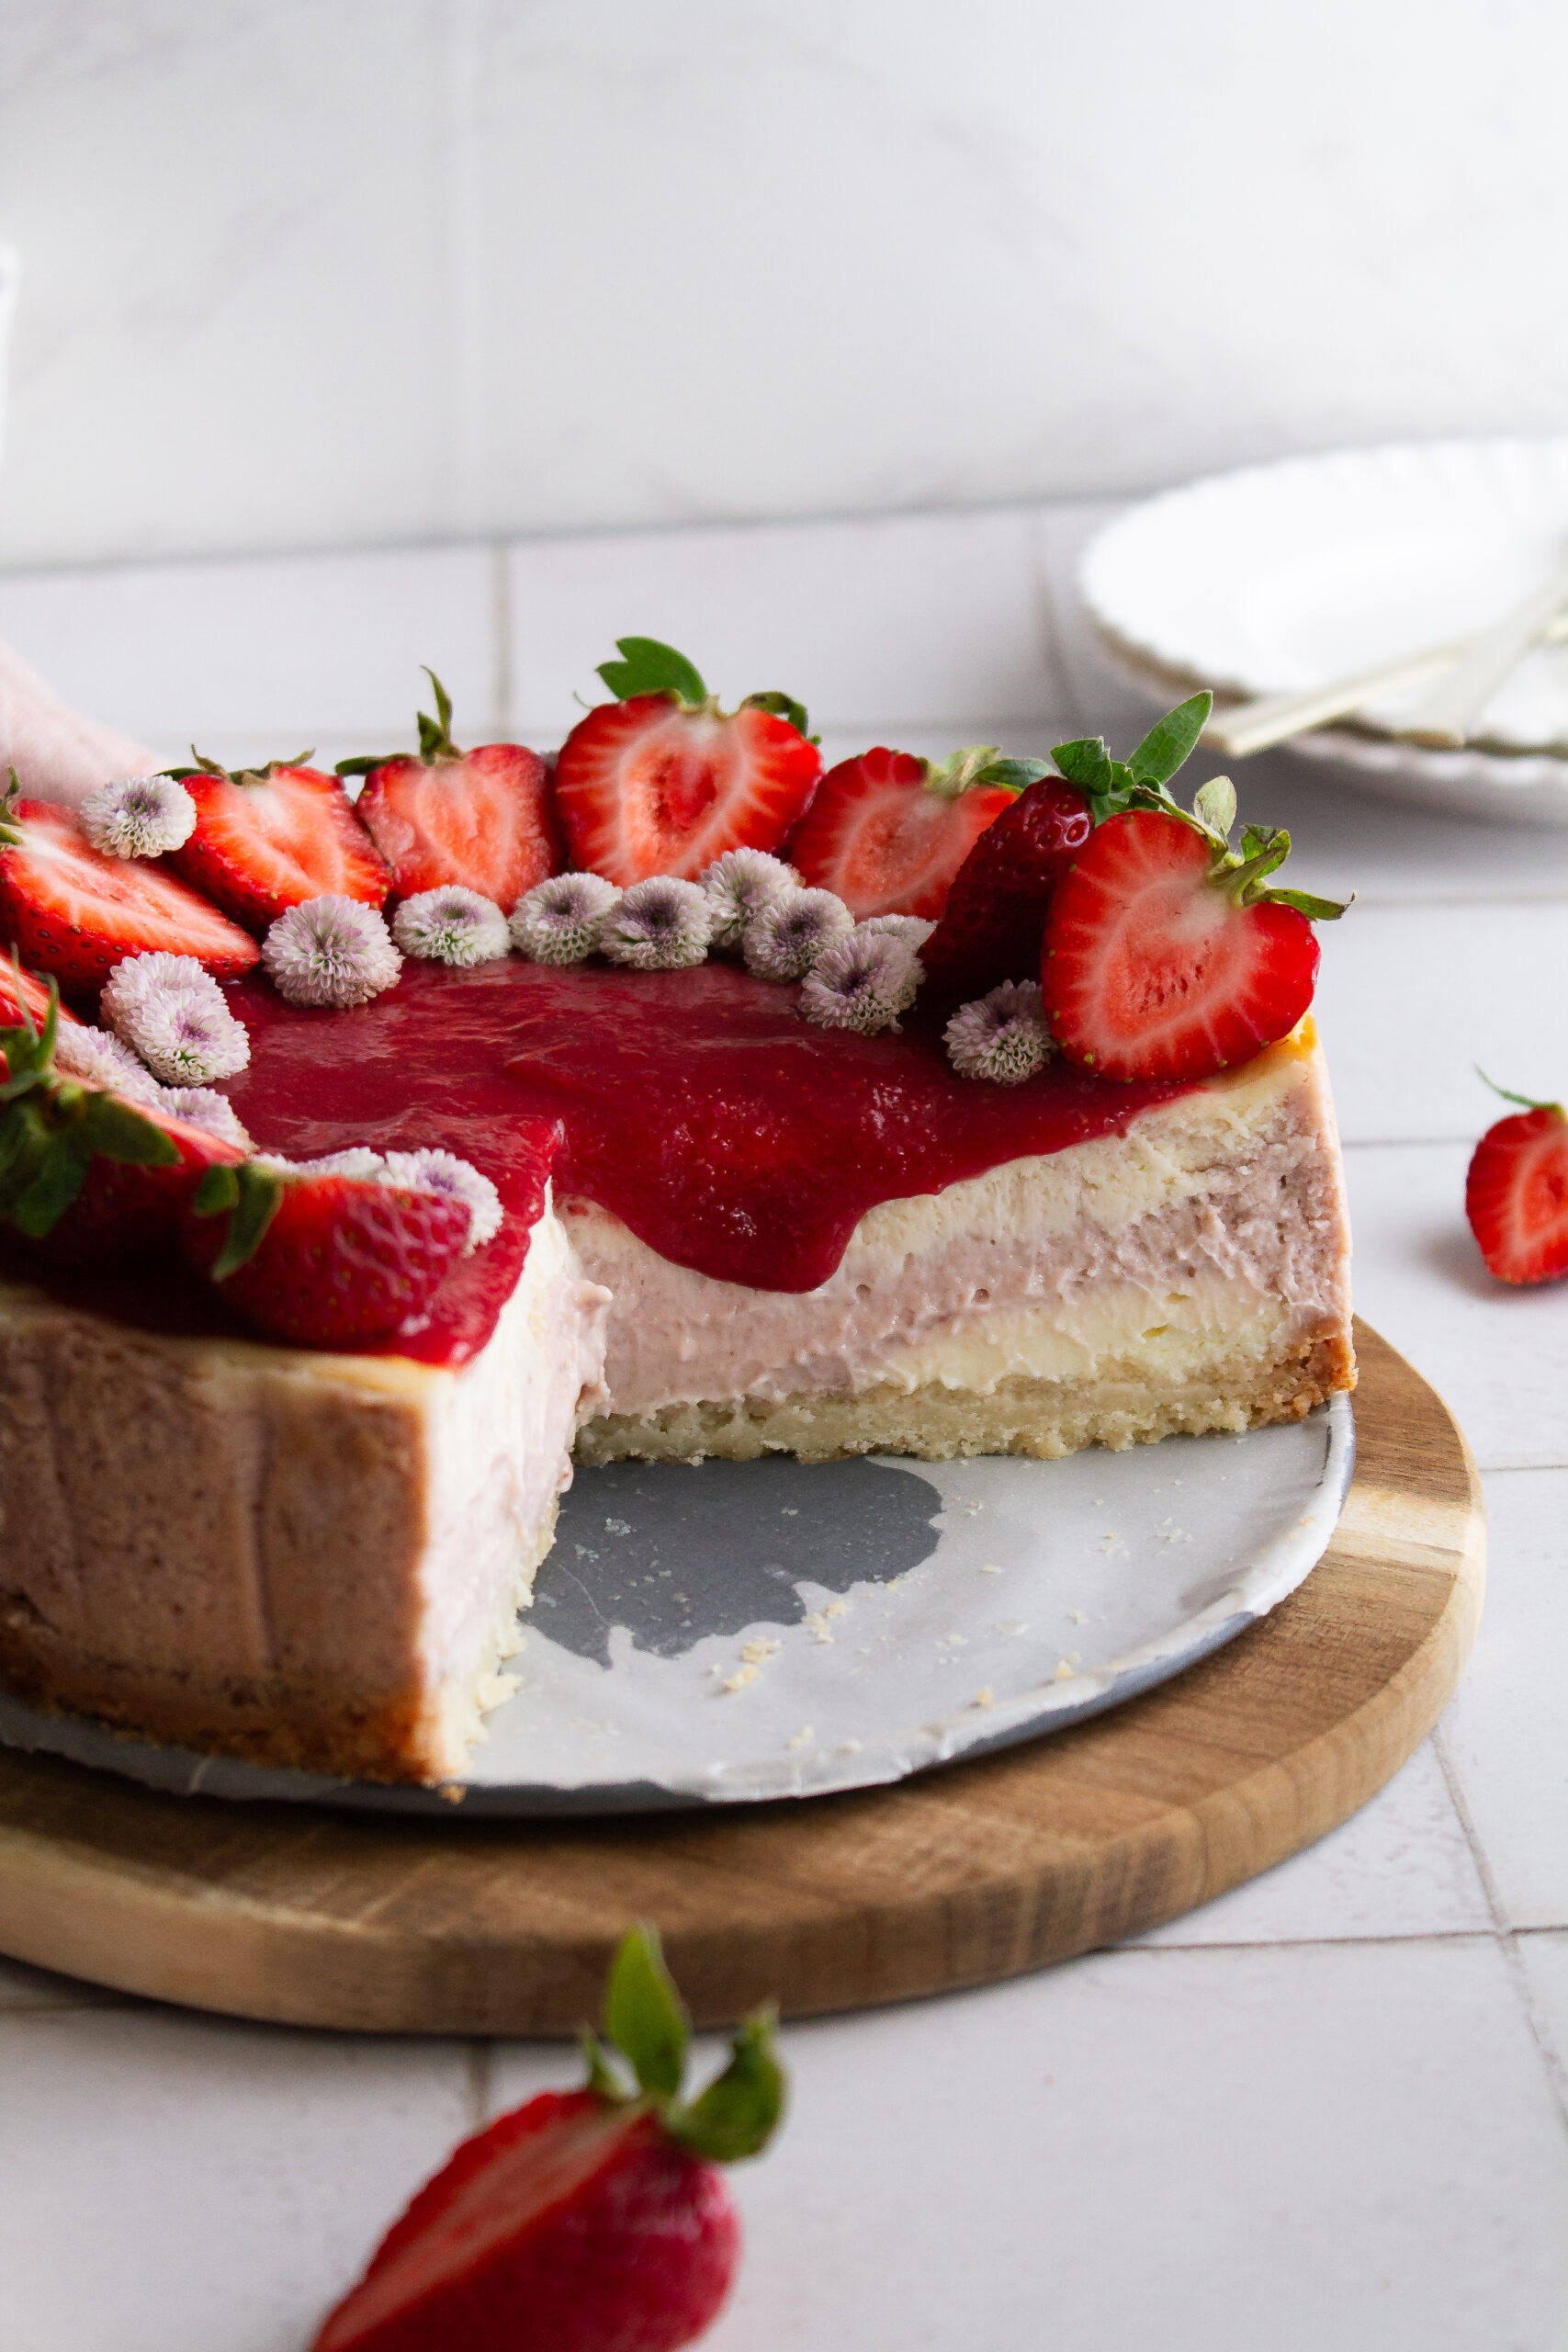
This is my Classic Cheesecake recipe and it will be the last cheesecake recipe you’ll ever need. It’s rich and creamy with a crumbly buttery graham cracker crust. It’s delicious with no frills and no complicated water bath. It’s the perfect base for any fruit topping or mix-ins! Follow my instructions in this post for how to make the perfect cheesecake and never struggle with issues like cracked cheesecake tops or underbaked cheesecake again!
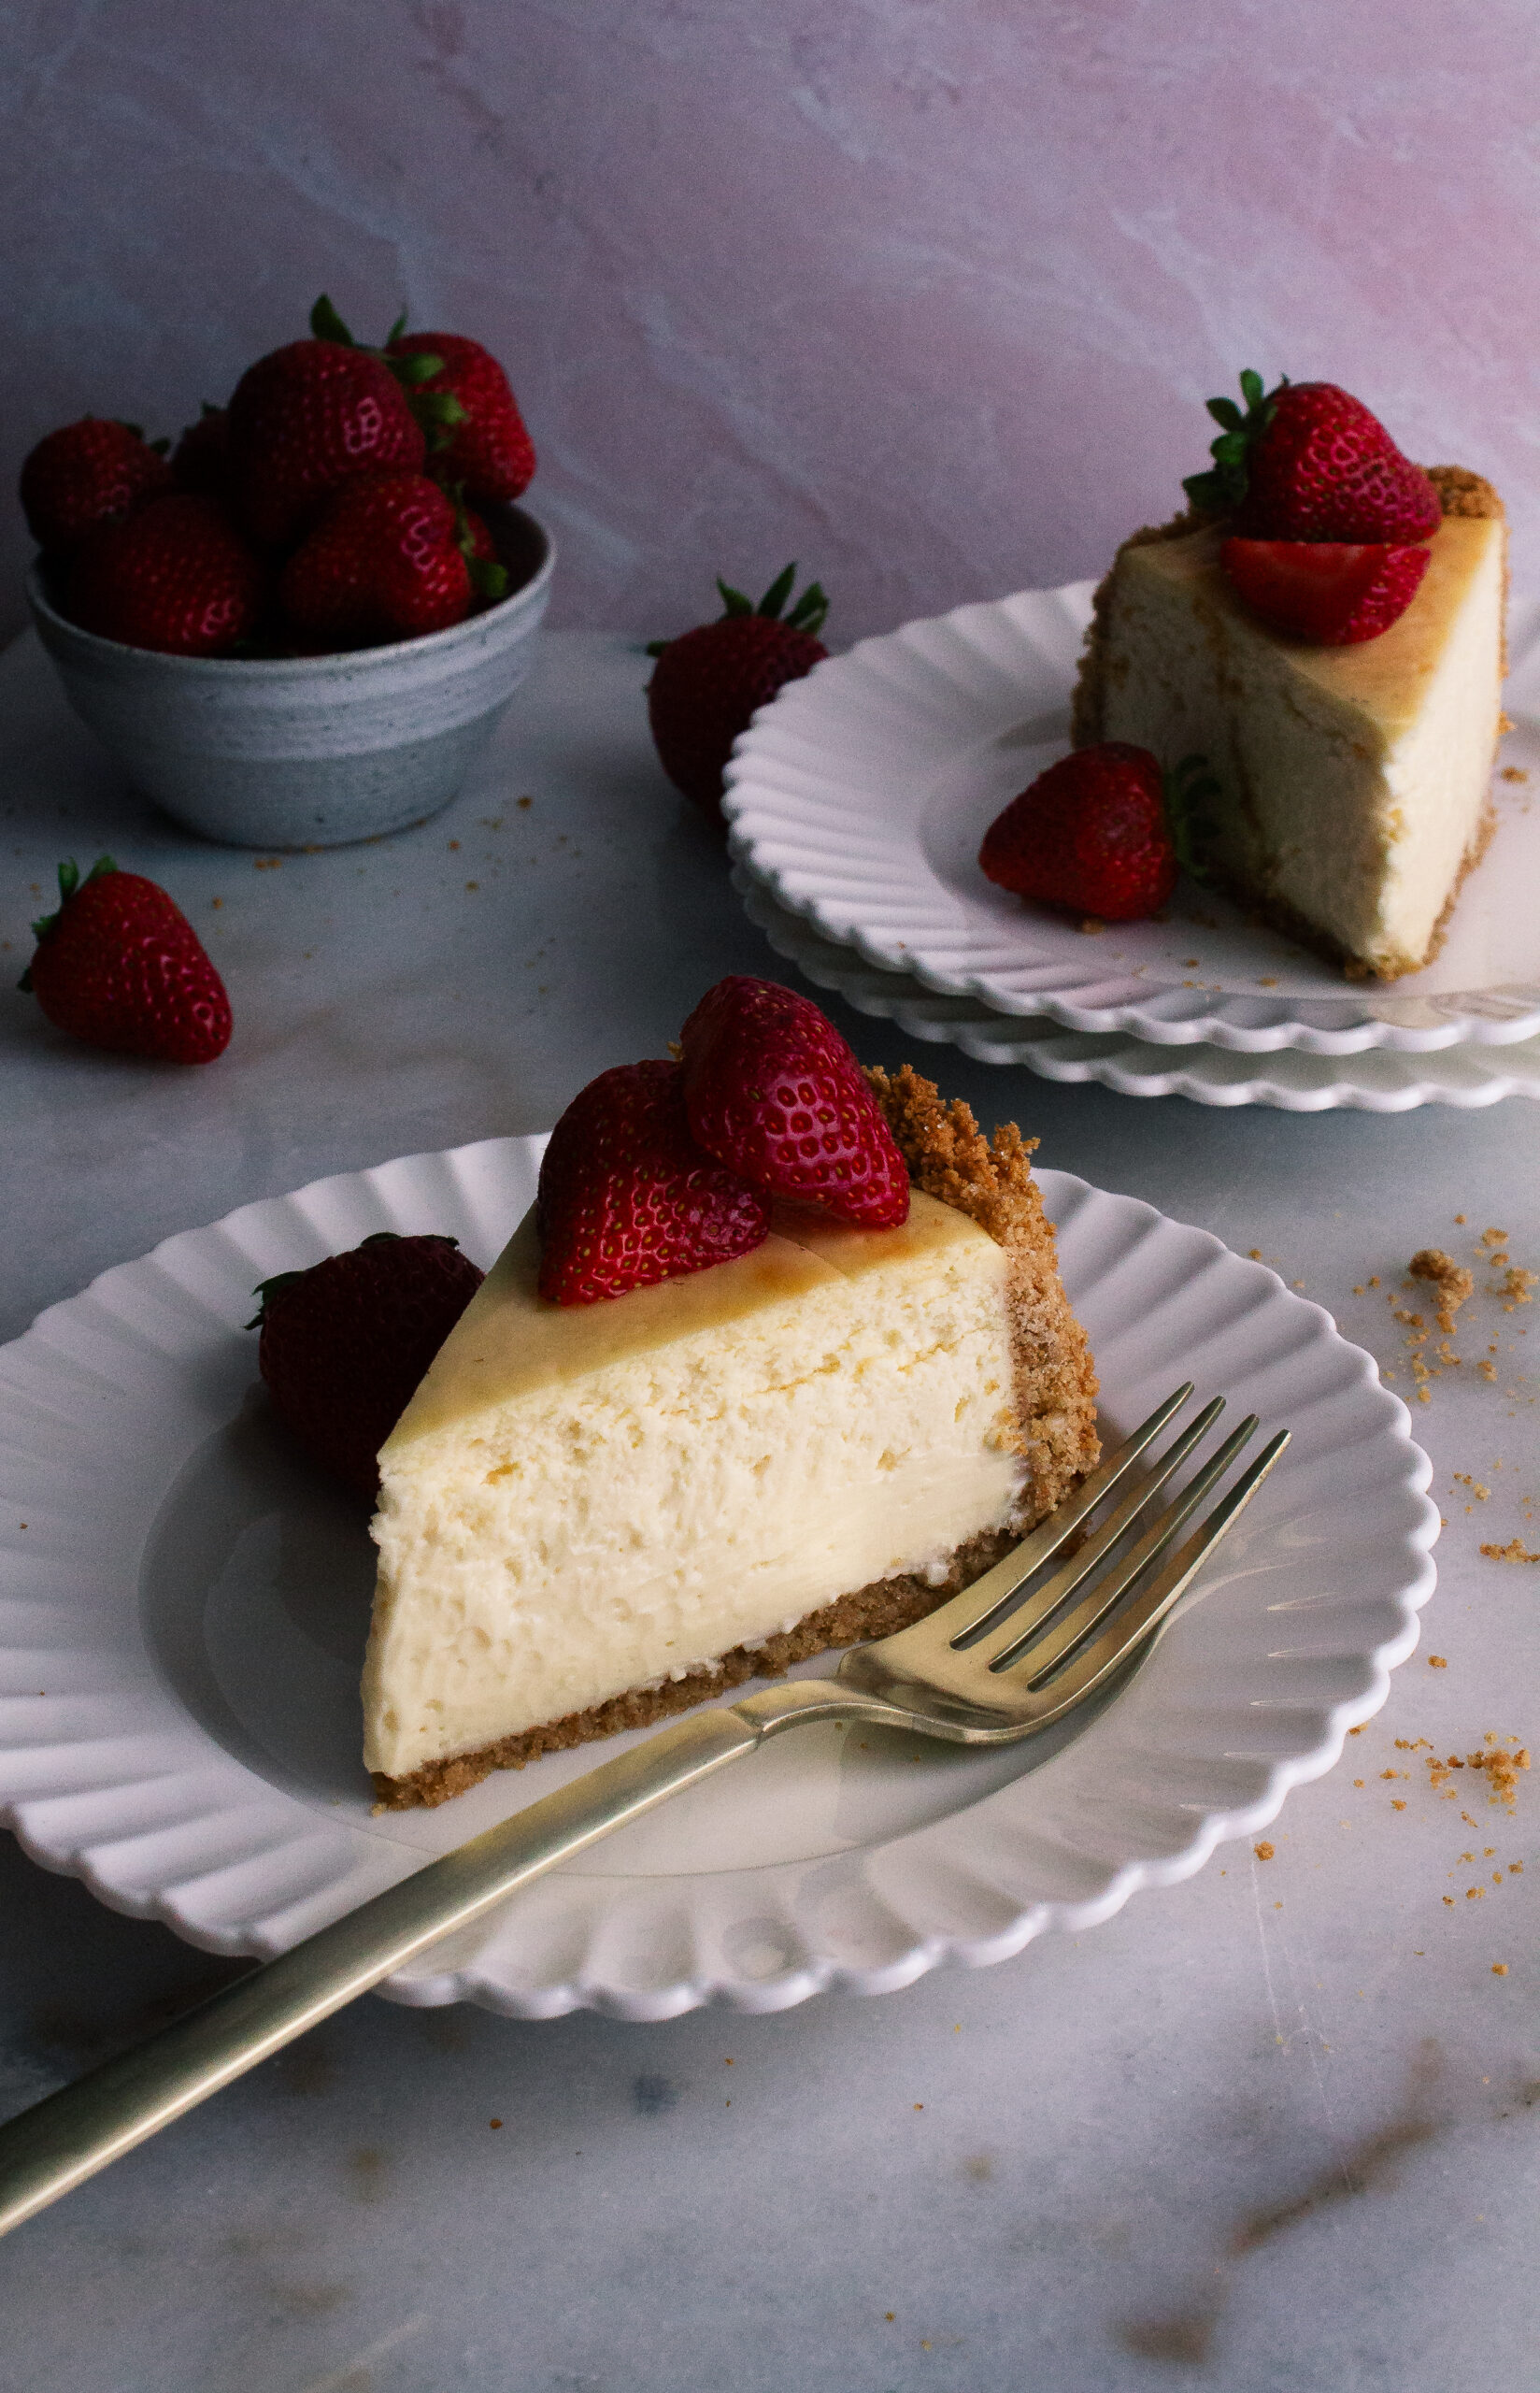
Why this is truly the BEST Classic Cheesecake Recipe on the internet…
I make a lot of desserts–like, a lot. I buy a lot of desserts too…but cheesecake is hands down my absolute favorite dessert out there! Which is why I found myself shocked and appalled that I had not yet posted a classic cheesecake recipe to my blog! Last summer I created this Peach Cobbler Cheesecake which is quite literally to die for! But no classic cheesecake exists on Karis Bakes, until today.
I researched, tested recipe after recipe and tried every possible technique out there, just to come up with this most perfect cheesecake recipe!
The recipe and the top cheesecake tips that you’ll find below were learned over months of practice, failure, and a lot of slices of cheesecake. Follow my tips and best practices so that you never fall into mistakes when baking this delicious dessert again!
How to make graham cracker crust
The graham cracker crust has always been one of my favorite parts of a cheesecake recipe! I love how buttery and crumbly it is and how it compliments the cheesecake so well! My recipe makes sure that you will have ample graham cracker crust in every bite because I figure there must be other people out there who love the crust as much as I do!
The process of making the graham cracker crust is very simple:
- Blitz 2 sleeves of honey graham crackers into fine crumbs. You’ll want to use honey graham crackers, trust me. I’ve tried all the graham crackers out there and this is the one that will give you the best flavor.
- Mix your brown sugar and granulated sugar in with the graham cracker crumbs.
- Melt the butter and stir it into the crumb mixture.
- Line the bottom of a 7″ springform pan with parchment paper and add the graham cracker crust into the pan.
- Press an even layer of the crust onto the bottom and into the sides of the pan. Press hard to make sure the crust is stuck in place before baking it to set.
- Bake for 8-10 minutes and then allow the graham cracker crust to cool before the cheesecake batter gets added.
Top tips for how to make a Classic Cheesecake
I must admit, for some odd reason I always used to think that making cheesecake was a complicated affair. Then I learned and started putting into practice a few simple cheesecake tips that made the process totally approachable! Once you catch on to the cheesecake learning curve, you’ll be baking them like a total pro!
Tip #1–DO NOT OVERMIX the cheesecake batter! In order to create a classic cheesecake that is rich and creamy it is important to mix the ingredients until they are combined and not much longer. If you beat too much air into the batter you’ll risk it cracking when baked and cooled. Plus, you’ll have a light and airy cheesecake which, there is a time and a place for, it’s just not here! Cracked cheesecake still obviously tastes amazing, but if you’re looking for flawless results, pay attention to this step.
Tip #2–Be sure to use ROOM TEMPERATURE ingredients! I can’t emphasize this enough, in every dessert recipe that calls for room temperature ingredients, listen to it! We don’t call for ingredients to be at room temperature to make your life more complicated. There are many reasons ingredients must truly be at room temperature and one of those reasons is because the ingredients will combine much easier when they’re all at room temp!
Tip #3–Use a CHEAT WATER BATH! Listen folks, I don’t have the time, energy or patience to be fooling with a traditional water bath. Unless it is absolutely necessary for the dessert like maybe a crème brûlée…I’m using my cheat water bath method every time! Simply place a rimmed dish on the bottom rack of the oven and fill it with boiling water. Then bake the cheesecake on the top rack of the oven and you’ll get a lot of the same effects as a water bath. Basically you want the steam from the water to soften the bake, so as long as there is steam, you’re in business!
Tip #4–bake the cheesecake LOW AND SLOW! We bake this classic cheesecake at 325F for around 50 minutes. One of the characteristics of a classic cheesecake is the mostly pale top. This is one of the ways we achieve that.
How to bake cheesecake step-by-step
While your graham cracker crust is cooling, it’s time to get to work on the cheesecake batter. Pull out those completely room temperature ingredients and let’s get started!
- Set a kettle or a pot of water to boil and set a deep rimmed pan on the bottom rack of the oven.
- Place the cream cheese in a bowl. I actually prefer to use a hand mixer when making cheesecake because I find it helps me have more control over how much air I’m adding into the batter.
- Beat the cream cheese slightly to break it out of the block form it came in.
- Add the sugars and cornstarch and beat again until combined, but not for too long as previously mentioned. Overbeating can also lead to cracked cheesecake! We add the cornstarch for a little extra insurance against a cracked cheesecake top.
- Add the eggs one at a time and add the vanilla after the last egg is incorporated and beat until combined.
- Switch to a spatula and add the sour cream. Stir until completely mixed in.
- Add the boiled water to the rimmed pan at the bottom of the oven.
- Pour the cheesecake batter into the cooled graham cracker crust and bake on the rack above the pan of water at 325F for roughly 50 minutes. Remove the cheesecake from the oven when it has a slight wobble.
How to cool cheesecake?
Arguably the most annoying part of making this classic cheesecake is the patience it requires. I always recommend making your cheesecake the night before you want it so that it has time to cool completely in the fridge. Here are the steps I take to allow my classic cheesecake to come up to room temperature slowly, a process that will help you avoid cracks and give you the best creamy texture!
- After the cheesecake has completed baking, turn the oven off and crack open the door of the oven for one hour.
- After the hour of cooling in the oven, remove the cheesecake and set it on the counter for at least 1 hour. The goal here is for the pan to no longer feel warm to the touch so this could take longer than 1 hour.
- Cover the cheesecake and refrigerate it for at least 3 hours or preferably, overnight!
I know the process is tedious but it really helps to not shock the cheesecake with a cooler temperature. We baked it slowly and now we must cool it slowly.
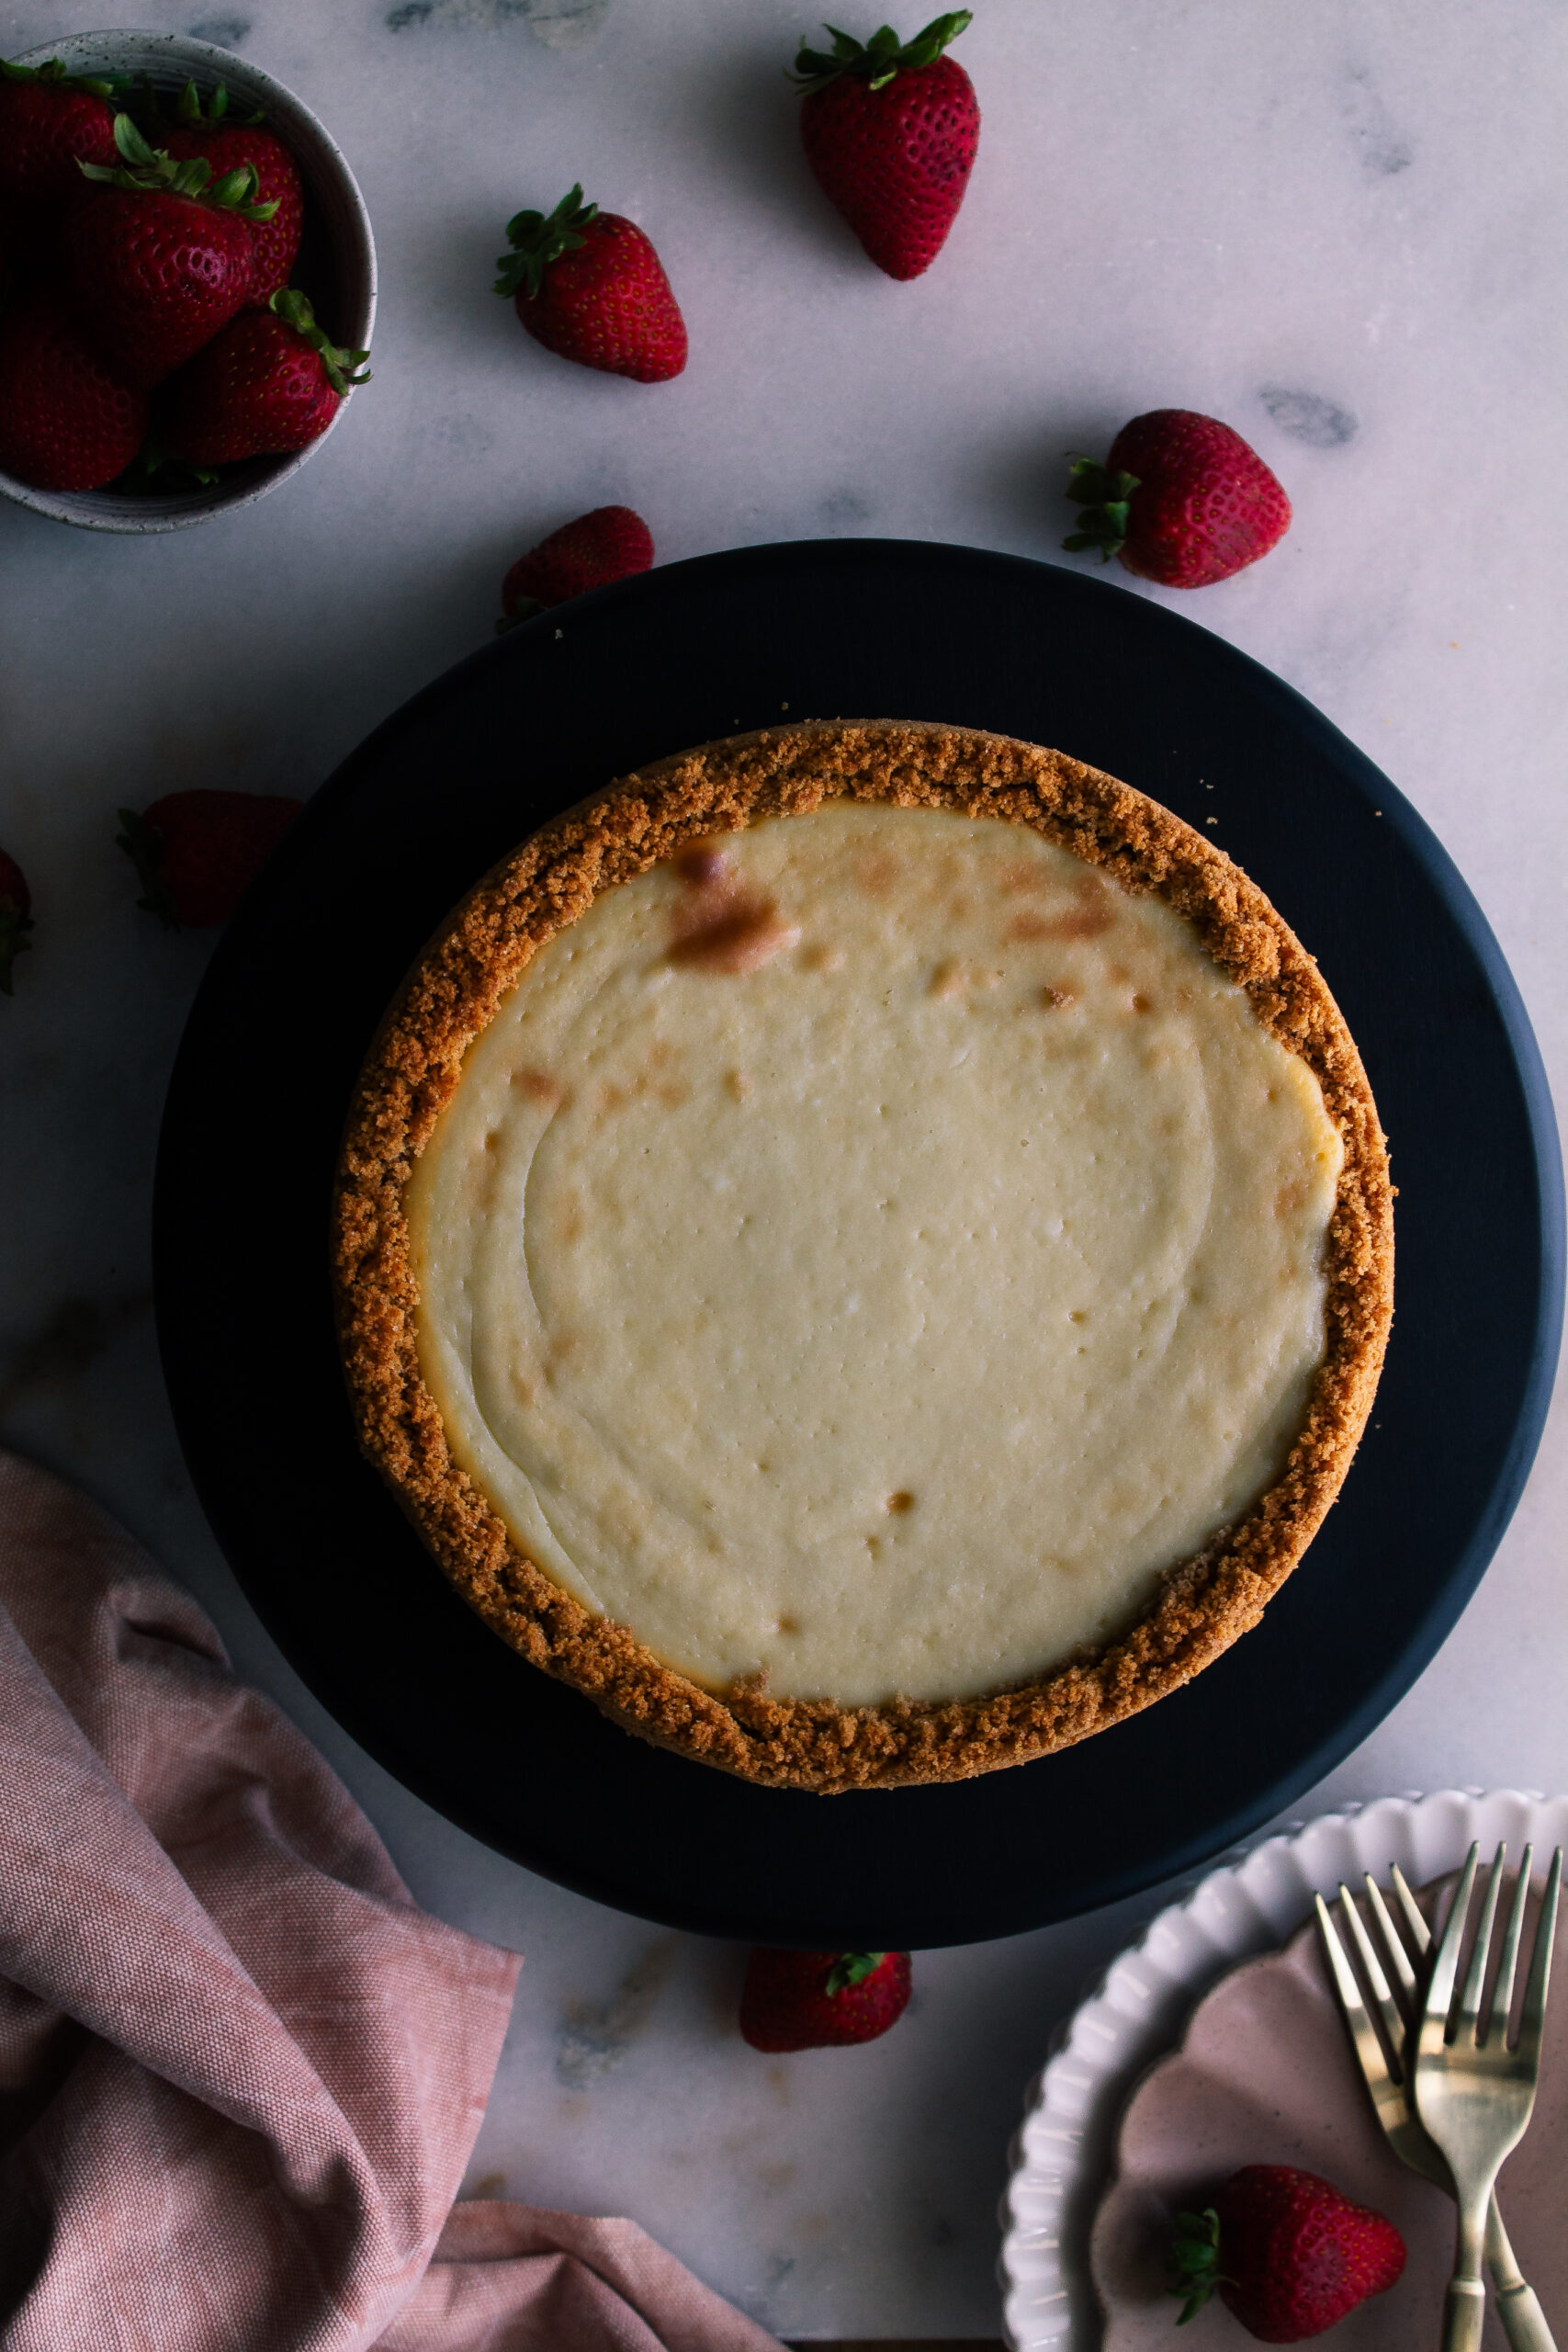
A note on cheesecake pans
One thing about cheesecake is that it can’t be made in a regular cake pan. You will need a springform pan to be able to easily pop out the cheesecake when it’s time to serve it. I a 7” springform pan for my classic cheesecake recipe.
Pro Tip: Place the pan on top of a baking sheet when baking the graham cracker crust and the cheesecake, just in case the butter leaks through, the pan will catch it before it hits the bottom of the oven!
Top the cheesecake with your favorite fruit, fruit sauce or jam like my 10 minute strawberry sauce or my lemon curd and enjoy!
still can’t get enough cheesecake?
Try my other cheesecake recipes:
- Peach Cobbler Cheesecake
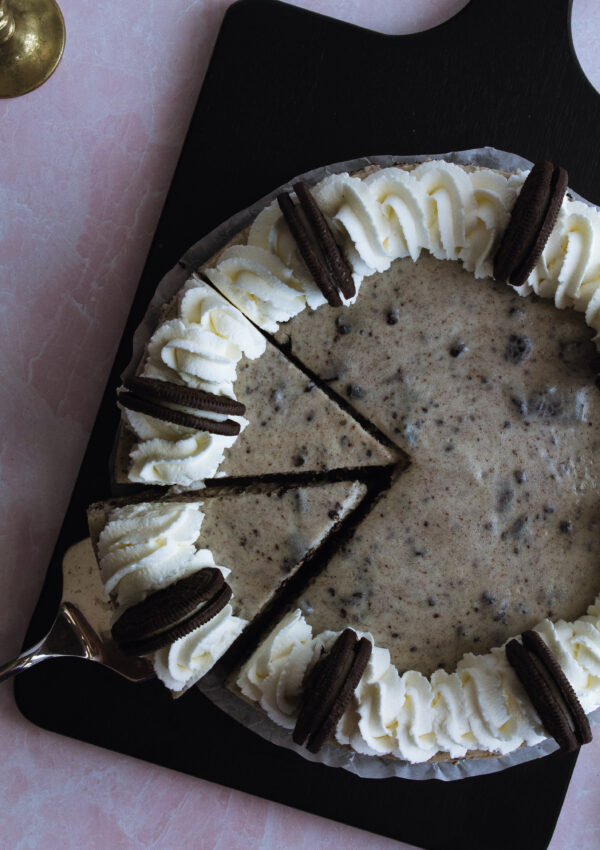
- Cookies and Cream Cheesecake
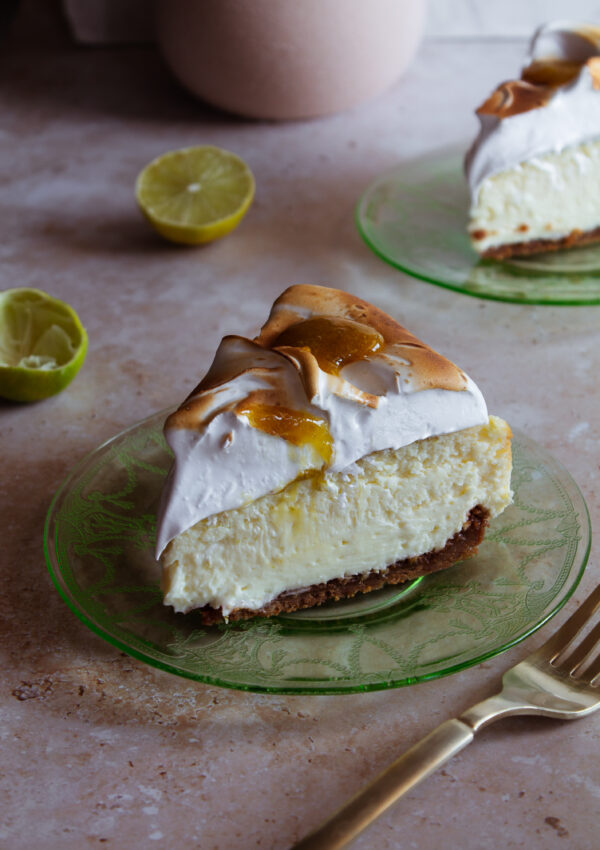
- Crème Brûlée Cheesecake
- Salted Caramel Cheesecake
Can baking be therapeutic?
I often talk about baking being a therapeutic hobby but I’d like to share more about why I feel that way as well as how it can become a relaxing hobby for you! When I bake, it’s my creative time. I may put on my favorite nostalgic movie or tv show in the background, or a Spotify playlist titled “French café” and leave my troubles behind.
Sometimes I pour myself a glass of wine and light a candle. Then, with the mood set, the mixing of batter, kneading of dough and smoothing of icing is my only care in the world.
When I say baking is therapeutic, sometimes people respond saying “not for me it isn’t!” I completely understand why someone might feel that way. There have been plenty of times where I spend hours on something only for it to fail or something breaks that shouldn’t or I forget to clean as I go and am left with a disastrous kitchen to clean.
So I should in reality, have a caveat to my “baking as therapy” claims…
Baking is therapy when you curate the experience to be relaxing.
How do you curate that relaxing experience for yourself, you ask?
How to make baking therapeutic…
- Prepare your mind–know that it’s okay if the cake doesn’t rise, or the butter wasn’t chilled enough. Shift your mindset from seeing your failures as mistakes to seeing them as opportunities for learning.
- Prepare your space–I cannot and will not bake on top of a messy kitchen. If I were to do this I would be starting from a place of stress! Take an extra 10 minutes to clean any dishes in the sink and wipe down the counters, this small effort will pay you back greatly in brain space and clarity.
- Clean as you go! I’ll tell you the one way to make baking stressful and tiresome, is to not clean as you go! After I use each ingredient that I no longer need, I put it away.
After each major step in the process, I wipe down the counters and put dishes that are no longer needed in the sink. If there is chill time or baking time I don’t sit, I do the cleaning then. Make this shift and you’ll really notice the difference!
By the way, this last tip really helped me when I was on The Great American Baking Show–and the crew that cleaned up behind us made a point to tell me that my workspace was always so clean they didn’t have much to do!
I would reply by saying “it’s how I stay sane in this tent!”
Additional suggestions:
*Maybe try printing off the recipe instead of looking at it on your phone, tablet or laptop and use this time to unplug from technology for a few hours.
**Invite friends or family over to share your baking creation with you. Time spent with loved ones over food is a universally special experience!
That’s how I discovered baking for my mental health. If you try any of these suggestions, let me know how it went for you! I’m really invested in spreading this message to others in hopes that baking will enhance your lives more than it already does!
Happy Cheesecaking!
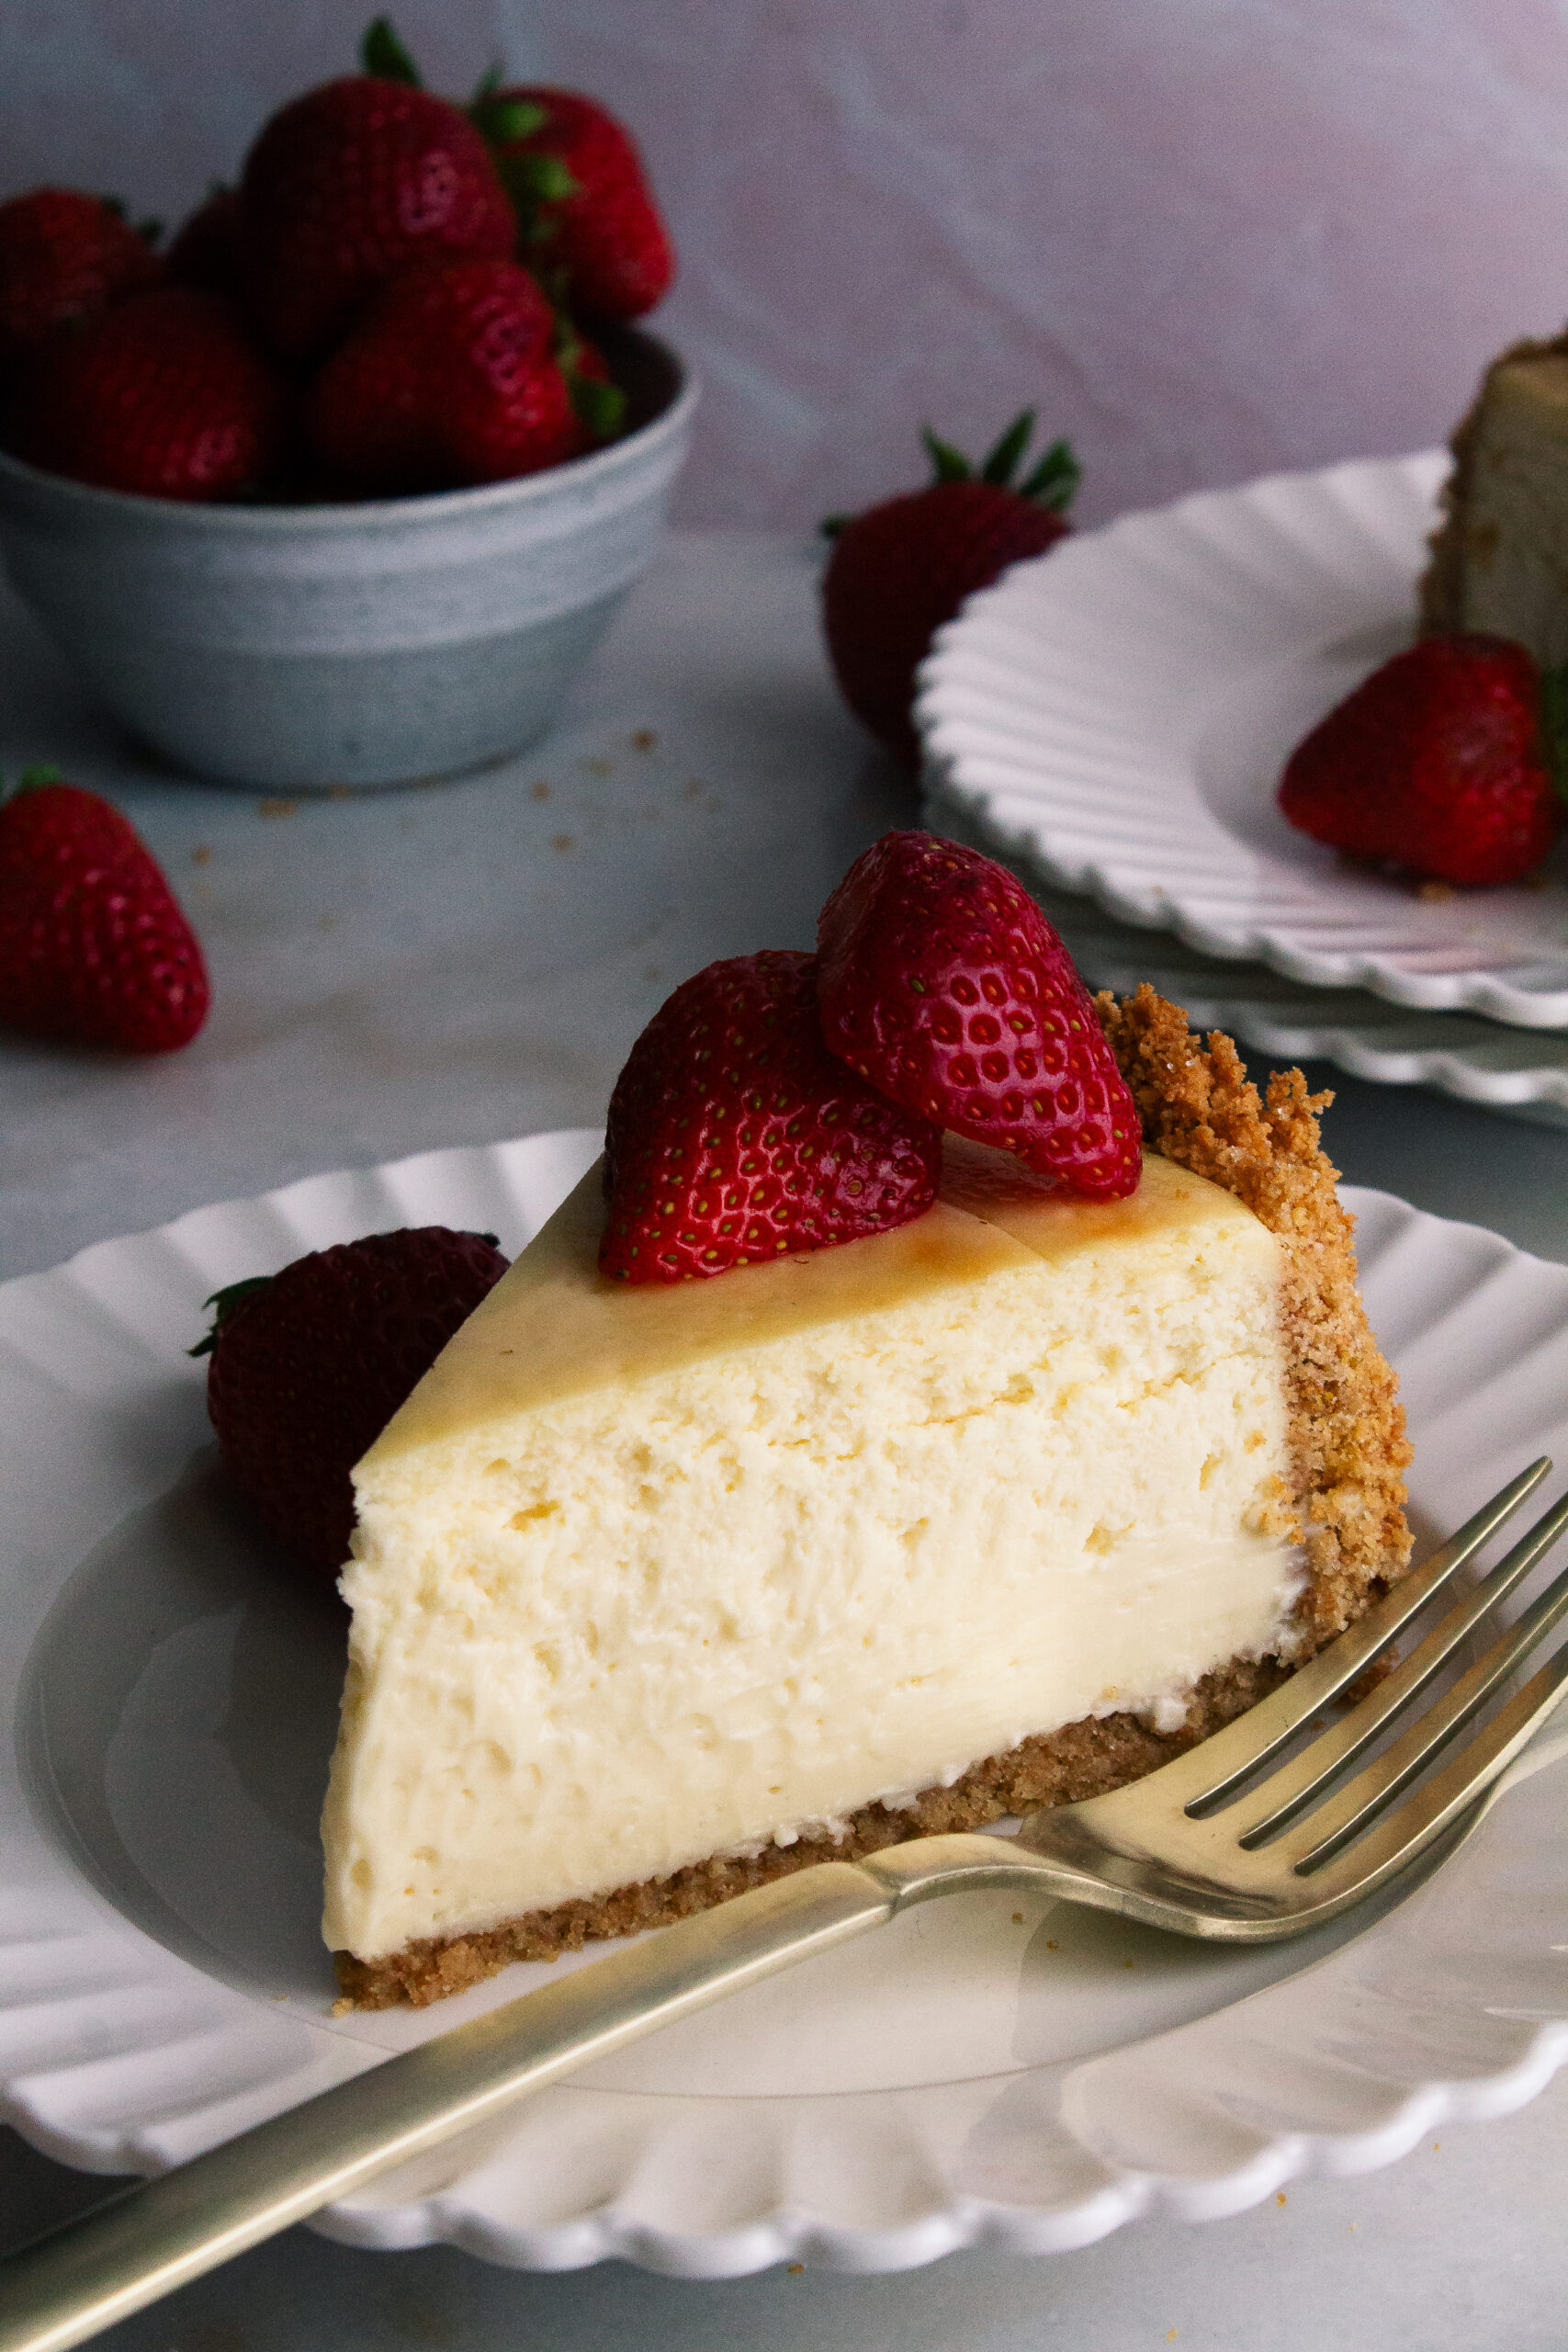

Classic Cheesecake
Equipment
- 7" springform pan
- food processor
- parchment paper
Ingredients
For the Graham Cracker Crust
- 2 sleeves (275g) graham crackers pulverized into crumbs
- 2 Tbsp (24g) granulated sugar
- 1 Tbsp (10g) brown sugar
- 1/2 cup (110g) (1 stick) unsalted butter melted
- pinch of salt
For the Cheesecake
- 24 oz (675g) (3 blocks) full fat cream cheese room temperature
- 1 cup (200g) granulated sugar
- 2 Tbsp (20g) brown sugar
- 1 Tbsp cornstarch
- 3 (150-155g) large eggs room temperature
- 2 tsp vanilla bean paste or extract
- 3/4 cup (195g) sour cream room temperature
Instructions
For the Graham Cracker Crust
- Preheat the oven to 350°F (roughly 180°C) and spray and line a 7" springform pan with parchment paper and cooking spray.
- In a food processor, blitz 2 sleeves (275g) of graham crackers.
- In a medium bowl stir together the graham cracker crumbs, 2 Tbsp (24g) granulated sugar, 1 Tbsp (10g) of brown sugar and a pinch of salt.
- Melt 1/2 cup (110g) of unsalted butter and mix it in with the graham cracker mixture.
- Add the mixture to the lined springform pan and press it down in an even layer on the bottom and up the sides of the pan. I use a measuring cup to press everything really flat.
- Place the filled springform pan onto a baking sheet (to trap any leakage) and bake for 8-10 minutes. Then remove and allow to cool.
For the Cheesecake
- Set a large pot or a kettle of water to boil, place a rimmed pan in the bottom rack of the oven. Reduce the oven to 325°F (roughly 160°C)
- To a medium bowl, add 24oz (675g) (3 blocks) of full fat cream cheese at room temperature. Use a hand mixer to break down the cream cheese slightly.
- Add 1 cup (200g) of granulated sugar, 2 Tbsp (20g) of brown sugar and 1 Tbsp of cornstarch and cream until combined. Do your best to not add too much air into the cheesecake batter, just mix until well combined.
- Add in 3 large room temperature eggs (150-155g), one at a time, and mix until combined. Then add 2 tsp of vanilla bean paste (or vanilla extract) and mix until incorporated.
- Switch to a spatula and stir in 3/4 cup (195g) of room temperature sour cream until everything is evenly mixed in.
- Add all of the cheesecake batter to the springform pan with the cooled graham cracker crust and spread evenly.
- Pour the boiling water into the pan at the bottom of the oven. Then place the cheesecake on the rack directly above the pan with the hot water. Remember to place the cheesecake on a tray to avoid leakage.
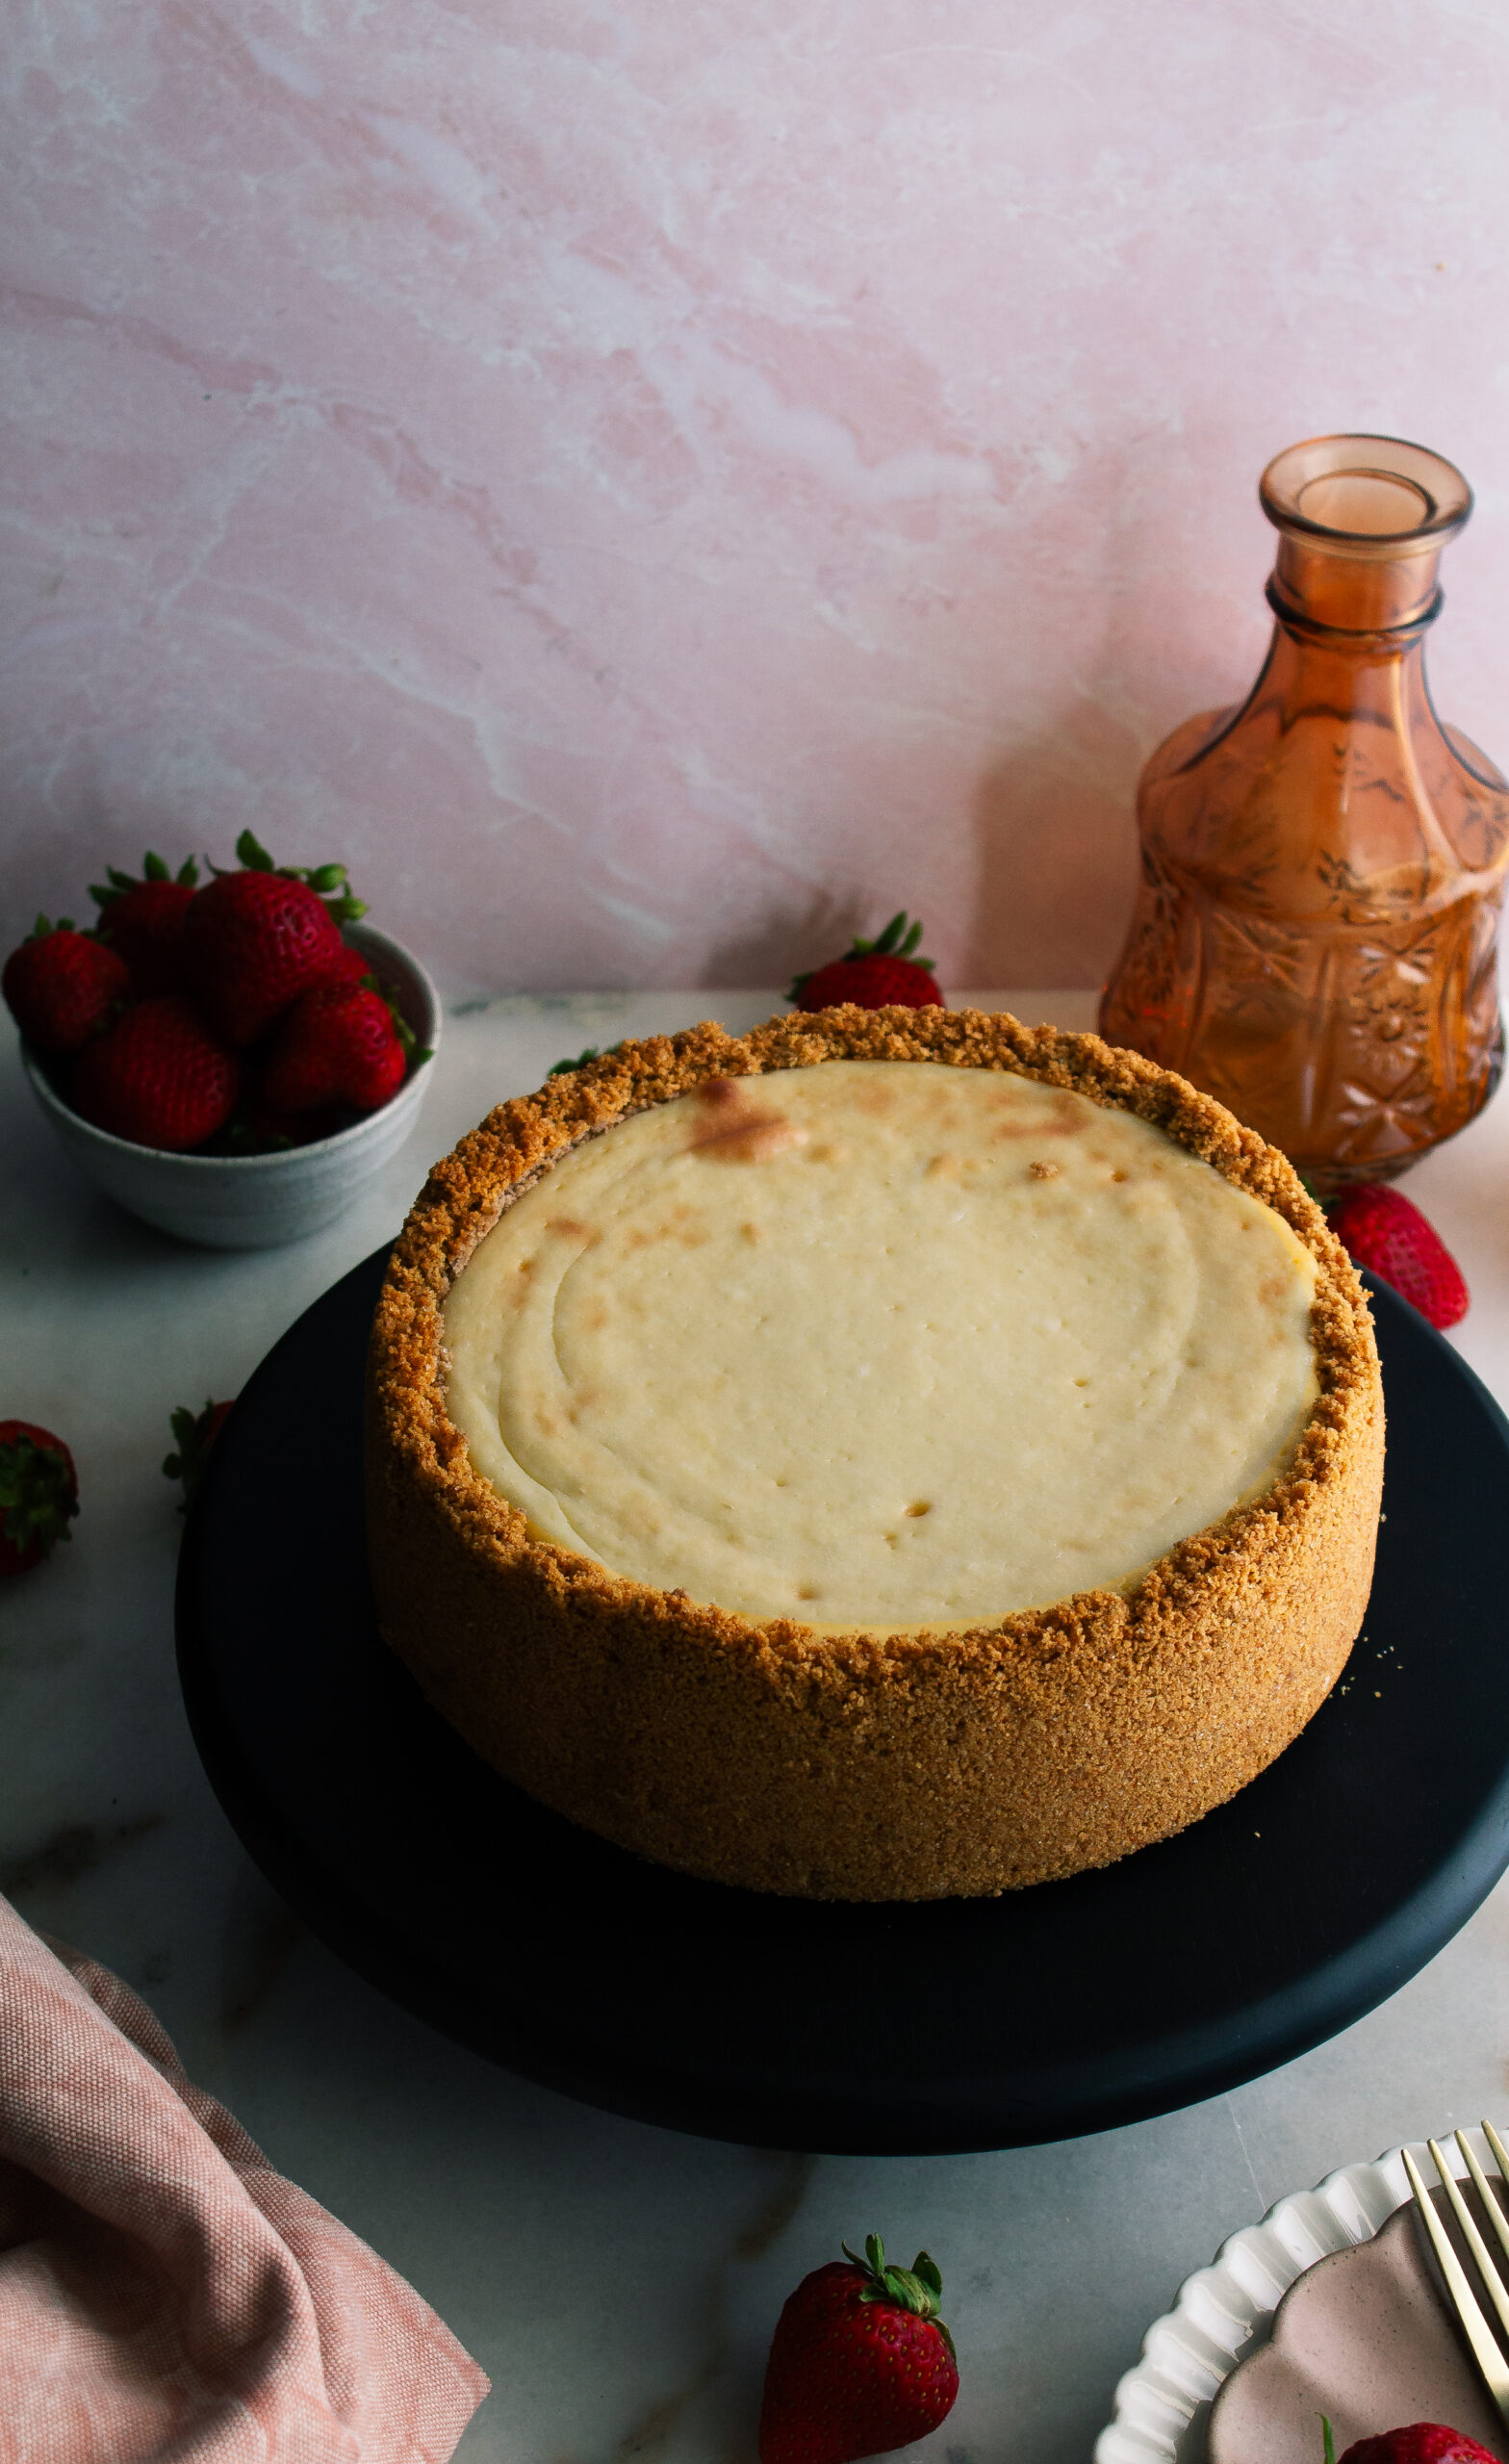
- Bake at 325°F (160°C) for 45-50 minutes depending on your oven. For my oven about 50 minutes works perfectly. You're looking for a slightly wobbly center and a top that is barely browned. The wobble will settle as the cheesecake cools, leaving you the perfect texture in the end.
- When the cheesecake is done baking, turn the oven off and leave the cheesecake in the oven with the door of the oven slightly open for 1 hour. This helps the cheesecake cool down slowly, instead of shocking its temperature, potentially leading to splits.
- Once the cheesecake has cooled in the oven for 1 hour, remove it from the oven, place it on the counter and allow it to come close to room temperature for another hour or so. Then cover it and place it in the refrigerator to chill for 5 hours or, preferably, overnight.
- Once the cheesecake is done cooling, serve and enjoy! I like to serve with fresh fruit or jam. Store in the fridge in an airtight container for up to 5 days.

[…] Classic Cheesecake […]