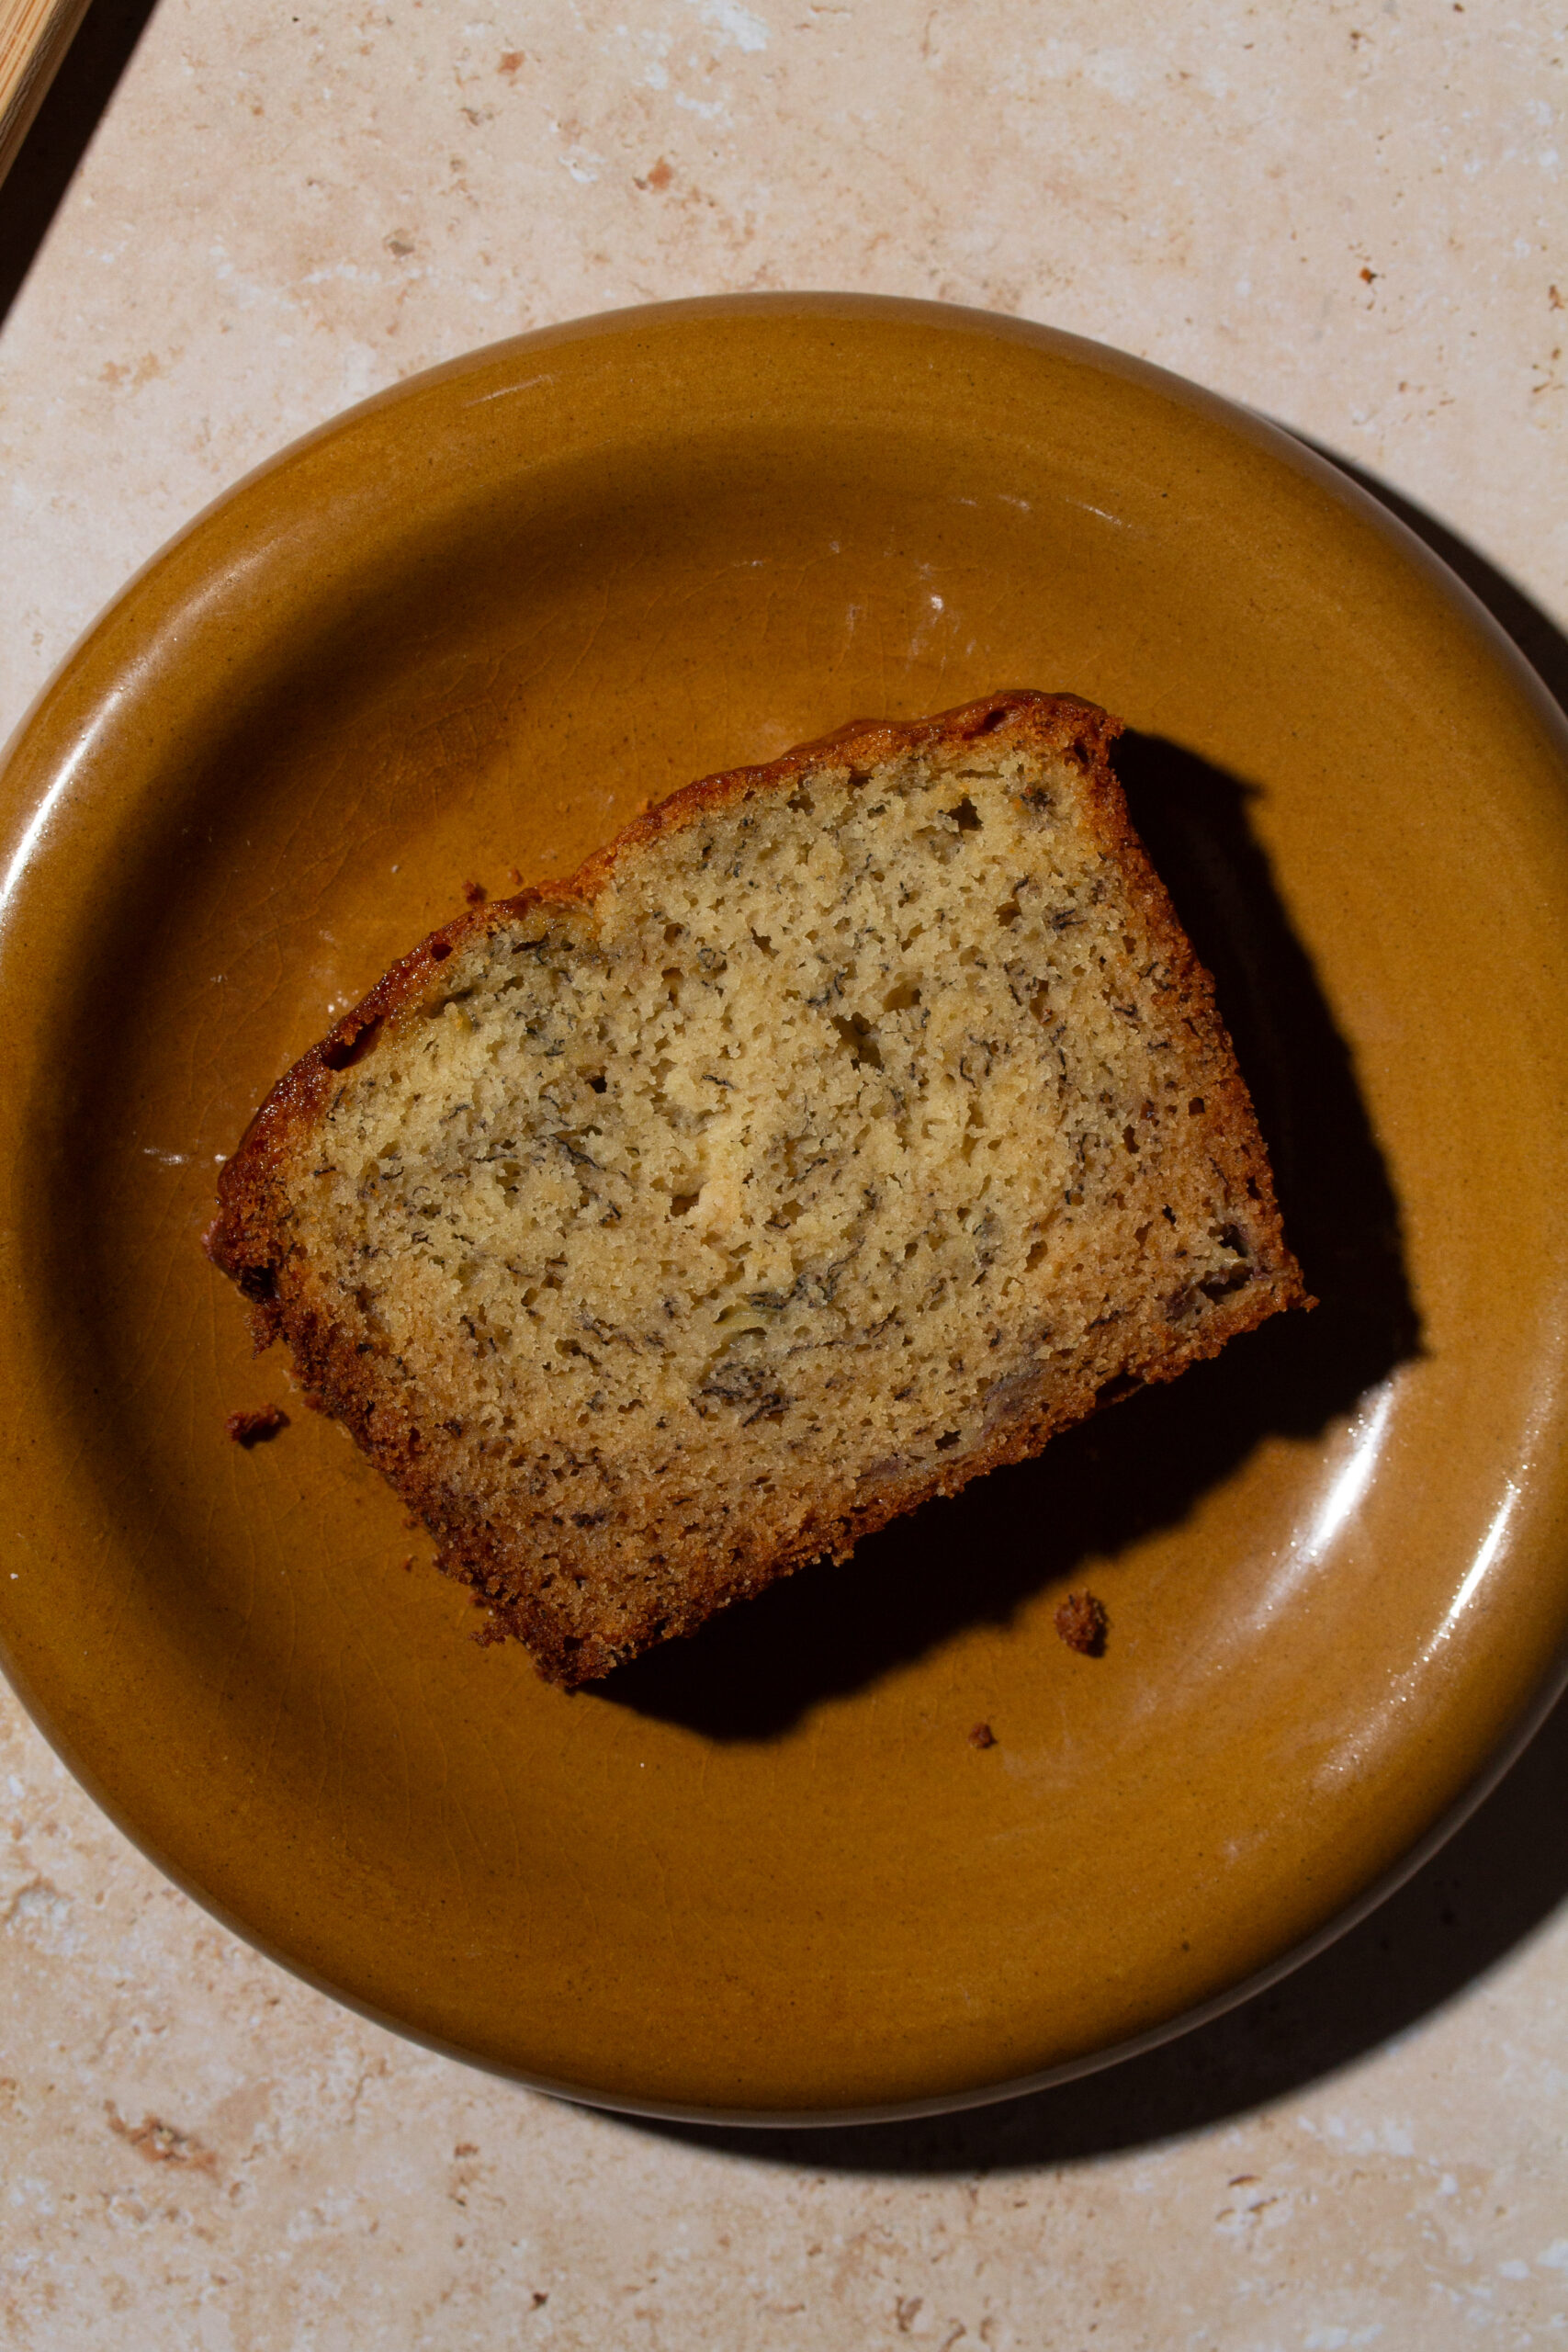
This banana bread recipe is moist, perfectly sweet and easy to make! Grab your overripe bananas and let’s make this classic bake! It comes together in one bowl and can function as breakfast, dessert or snack!
Why Banana Bread?
Do you ever get just the strongest craving for specific flavors? Mine are always either banana and peanut butter, or chocolate and peanut butter, or banana and cinnamon or something along those lines. So you could imagine that banana bread is almost always on my radar!
I created this banana bread recipe to satisfy that moment when you crave warm, soft bananas in bread form, swiped with a bit of butter and a cup of hot coffee or tea—have I painted the picture well enough yet?
Or hey maybe it’s not a craving and you just have bananas getting too ripe…grab them up and let’s make banana bread together!
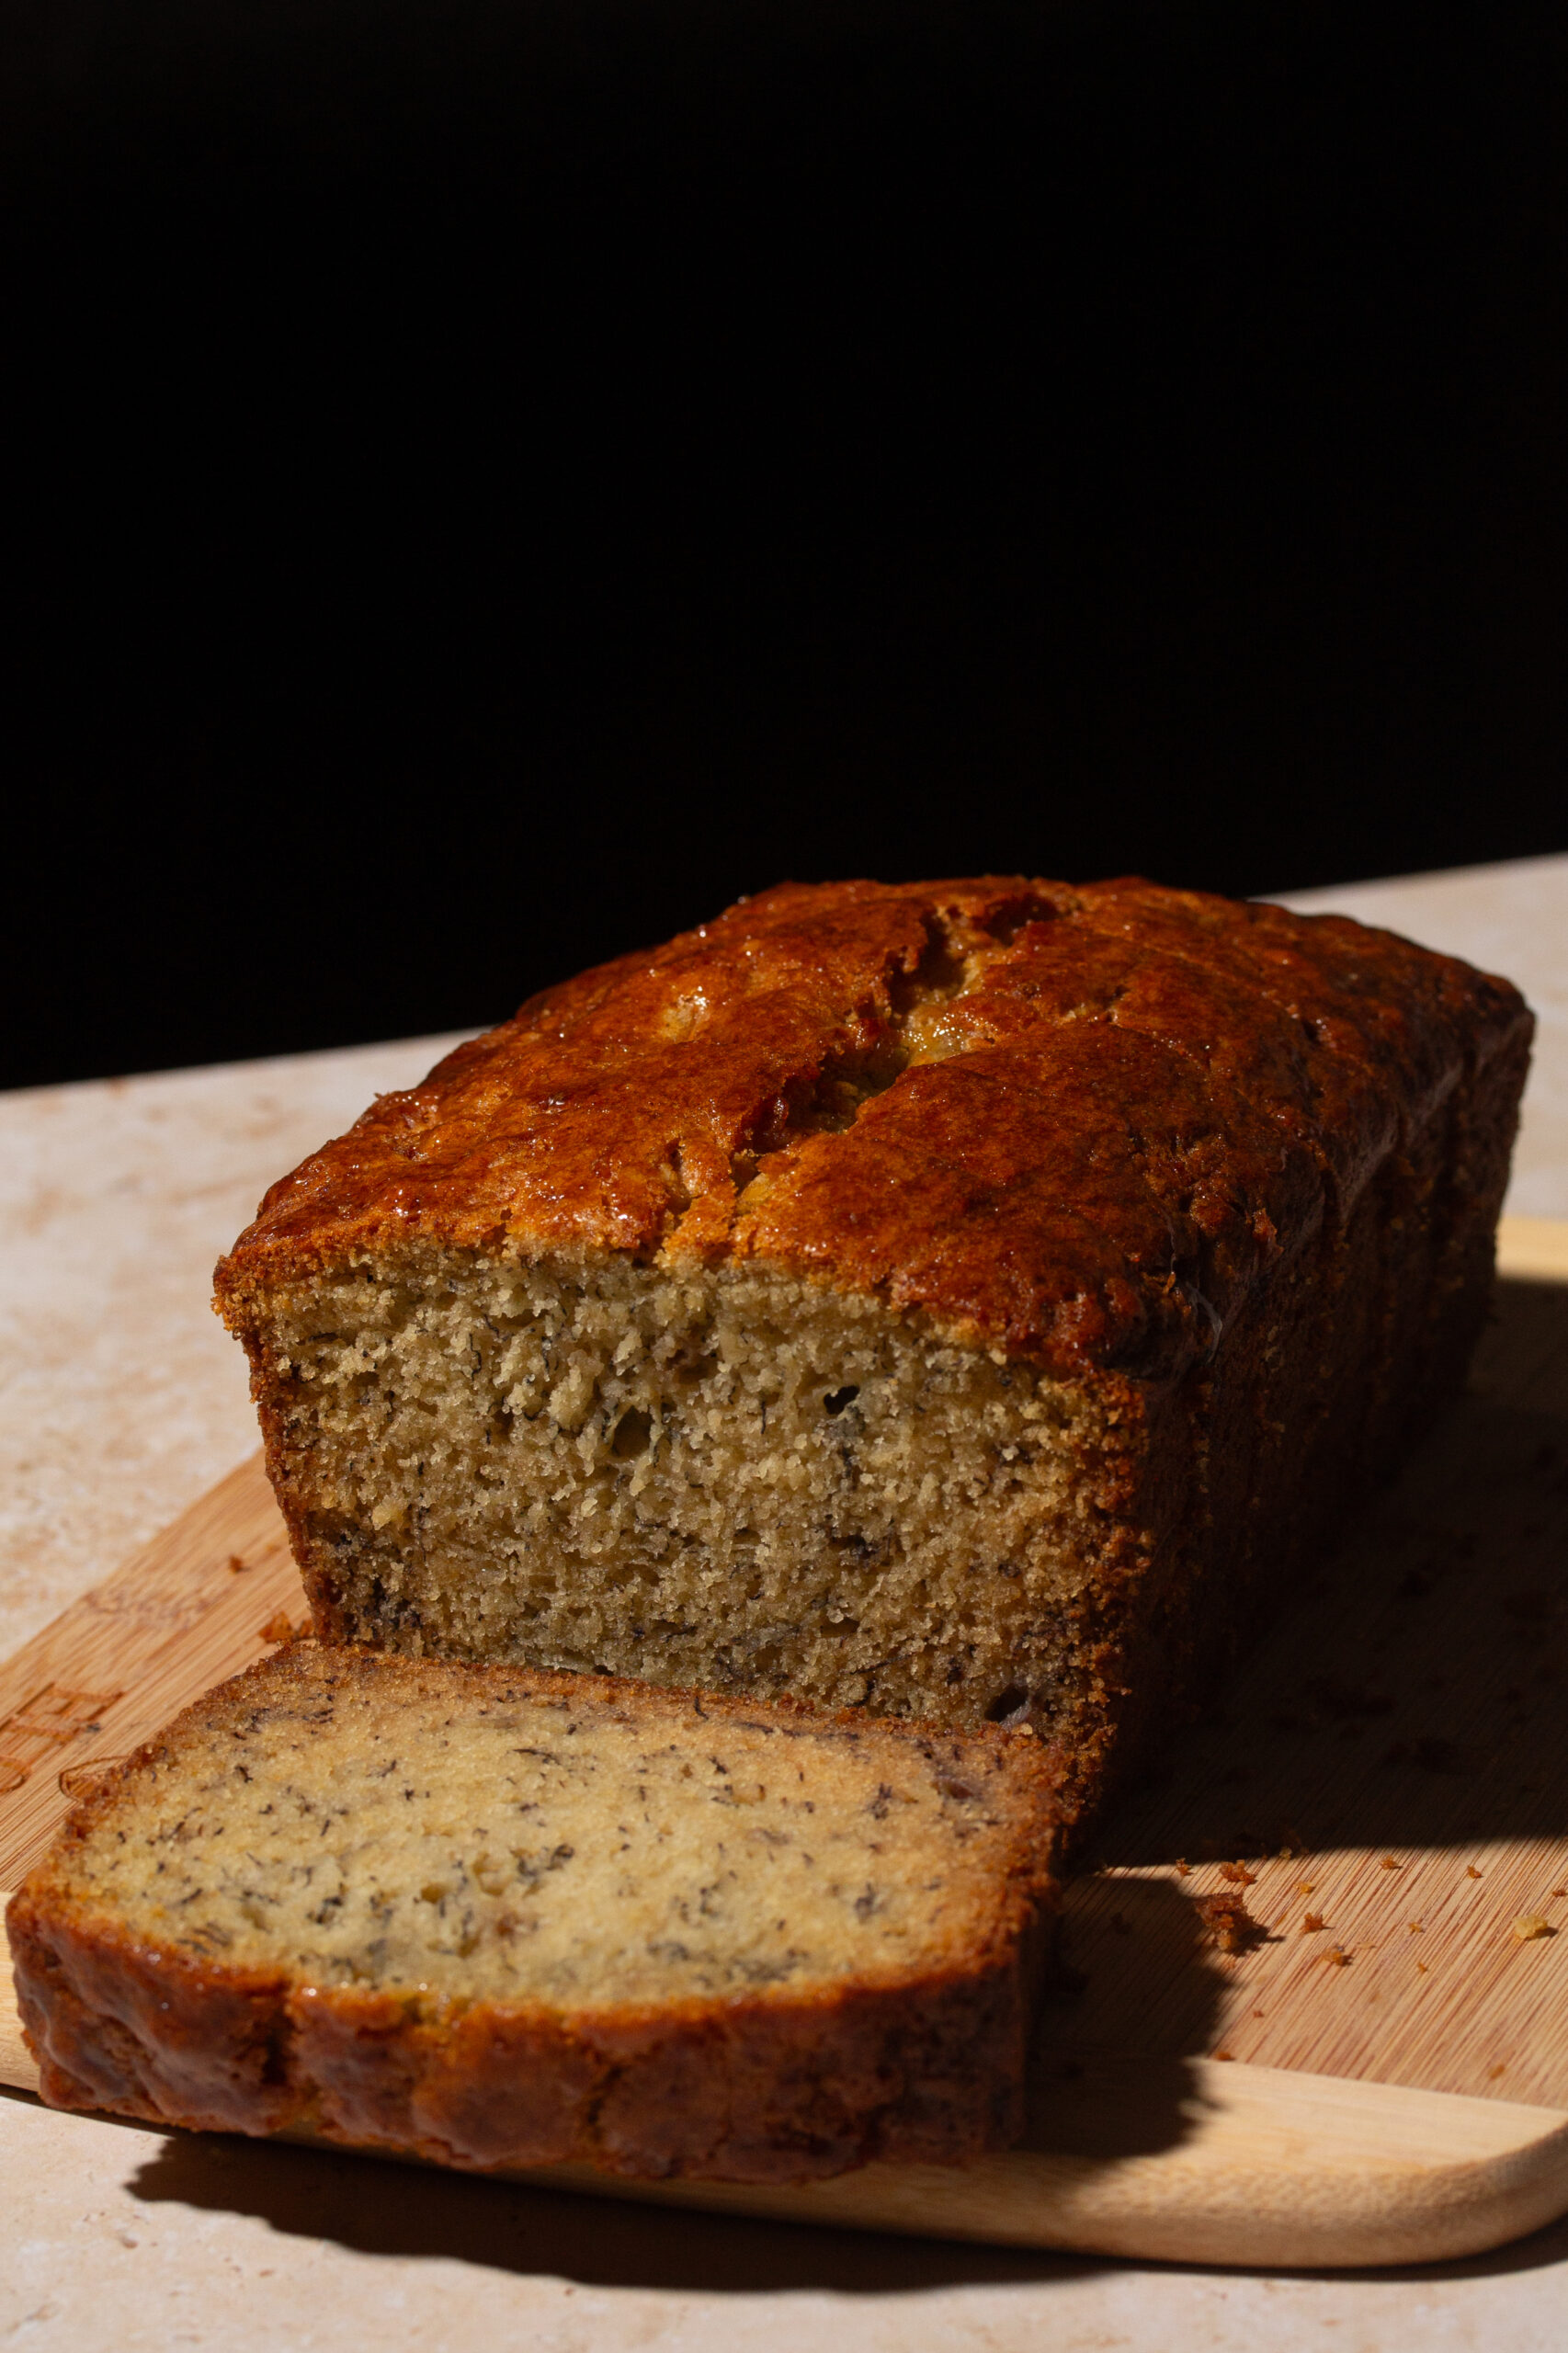
For this Banana Bread you will need:
Ripe Bananas—I mean duh, but yes, the bananas must be ripe, like that moment you look at them on your counter and go “oh dear God when did they get so brown?!” That’s the perfect time to use them! Otherwise your banana bread won’t be nearly sweet nor moist enough!
Coconut Oil + Olive Oil—you can use a neutral oil instead if you’d like, but these two oils blend together to add a very nice flavor to the bread!
Granulated Sugar—not too much, just enough for that perfect sweetness.
Eggs—our binding agent, plus egg yolks add richness to any dessert (or, in this case, breakfast)
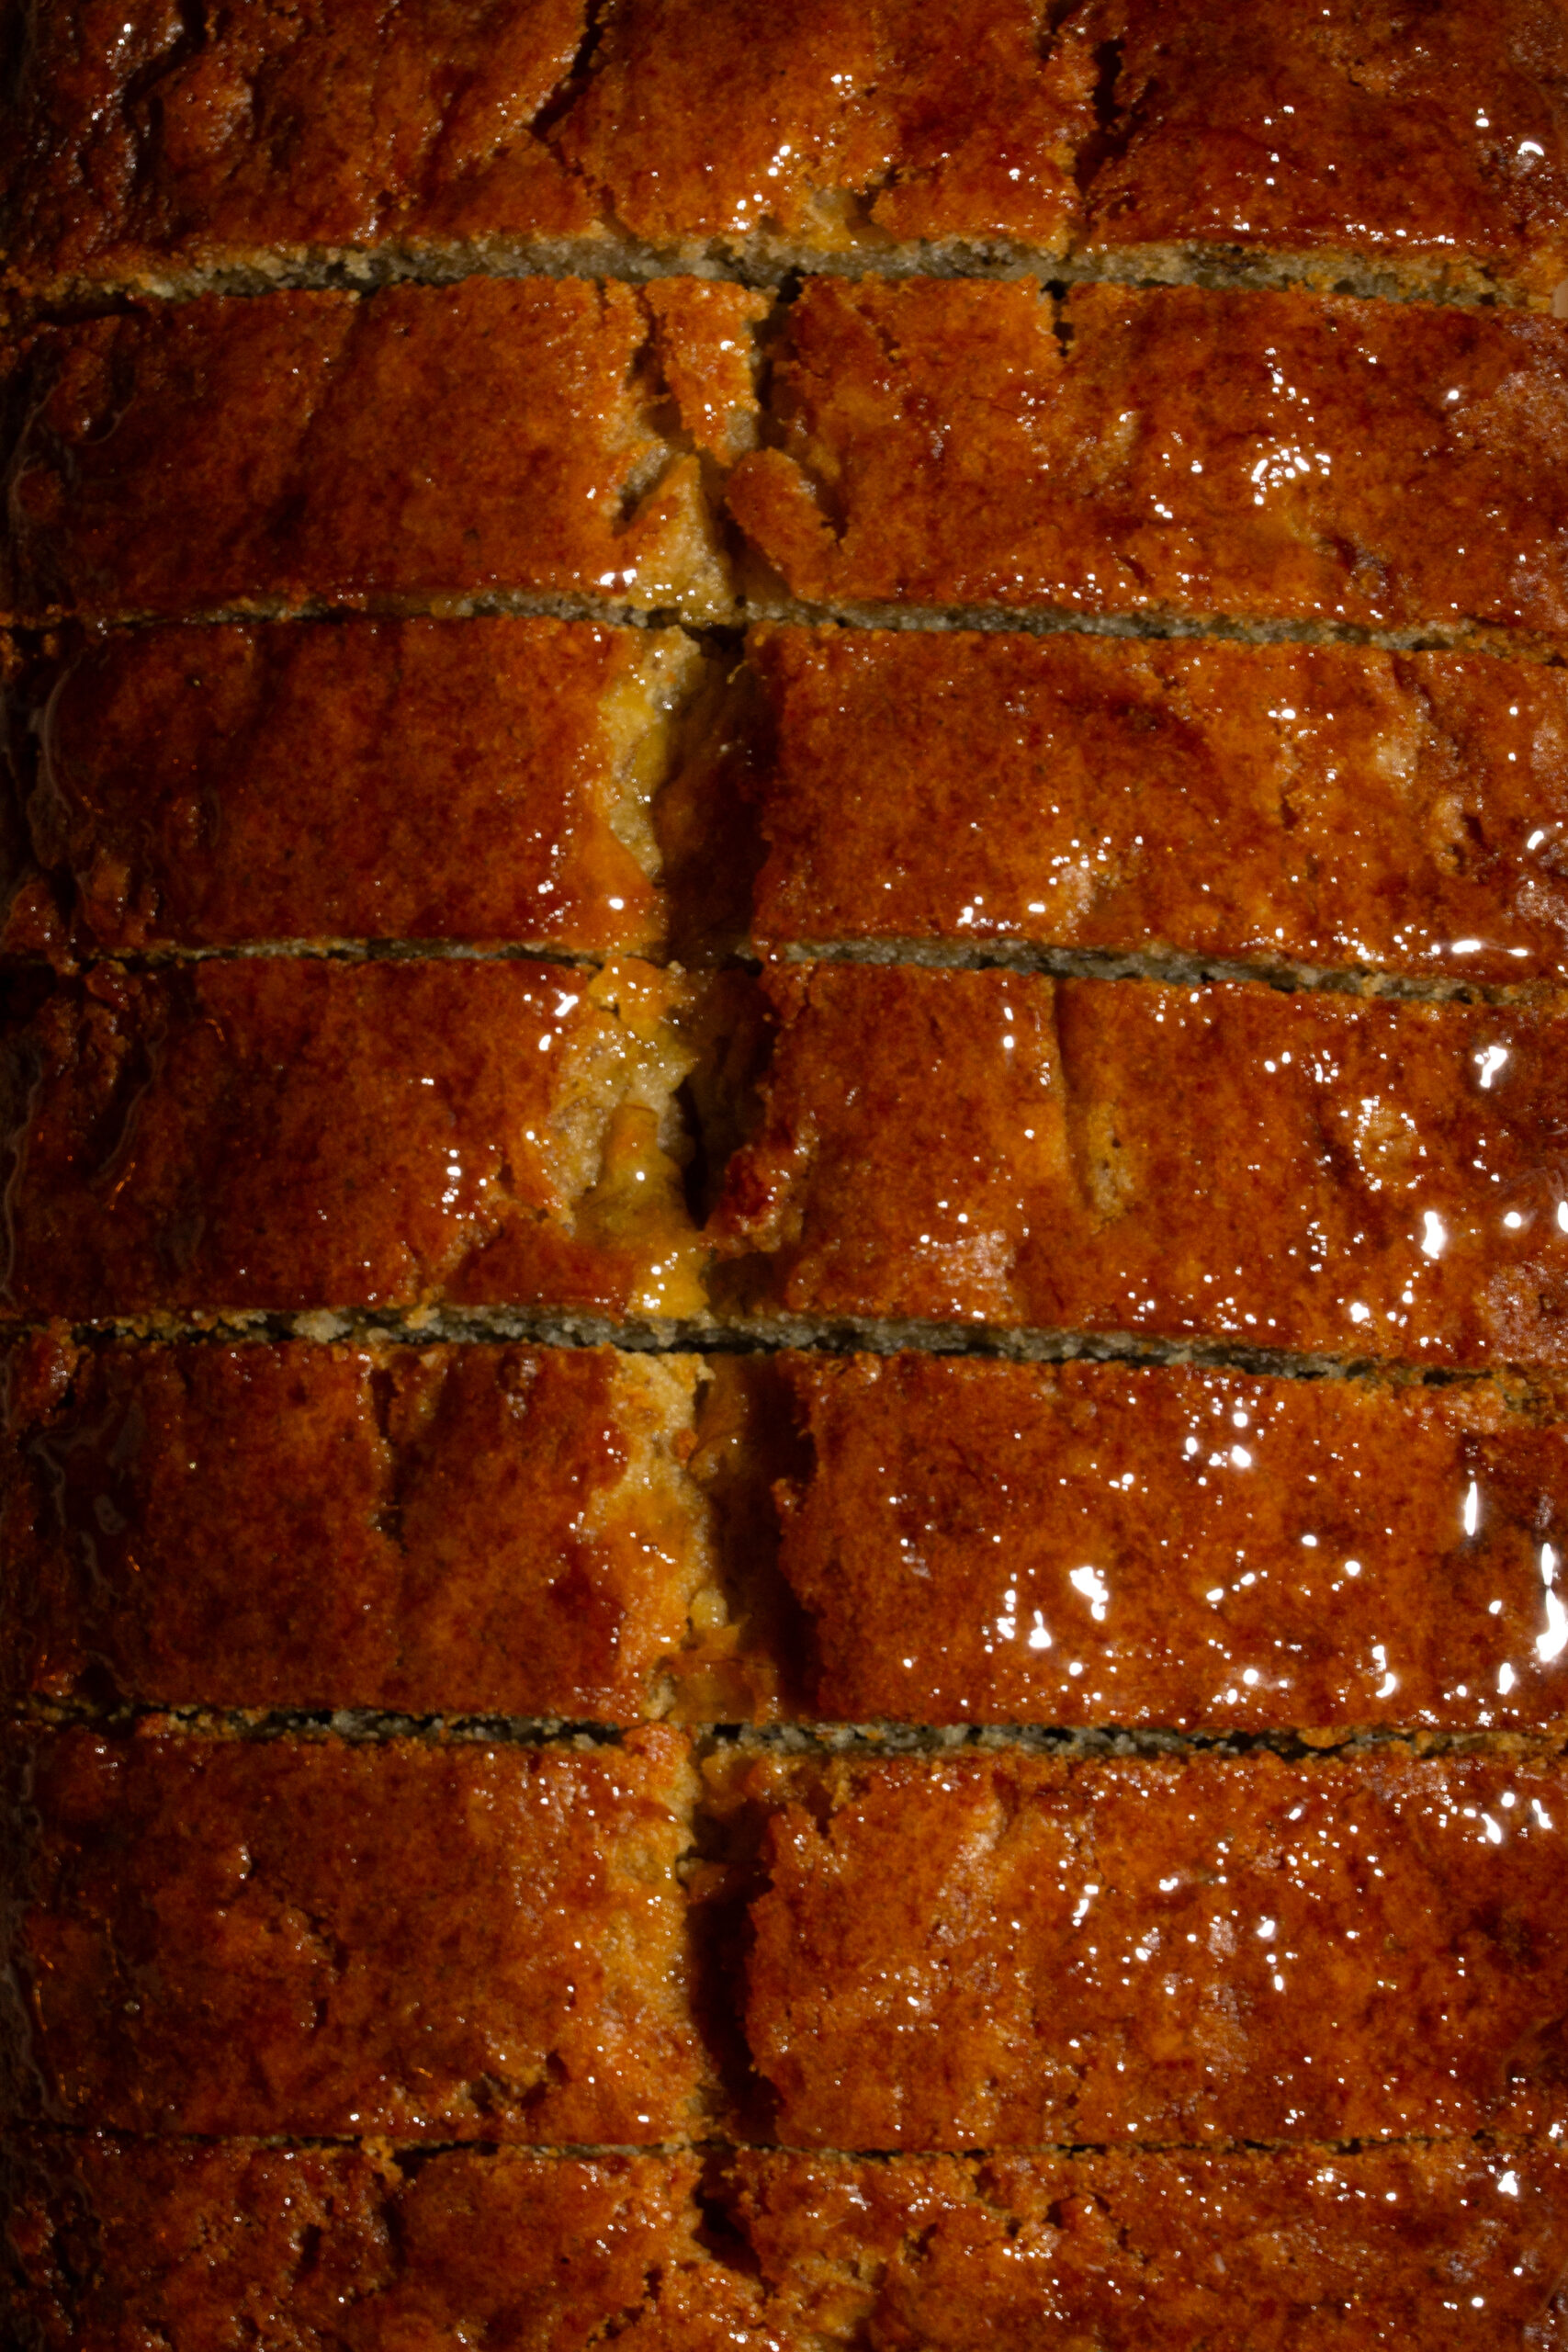
All Purpose Flour—I love the King Arthur brand but whatever you have should be fine. The key to soft banana bread is not to overmix the batter once the flour has been added.
Baking Powder—for a light, airy texture!
Baking Soda—to give our banana bread a good rise!
Salt—to compliment our sugars and emphasize the overall flavor.
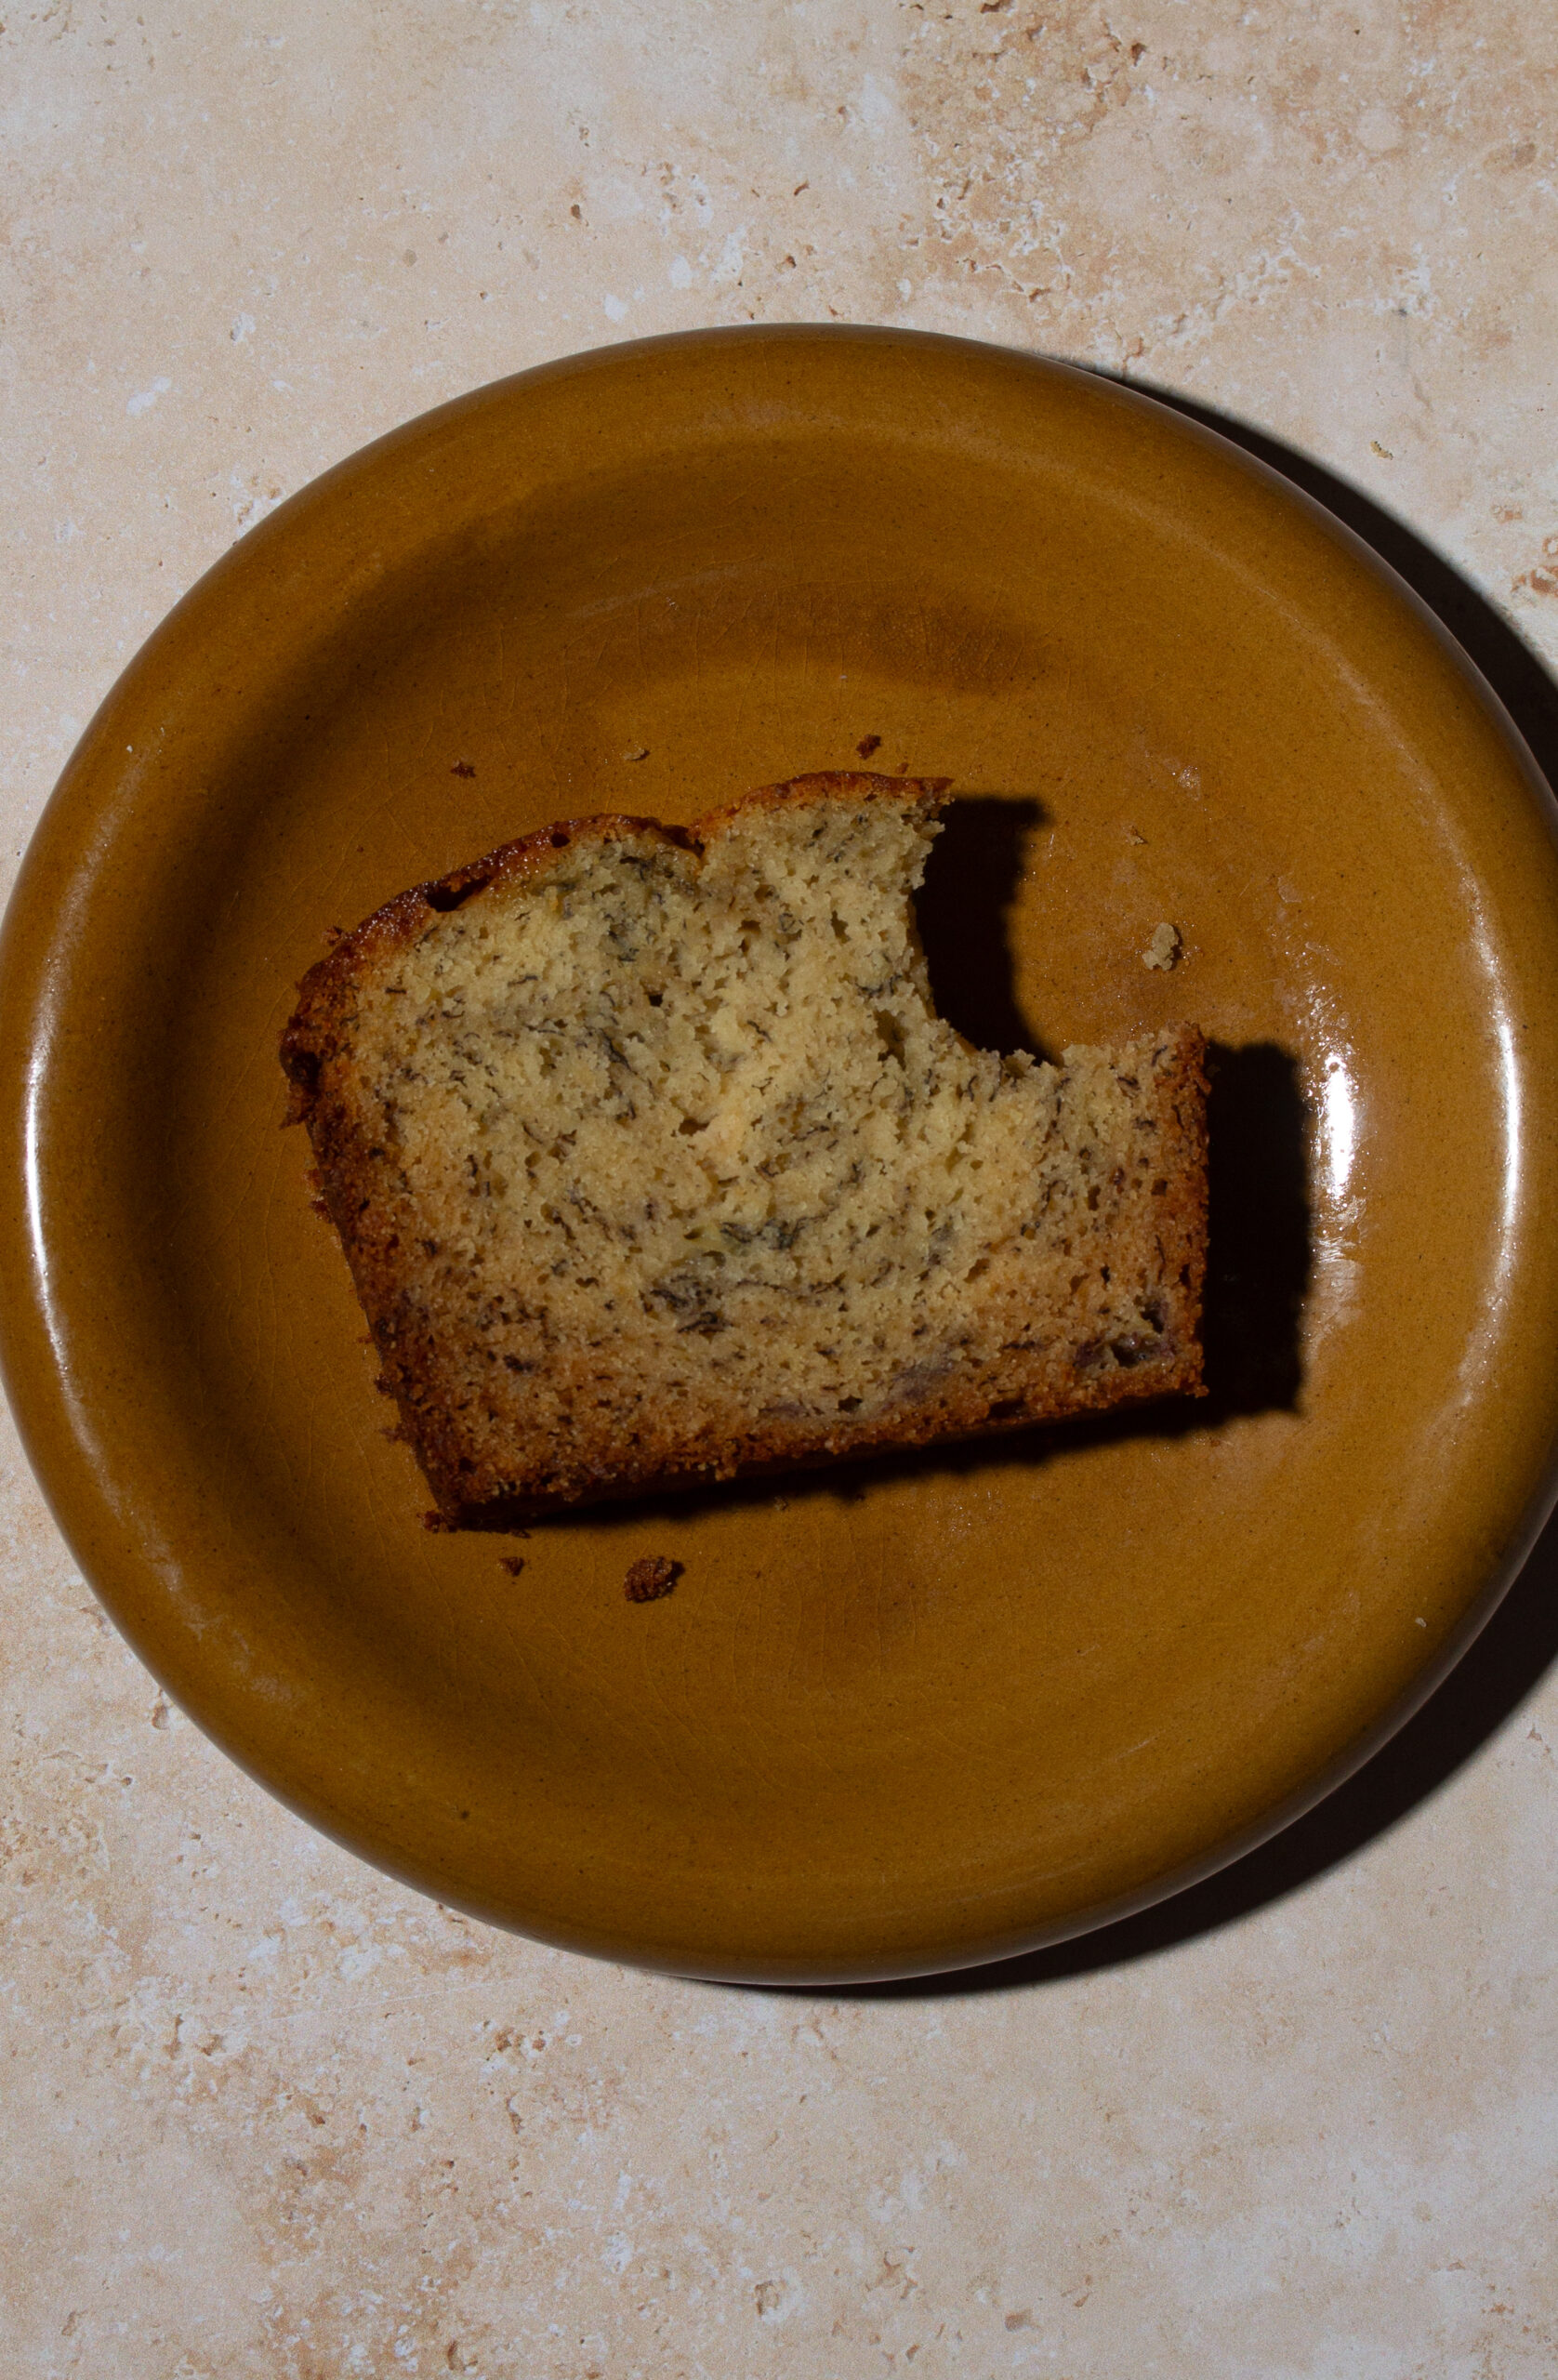
This banana bread recipe is pretty straightforward so we can hop into the recipe! Please send me any questions or comments you may have about this recipe here! And be sure to tag me on Instagram or TikTok @karisscorner if you bake it!
Can baking be therapeutic?
I often talk about baking being a therapeutic hobby but I’d like to share more about why I feel that way as well as how it can become a relaxing hobby for you!
When I bake, it’s my creative time. I may put on my favorite nostalgic movie or tv show in the background, or a Spotify playlist titled “French café” and leave my troubles behind.
Sometimes I pour myself a glass of wine and light a candle. Then, with the mood set, the mixing of batter, kneading of dough and smoothing of icing is my only care in the world.
When I say baking is therapeutic, sometimes people respond saying “not for me it isn’t!” I completely understand why someone might feel that way. There have been plenty of times where I spend hours on something only for it to fail or something breaks that shouldn’t or I forget to clean as I go and am left with a disastrous kitchen to clean.
So I should in reality, have a caveat to my “baking as therapy” claims…
Baking is therapy when you curate the experience to be relaxing.
How do you curate that relaxing experience for yourself, you ask?
How to make baking therapeutic…
- Prepare your mind–know that it’s okay if the cake doesn’t rise, or the butter wasn’t chilled enough. Shift your mindset from seeing your failures as mistakes to seeing them as opportunities for learning.
- Prepare your space–I cannot and will not bake on top of a messy kitchen. If I were to do this I would be starting from a place of stress! Take an extra 10 minutes to clean any dishes in the sink and wipe down the counters, this small effort will pay you back greatly in brain space and clarity.
- Clean as you go! I’ll tell you the one way to make baking stressful and tiresome, is to not clean as you go! After I use each ingredient that I no longer need, I put it away.
After each major step in the process, I wipe down the counters and put dishes that are no longer needed in the sink. If there is chill time or baking time I don’t sit, I do the cleaning then. Make this shift and you’ll really notice the difference!
By the way, this last tip really helped me when I was on The Great American Baking Show–and the crew that cleaned up behind us made a point to tell me that my workspace was always so clean they didn’t have much to do!
I would reply by saying “it’s how I stay sane in this tent!”
Additional suggestions:
*Maybe try printing off the recipe instead of looking at it on your phone, tablet or laptop and use this time to unplug from technology for a few hours
**Invite friends or family over to share your creation with you. Time spent with loved ones over food is a universally special experience
And that’s how I discovered baking for my mental health. If you try any of these suggestions, let me know how it went for you! I’m really invested in spreading this message to others in hopes that baking will enhance your lives more than it already does!
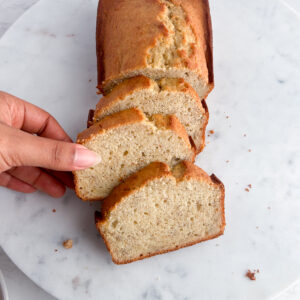
Banana Bread
Ingredients
For the Banana Bread
- 3 (270-300g) large overripe bananas mashed
- 1/3 cup (67g) coconut oil melted
- 1/3 cup (67) olive oil or 2/3 cup (135g) total of a neutral oil
- 2/3 cup (135g) granulated sugar
- 1 large egg room temperature
- 2 cups (250g) all purpose flour
- 2 tsp baking powder
- 1 tsp baking soda
- 1 tsp salt
Instructions
For the Banana Bread
- Preheat the oven to 350°F (roughly 180°C) and line a loaf tin with parchment paper and spray with baking spray then set aside.
- In a medium bowl, mash 3 large (roughly 270-300g) overripe bananas. Set aside.
- In a large bowl whisk together 1/3 cup (67g) of melted coconut oil, 1/3 cup (67g) of olive oil (or 2/3 cup (135g) of a neutral oil) and 2/3 cup (135g) of granulated sugar and 1 large egg until smooth.
- Add the mashed bananas to the oil/sugar/egg mixture and mix until combined.
- Add in 2 cups (250g) of all purpose flour, 2 tsp of baking powder, 1 tsp of baking soda and 1 tsp of salt and mix carefully making sure not to overmix.
- Add the batter to the loaf tin. Optionally you can sprinkle them with coarse sugar before baking. Bake for 45-55 minutes taking them out when a toothpick inserted in the middle comes out mostly clean.
- Allow to loaves to cool for about 45 minutes, then cut, serve with a little bit of butter and enjoy!