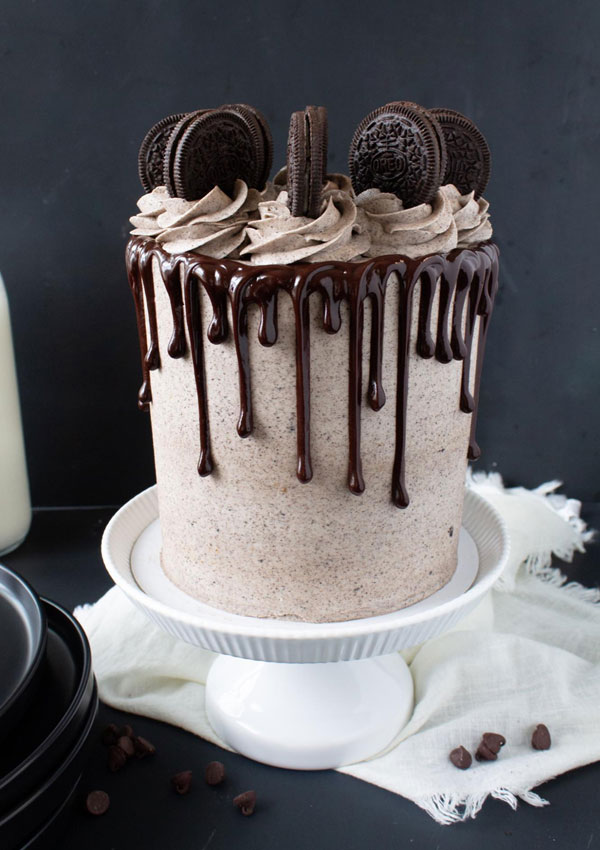
Fluffy vanilla cake layers with chunks of oreo cookies, crisp oreo cookie crust on each cake layer and smooth cookies and cream buttercream? This Cookies and Cream Cake Recipe is truly special!
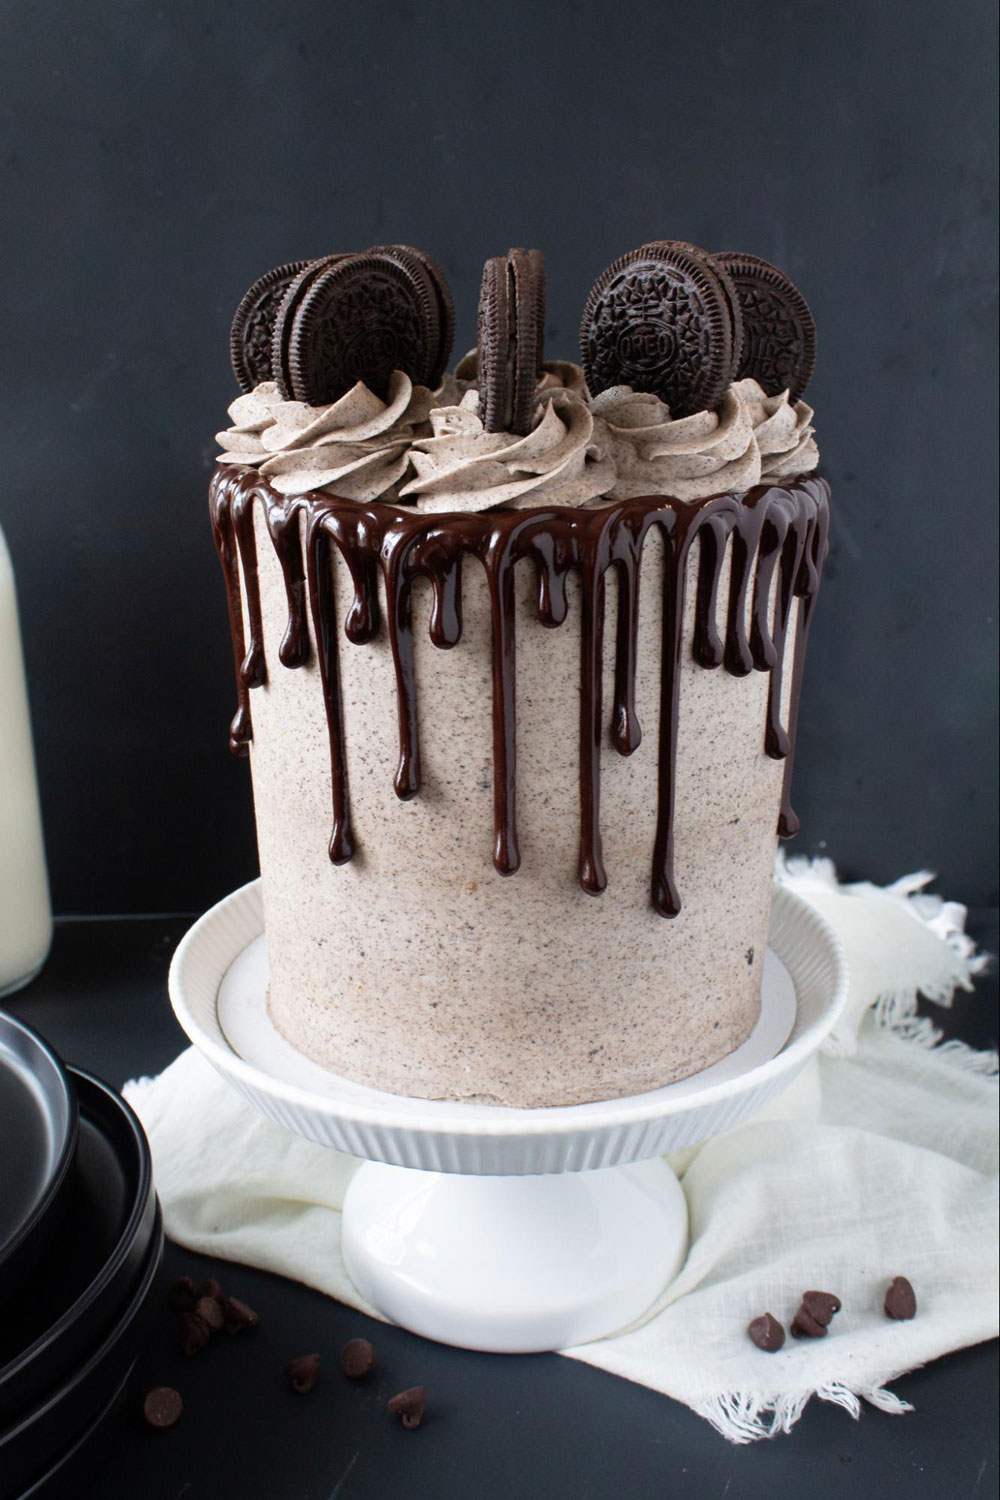
Dear friends, I cannot lie, the idea of a cookie crust on anything will immediately grab my attention. Something about finely ground cookies mixed with a bit of butter, baked to golden perfection just makes my heart sing! So when I decided to write my cookies and cream cake recipe, I knew it needed a cookie crust!
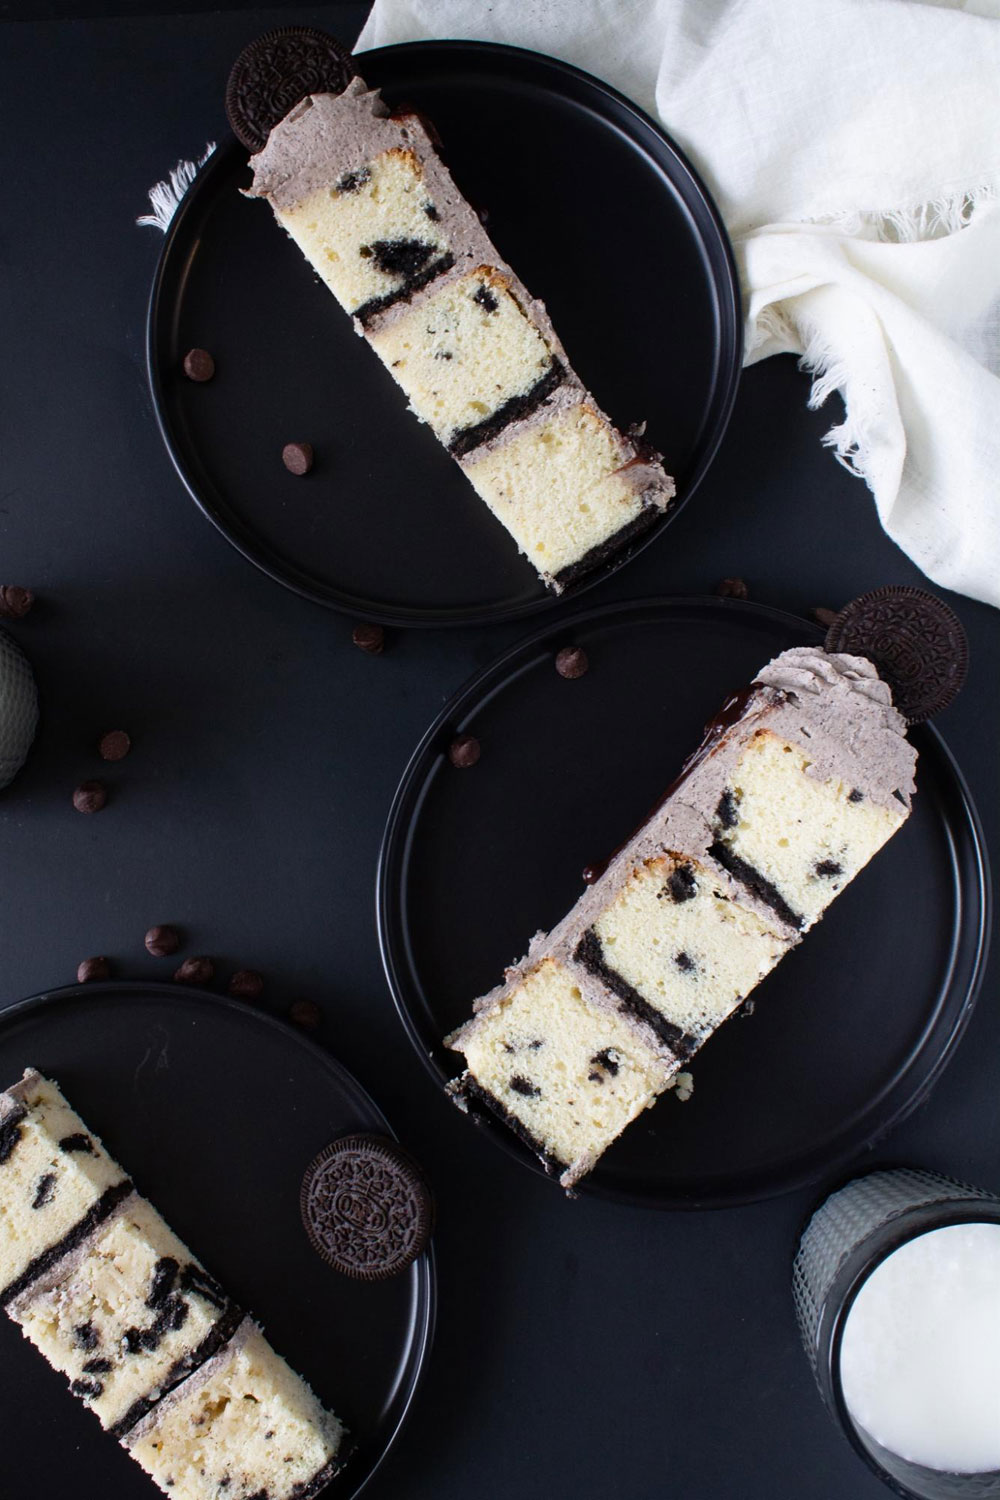
Most cookies and cream cake recipes involve a chocolate layer cake as a base. However I wanted this cake to be unique. I wanted you to cut into it and see that characteristic look we all associate with cookies and cream!
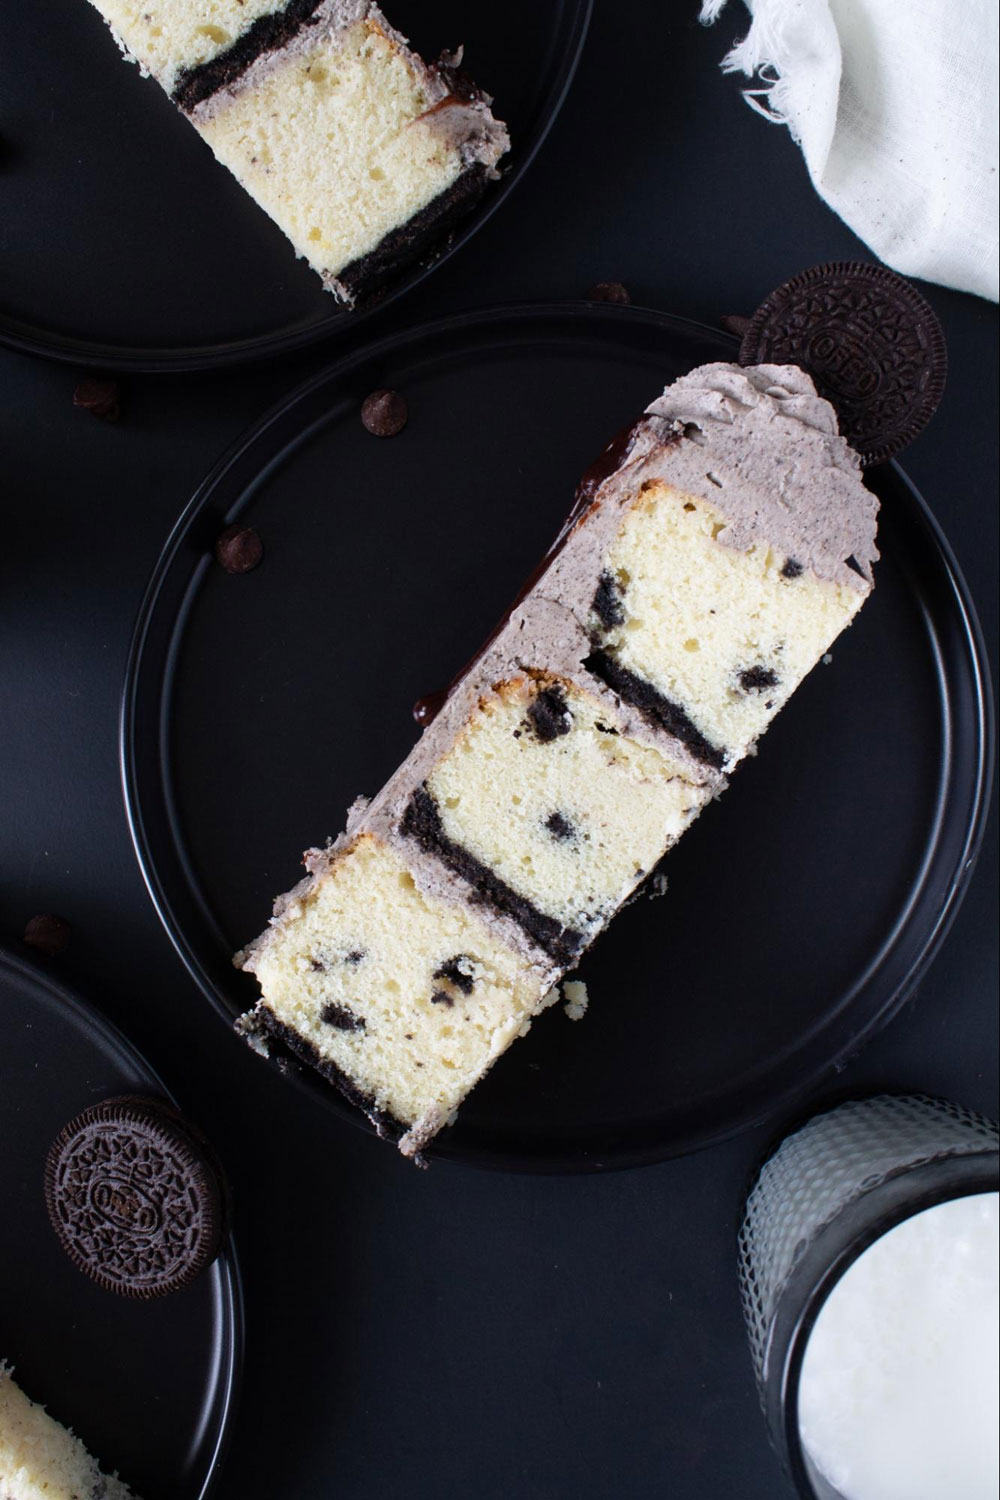
This recipe uses my classic vanilla layer cake as a base and then adds pretty much an entire pack of the Party Size Oreos to the different aspects of the cake. In fact I planned it so that there’s enough oreos to go in the cake and frosting with a few left over for snacking!
If you can whip up a regular cake, this cookies and cream cake recipe should be a breeze for you. Don’t let the oreo cookie crust intimidate you! It is truly SO EASY!
Here are the steps, simplified:
Step 1: Remove the oreo filling of 20 oreos. Discard (or eat) the filling and blitz the cookies into a powder. Mix with sugar and melted butter. Press into bottoms of cake pans and bake for 8 minutes
Step 2: Make the cake batter according to the instructions and then stir in 10 roughly chopped whole oreos. Fill the cake tins (with the cooled cookie crust) with the cookies and cream cake batter and bake for 28-33 minutes
Step 3: Blitz 12 whole oreos into a powder. Make buttercream according to the recipe instructions. Once the buttercream has come together, add the oreo powder, mix until combined.
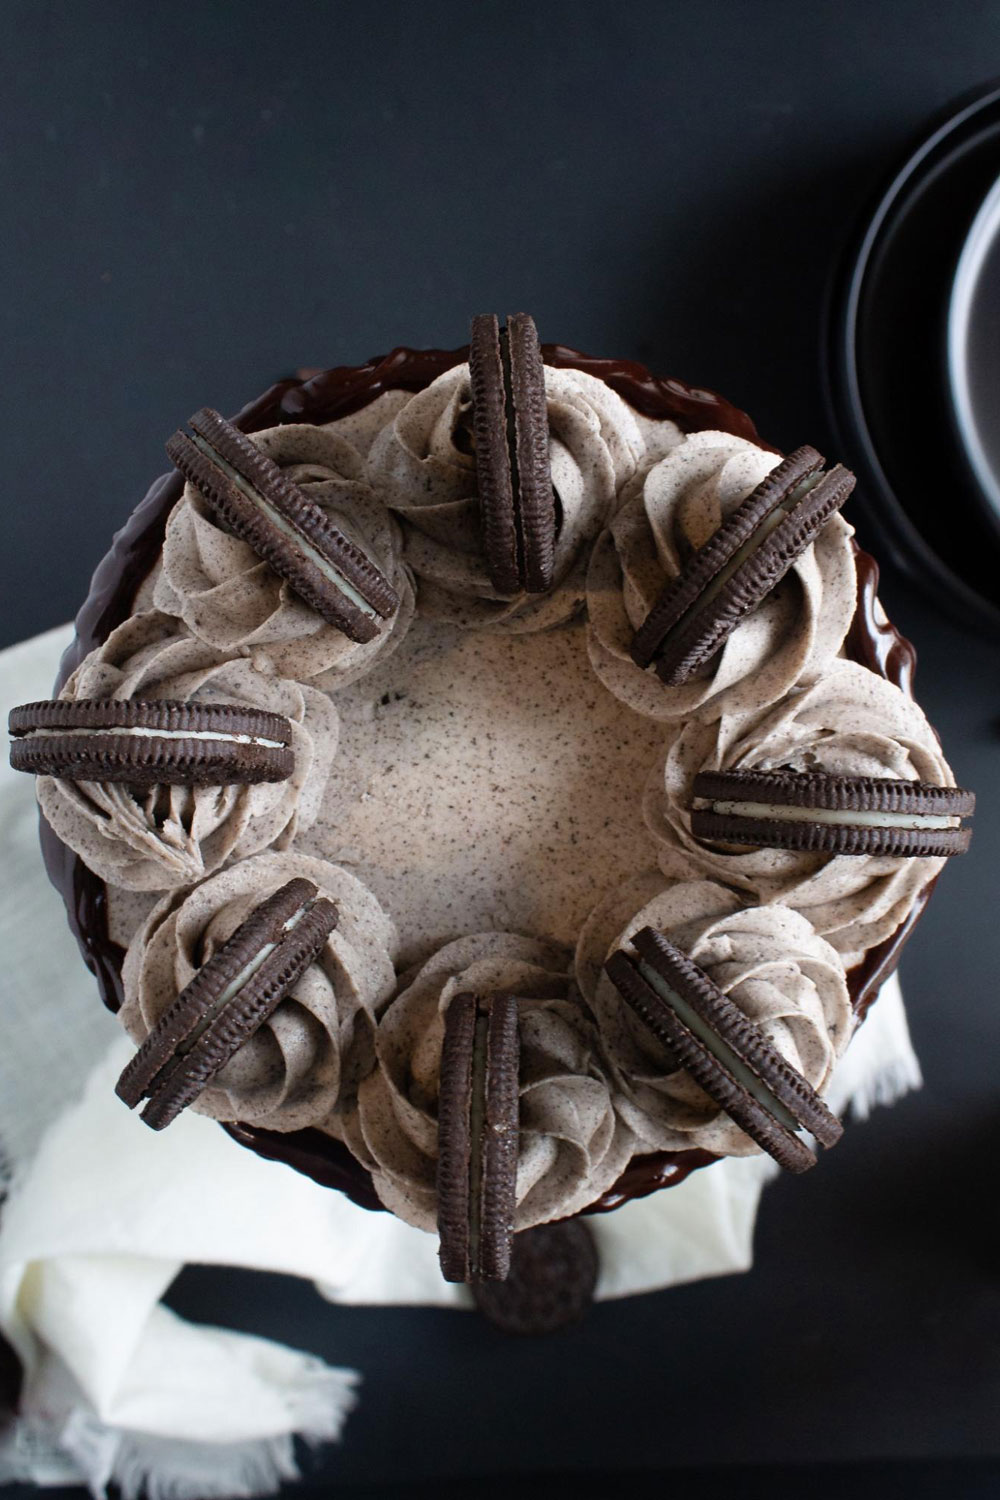
Step 4: Allow everything to cool completely, frost cake with oreo frosting, add the (optional) chocolate drip and decoration. Serve and try not to eat it all in one day!
Can baking be therapeutic?
I often talk about baking being a therapeutic hobby but I’d like to share more about why I feel that way as well as how it can become a relaxing hobby for you!
When I bake, it’s my creative time. I may put on my favorite nostalgic movie or tv show in the background, or a Spotify playlist titled “French café” and leave my troubles behind.
Sometimes I pour myself a glass of wine and light a candle. Then, with the mood set, the mixing of batter, kneading of dough and smoothing of icing is my only care in the world.
When I say baking is therapeutic, sometimes people respond saying “not for me it isn’t!” I completely understand why someone might feel that way. There have been plenty of times where I spend hours on something only for it to fail or something breaks that shouldn’t or I forget to clean as I go and am left with a disastrous kitchen to clean.
So I should in reality, have a caveat to my “baking as therapy” claims…
Baking is therapy when you curate the experience to be relaxing.
How do you curate that relaxing experience for yourself, you ask?
How to make baking therapeutic…
- Prepare your mind–know that it’s okay if the cake doesn’t rise, or the butter wasn’t chilled enough. Shift your mindset from seeing your failures as mistakes to seeing them as opportunities for learning.
- Prepare your space–I cannot and will not bake on top of a messy kitchen. If I were to do this I would be starting from a place of stress! Take an extra 10 minutes to clean any dishes in the sink and wipe down the counters, this small effort will pay you back greatly in brain space and clarity.
- Clean as you go! I’ll tell you the one way to make baking stressful and tiresome, is to not clean as you go! After I use each ingredient that I no longer need, I put it away.
After each major step in the process, I wipe down the counters and put dishes that are no longer needed in the sink. If there is chill time or baking time I don’t sit, I do the cleaning then. Make this shift and you’ll really notice the difference!
By the way, this last tip really helped me when I was on The Great American Baking Show–and the crew that cleaned up behind us made a point to tell me that my workspace was always so clean they didn’t have much to do!
I would reply by saying “it’s how I stay sane in this tent!”
Additional suggestions:
*Maybe try printing off the recipe instead of looking at it on your phone, tablet or laptop and use this time to unplug from technology for a few hours
**Invite friends or family over to share your creation with you. Time spent with loved ones over food is a universally special experience
And that’s how I discovered baking for my mental health. If you try any of these suggestions, let me know how it went for you! I’m really invested in spreading this message to others in hopes that baking will enhance your lives more than it already does!
 |
Cookies and Cream CakeYield: 16 slices Prep Time: 40min Baking Time: 25-30min Total Time: 1hr 10min |
Ingredients:
For the Cookie Crust
- 20 oreos (middle removed, blitzed)
- 1/4 cup granulated sugar
- 1/4 cup melted butter
For the Cake
- 2 1/2 cups granulated sugar
- 3/4 cup (1 1/2 sticks) unsalted butter (room temperature)
- 1/2 cup vegetable shortening
- 4 large eggs (room temperature)
- 2 egg whites (room temperature)
- 3 cups cake flour
- 2 tsp baking powder
- 1/4 tsp salt
- 1 cup buttermilk (room temperature)
- 2 tsp vanilla extract
- 10 whole oreos (chopped)
For the Frosting
- 2 cups (4 sticks) unsalted butter (room temperature)
- 2 tsp vanilla extract
- 1/2 tsp salt
- 7 cups powdered sugar (10x sifted is the best)
- 3 Tbsp heavy cream or milk
- 12 whole oreos (blitzed to powder)
For the Chocolate Drip
- 1/2 cup semi sweet chocolate chips
- 1/4 cup heavy cream
Instructions:
The Cookie Crust
- Preheat the oven to 350°F (180 Celsius) and prepare 3 6″ cake pans with nonstick spray and parchment paper.
- Separate 20 oreos and remove the middles to be discarded. Place the cookies into a food processor to blitz them into a fine powder.
- Pour the blitzed oreos into a bowl and add 1/4 cup of granulated sugar and 1/4 cup of melted butter. Mix until combined.
- Press the oreo mixture into the bottoms of the three cake pans until there is an even layer of cookie crust in each pan.
- Bake for 8 minutes, then remove from the oven to cool.
The Cake
- In a large bowl or in the bowl of a stand mixer, place 1 1/2 sticks of unsalted butter, 1/2 cup of vegetable shortening and 2 1/2 cups of granulated sugar and beat on medium speed until the mixture is light and fluffy (at least 2-3 minutes).
- While the butter, shortening and sugar are mixing, in a medium bowl measure out 3 cups of cake flour, 2 tsp of baking powder and 1/4 tsp of salt. Lightly whisk this mixture together.
- Add in 4 whole eggs, 2 egg whites one egg at a time to the butter sugar mixture, mixing after each egg is added and only adding a new egg after the previous one is incorporated into the batter. Add 2 tsp of vanilla extract and mix on low speed until incorporated.
- Scrape down the bowl to make sure everything is mixed thoroughly. At this point, your batter should look pretty light and fluffy.
- Alternate adding the flour mixture and the buttermilk to the batter, starting and ending with the flour. Add 1/3 of the flour mixture, then put my mixer on low speed until it’s incorporated, then 1/2 of the buttermilk, mix on low, 1/3 of the flour, mix, last 1/2 of the buttermilk, mix, final 1/3 of the flour mixture until all is barely incorporated.
- Roughly chop 10 whole oreos and pour the chopped oreos into the cake batter.
- Finally, take a spatula and finish mixing the batter lightly by hand to ensure it is even and smooth and the oreo chunks are mixed in fully.
- Pour even amounts of batter into the pans and bake,** at 350°F for 30-35 minutes depending on your oven and using the four sensory tips above.
- Once cakes are baked, take them out of the oven and let them cool in their pans for at least 20 minutes on the counter or a cooling rack.
- If you are going to decorate the cake right away, place the layers in the freezer for about 10 minutes before doing so. This helps trap in the crumbs and makes decorating easier. If you won’t be using the cake layers immediately, wrap each layer tightly in plastic wrap or an airtight plastic bag and place in either the refrigerator or the freezer to use for later.
The Frosting
- Beat 2 cups of room temperature butter on medium speed with a hand or stand mixer fitted with the paddle attachment until smooth (about 30-45 seconds)
- Add in 7 cups of powdered sugar cup by cup while mixing on low speed. Do this carefully, it can make a mess.
- Increase the speed to medium once most of powdered sugar is incorporated and add in 2 tsp vanilla extract and 1/2 tsp salt
- Add 3 Tbsp of heavy cream or milk to the frosting and continue mixing for 2-3 minutes until the frosting has lightened in color and is fluffy.
- Blitz 12 whole oreos in the food processor until they become a fine powder. Then add the blitzed oreos into the buttercream and mix on medium for 1 minute.
- Turn speed to low to release any air bubbles that accumulated in the beating process
The Ganache
- Place 1/4 cup heavy cream in a saucepan over medium heat. Allow the cream to heat up but do not bring it to a boil.
- Pour the 1/4 cup of hot heavy cream over the 1/4 cup of chocolate chips in a heatproof bowl. Cover the bowl for about 3 minutes to trap in the steam.
- Remove the cover and mix until the ganache comes together.
The Assembly
- Level the top of the completely cooled cakes with a serrated knife to create a flat top surface
- Place a small amount of buttercream on the cake board and then place your first layer of cake on top. The buttercream will work as your “glue” to stick the cake to the board
- Scoop about 1/2-1 cup of buttercream frosting onto the first cake layer, spread it out evenly and place second, leveled layer of cake on top, repeat the process until all three layers are assembled
- Spread frosting around sides and top of cake with an offset spatula and then smooth those layers with a putty knife or bench scraper to trap in the crumbs
- Place cake in the fridge for 5-10 minutes for the frosting to harden
- Take the cake out of the refrigerator and place a second layer of frosting on the top and the sides of the cake. Smooth the frosting and decorate as you please! I add a ganache drip but this is not fully necessary!

Leave a Reply