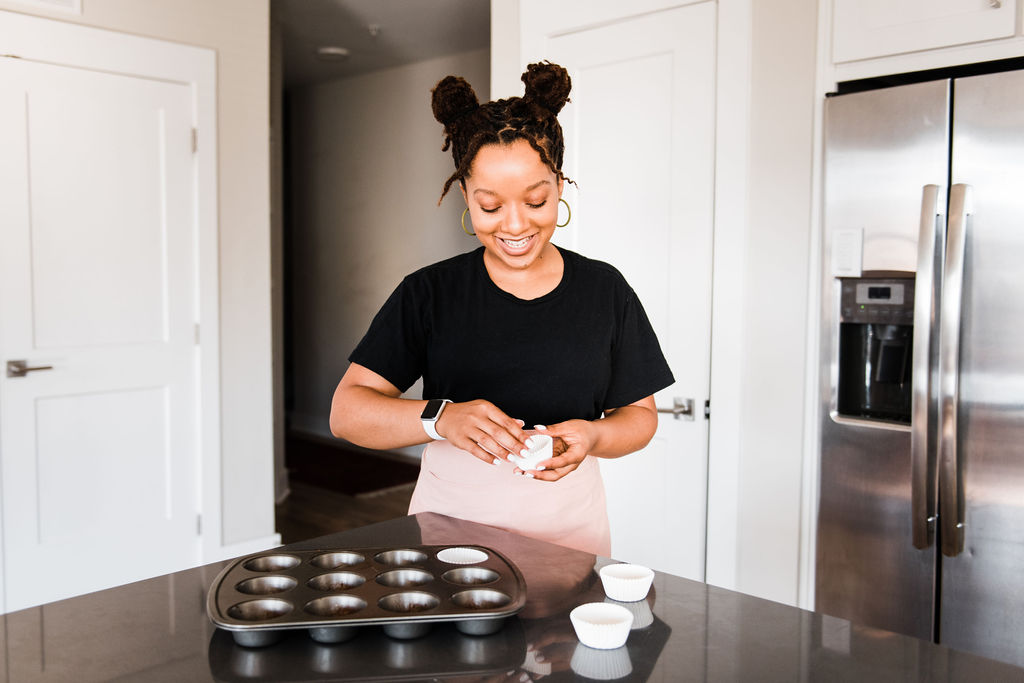
In this tools section I will give a range of supplies needed in order to bake. It’s no secret that baking can require a ton of equipment, however my goal is to offer as many substitutes as possible to prove that you can bake with the most basic supplies and ingredients.
One of the main goals of this blog is to display baking as a therapeutic artform, not to shake you down and have you spend a ton of money. Therefore the guide below ranges from the minimum amount of supplies you will need to some that I don’t even have yet! You decide for yourself how much you want to put into it. I will include links to the supplies I already have and recommend!
Also at the end I’ll give my top tips to keeping your baking space as clean as possible so that this relaxing endeavor doesn’t counteract and become stressful! I’ve been there, it’s not fun!
The basics for baking
Start with these supplies for basic baking!
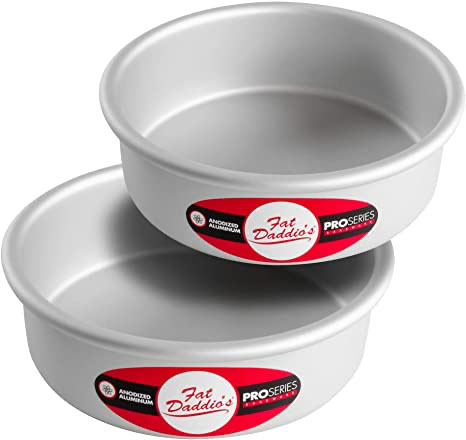
Cake pans-a good set of cake pans is essential to baking cakes. I recommend having 3 6″ or 2 8″ pans to start out. Over time I built my collection to different sizes and shapes of pans. I also find that aluminum pans bake my cakes better than any other material. The brand I linked is the one I use almost exclusively.
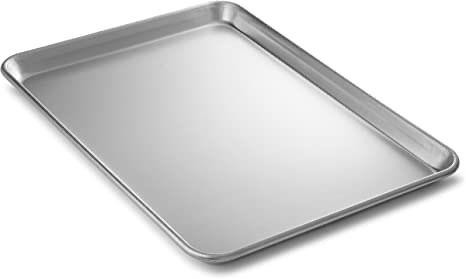
Sheet pan-a sheet pan is classic for cookies, pastries, etc. I recommend an aluminum half sheet size pan like the one I’ve linked. Mine have lasted me for years and never bend in the oven like some of the cheaper ones I’ve accumulated over the years tend to do.
 |
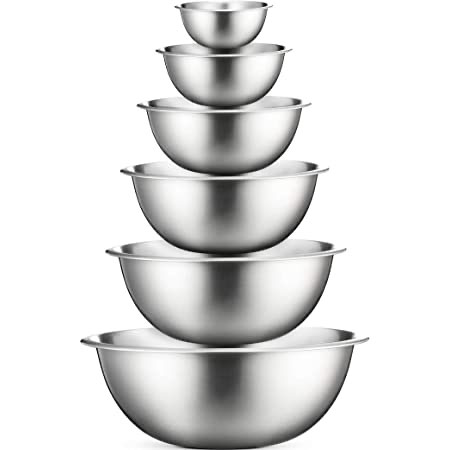 |
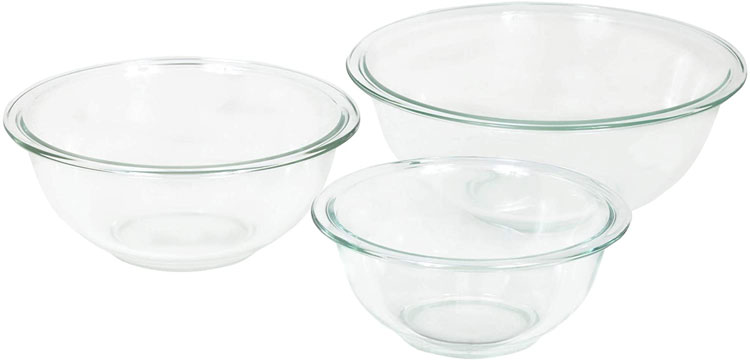
Glass and Stainless steel mixing bowls-it’s a good idea to have at least one medium and one large bowl to start out. I have both glass and stainless steel and both are fantastic in my baking.
 |
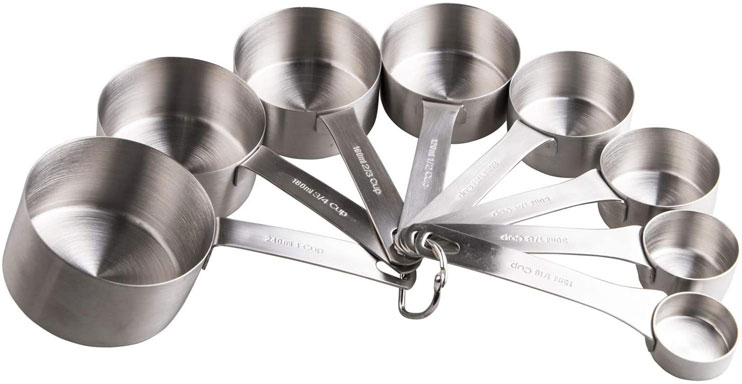 |
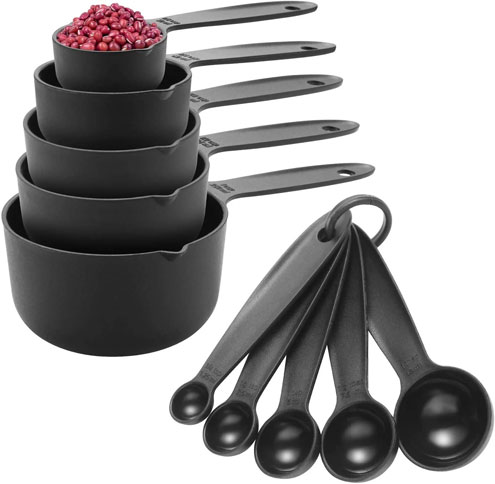
Measuring cups-invest in a good set of measuring cups. My biggest recommendation here is to make sure the measurements are engraved not printed. If printed on, they will inevitably fade over time. Here is a cheaper plastic option and a more expensive stainless steel option. I have used both and both get the job done!
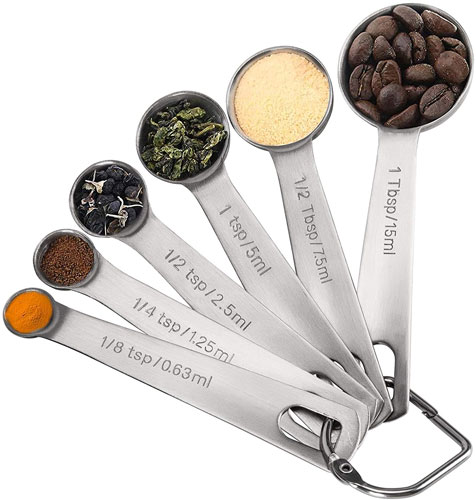
Measuring spoons-similar to measuring cups, you’ll want to buy engraved, not printed spoons.
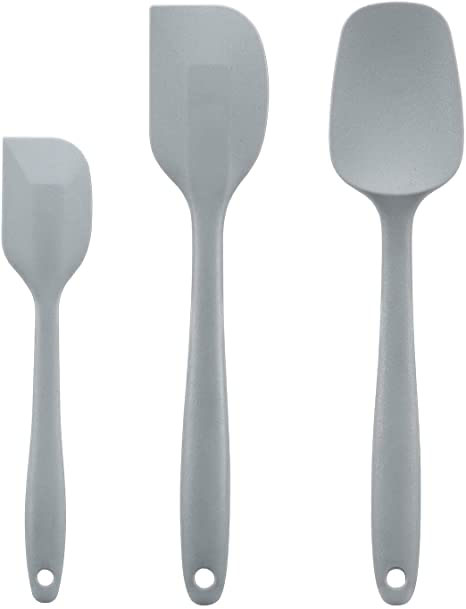
Good spatula-a spatula in baking can often work as a second hand, but better. It will be your best friend as you mix batters, scrape the mixing bowl and make sure that all ingredients are combined! It’s important to find a spatula that you are comfortable using. As time goes on you will find that you have a favorite spatula. I’ve linked mine! Though I have three spatulas, this is the one I always gravitate towards. A fellow baker once told me, if you’re at the store and you see a good spatula, buy it, you won’t regret it.
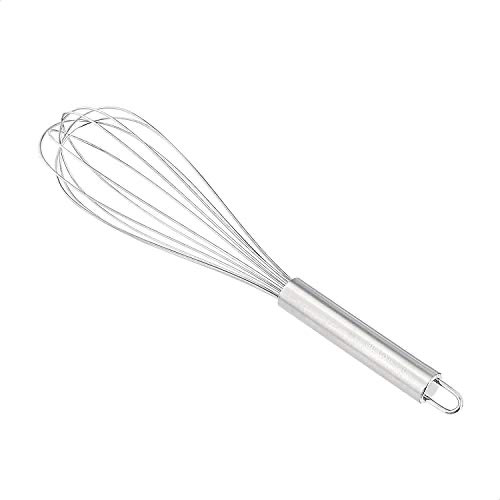
Whisk-a whisk can very well be replaced by a fork, but investing in a whisk is well worth the money. Whisks are often used to combine dry ingredients or even to mix an entire cake batter without a handheld or stand mixer. They are handy tools that will make life easier in the kitchen.
The basics for decorating
With these five supplies you can decorate cakes more beautifully than you might think!
 |
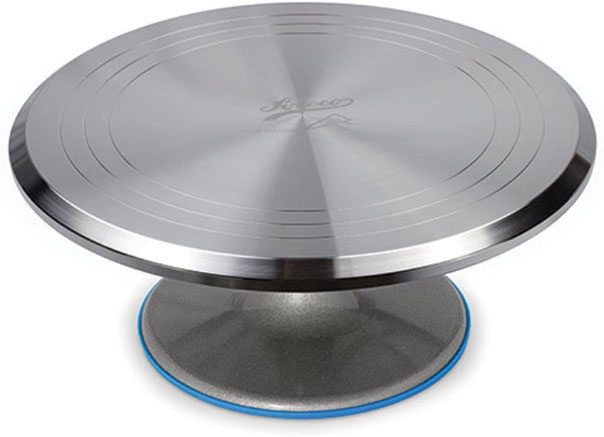 |
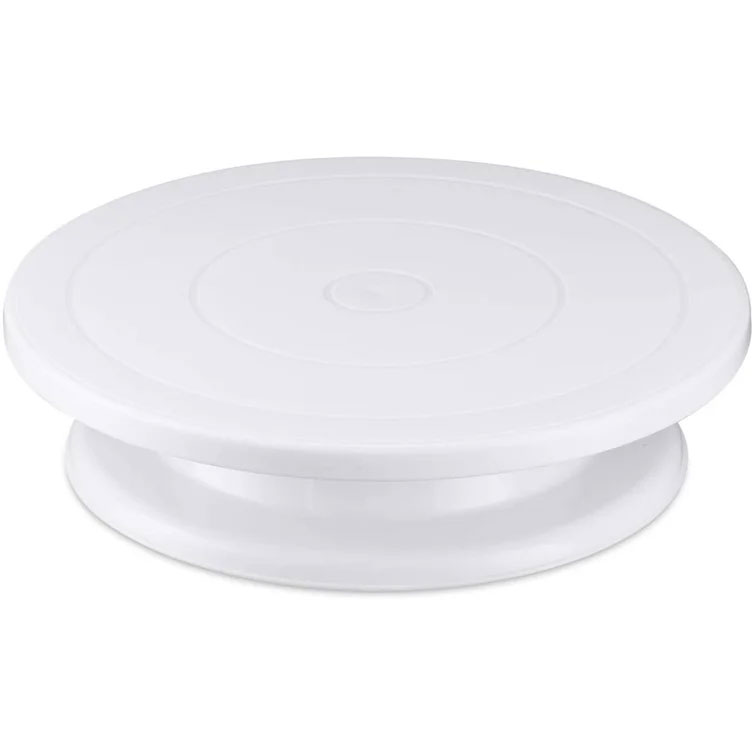
Spinning cake stand-cake turntables are essential for cake decorating. However you can get a really cheap one to start with if you’re not looking to put a ton of money into it. I used this cheap turntable for years and it worked just fine. Over time I was actually gifted metal turntable which spins more smoothly. Though I prefer the metal model, I sold cakes for years just by using the first model.
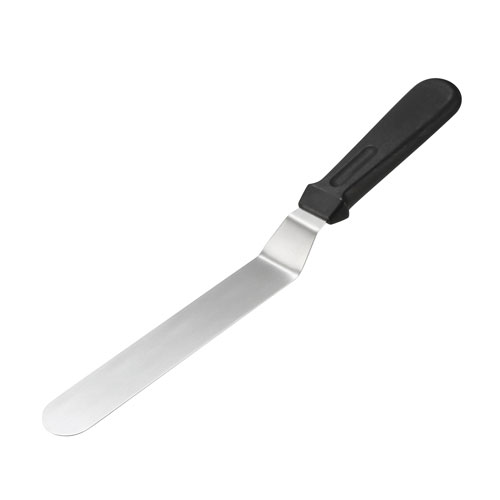
Offset spatula-offset spatulas are necessary for getting icing on the cake without getting it all over your hands. It is absolutely possible to use a regular kitchen knife to apply frosting to a cake, but offset spatulas hit an angle that regular knives can’t.
 |
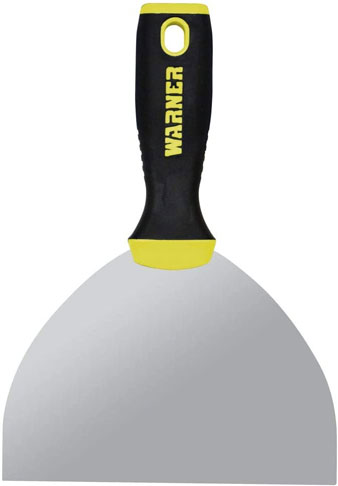 |
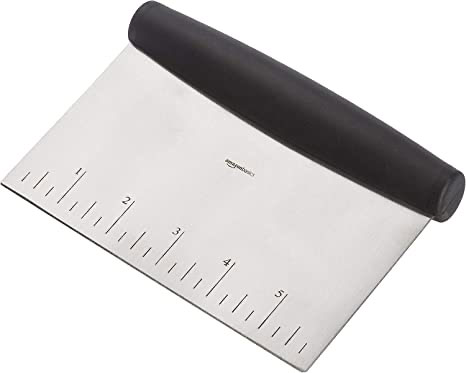
Bench scraper-there are a few different models of bench scrapers but the bottom line is that bench scrapers are used to smooth the icing around the cake and give it the finish you desire. When I started out I used a standard bench scraper and loved it. Then over time I found my way to the putty knife, yes, the putty knife. Though typically used for construction and not baking (even though the two professions have a ton of similarities), the putty knife is now my favorite tool to smooth cakes. Some people prefer the classic bench scraper, but I thought I’d add my personal favorite in case you prefer it too!
 |
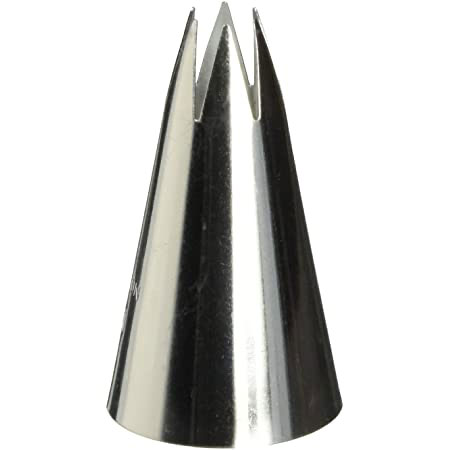 |
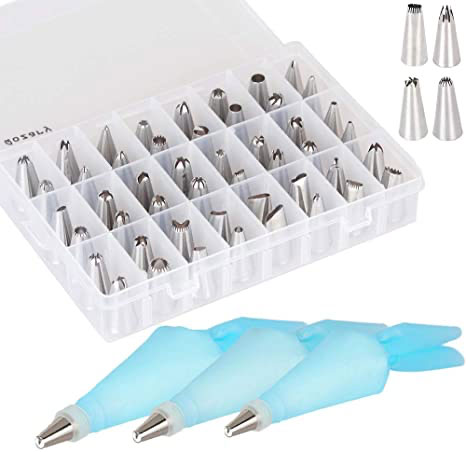
Set of piping tips-there are many piping tips and sets out there. This is the set I started with and still use! Buying a set is helpful because they compile the most used tips and then over time as you experiment with different piping styles you have your set to pull from! The only tip I would recommend adding to your collection is the Wilton 1M tip, it’s a classic and I simply can’t get enough of it!
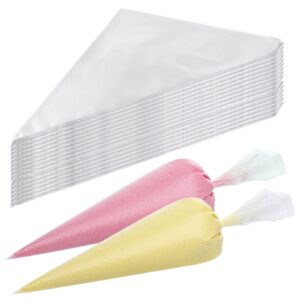
Piping bags-piping bags come in bulk on amazon so though it might seem like an annoying purchase, know that one box should last you a while. The ones I linked I always have on hand to pull from. Even as a person who runs her own home bakery it takes me a while to get through them!
Basic ingredients I always keep on hand
If you have these eight ingredients always in your fridge or pantry you can already make so many things! What I like to do is keep these ingredients around and then if I’m making chocolate chip cookies for example, I know that I only need to pick up chocolate chips from the store instead of every single ingredient. It’s all about making life easier and baking more enjoyable!
- Flour
- Sugar
- Butter
- Eggs
- Salt
- Vanilla Extract
- Buttermilk
- Baking Powder
Helpful tools
As time goes on and you want to invest more into your baking, these three supplies might prove to be very useful.
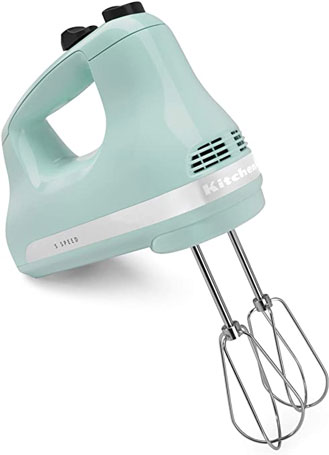
Hand mixer-I love my hand mixer, it’s perfect for whipping up cookie batters, homemade whipped cream, cookie dough, etc. It beats having to use my hand and a whisk to mix while still giving me the control over the mix that sometimes my stand mixer isn’t able to do. The one I’ve linked is standard, comes with a few different attachments, and works perfectly!
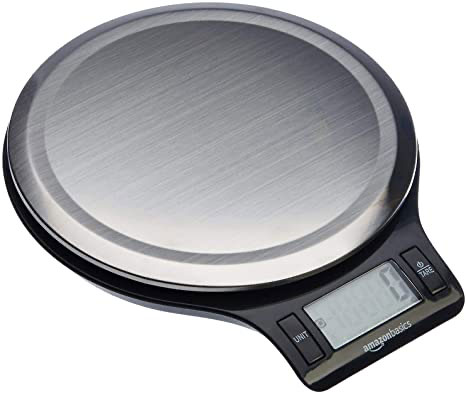
Kitchen scale-the kitchen scale might actually be my favorite kitchen tool. I use it both while baking and cooking. In baking, the scale helps when a recipe is in the metric system or when you want exact accuracy that measuring cups and spoons can’t provide. For example, if a recipe calls for 2 cups of flour and directly next to that says (272 grams), you might want to measure out the grams on your kitchen scale because simply scooping two cups of flour might leave you with too little or too much flour. See my vanilla cake recipe for more details on flour measurements!
Silicone baking mat-this is the one item in this entire post that I do not yet own but highly recommend. And to be honest, as I’m writing this I might go purchase these baking mats right now! Baking mats are not necessary if you keep parchment paper around, but they definitely help to eliminate waste since they are reusable!
Worth the money
This item is more on the expensive side but is hands down 100% worth the money.
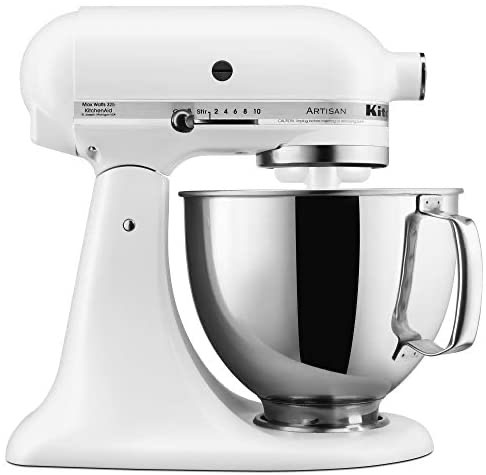
Stand mixer-my kitchen aid stand mixer has been the biggest life saver in the kitchen. I love it so much and am actually saving up to buy a second one simply because it is that invaluable to my kitchen operation! It makes icings, batters, doughs, so well. The only downside is making sure you scrape the bowl regularly while using the mixer, sometimes ingredients get stuck on the bottom, so you’ll want to have a spatula on hand, but overall I highly recommend this tool!
Other helpful items to keep on hand:
Paper towels-I always keep paper towels around to clean as I go. I wipe down my surface any time it gets too messy so that in the end when I’m the most tired, I’m not left with egg, flour, sugar, butter, etc. all over my counters.
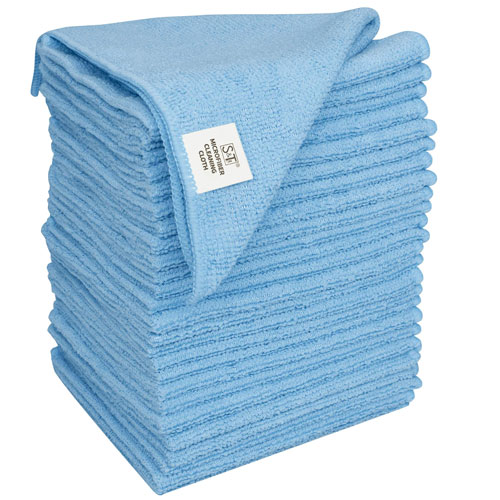
Microfiber towels-in addition to paper towels, I bought this set of microfiber towels and I keep a damp one and a dry one with me at all times while baking for the same reasons as the paper towels. I find that the microfiber just catches everything more than the paper towels.
Parchment paper-parchment paper is necessary to line your cake pans and baking sheets so that your batter and dough don’t stick to the pans. I try to keep it in my foil, plastic baggie drawer so that when I go to bake I don’t need to make a quick run to the store first. In the past I’ve run out of parchment paper and tried to replace it with foil. Don’t be like me, keep the parchment paper on hand!
How to keep your baking environment stress free
Tip #1-Clean before you start
This might seem tedious but every time I bake I clean the kitchen beforehand. Baking can get very messy, flour and powdered sugar love to get on everything, and I really mean everything. I’ve found it everywhere from in my baking slippers to on the walls!
Cleaning before you bake helps you start with a clear mind. Plus, if the sink is already clear you won’t feel as stressed to put your new dirty dishes you used to bake in there. I recommend this from personal experience, putting new dirty dishes on top of old dirty dishes is not for me! And it’s not for you either, we’re better than that!
Next time you bake, take 5 minutes to complete this checklist:
- Clean the dishes and clear the sink
- Clear the counters of any unnecessary items (you will need counter space to bake!)
- Wipe down all counters and surfaces
- Make sure a clean rag or paper towels are available
Tip #2-As soon as you’re done with an ingredient, put it away, or measure ahead of time
This is a rule I started incorporating a few years ago even before I started baking seriously. After I pre-clean the kitchen I pull out every ingredient and every measuring tool I will need for the recipe I am making. Then, as I use each ingredient, I put it back where it goes.
So for example if a recipe says “measure flour, baking powder and salt in a medium bowl and whisk together until combined”, I will measure out flour, put it away, baking powder, put it away and you guessed it, salt and put it away too.
This way, by the end of the prepping I don’t have a ton of ingredients out. It’s one less thing to worry about, and in this pastime/hobby/business every saved minute counts amiright!
Measuring out your ingredients ahead of time and placing them in small bowls/plates is also a useful trick, but then I find that I have more dishes to do in the end. The choice is yours my friend!
Tip #3-Keep paper towel or microfiber towel on hand, wipe constantly
As mentioned above, I always keep paper towels, as well as one dry and one damp microfiber towel around while baking. I learned this trick when I worked as a cake decorator at a bakery. We decorated in front of a display window so cleanliness was especially important. Wiping my surface as I go always helps keep my head level. A messy environment is proven to cause stress and to be a reflection of what’s going on internally.
Plus I don’t know about you, but I’m a messy baker, if I didn’t wipe as I went there’s no telling what the kitchen would look like in the end!
Tip #4-Reuse measuring tools
Let’s say a recipe calls for 1 cup of sugar, 1 cup of flour and 1 cup of buttermilk among other things. Instead of using up three different 1 cup measuring cups, I make sure to measure out my dry ingredients first, in this case the flour and the sugar. Then, using the same measuring cup, I measure out the buttermilk. This small tip will help you in the long run to not have too many dishes to do in the end.
The only time I recommend using multiple different measuring cups is if you are baking for someone who is celiac or has a severe allergy. In that scenario, you’ll want to keep everything separate!
Be sure to let me know what you think of these tips and tricks here on the blog, through email (karisscorner@gmail.com) or over on my instagram @karisscorner!
