Follow this blog post to learn exactly how to make Paint Your Own Cookies. This blog post outlines exactly which recipe I use to make royal icing that actually tastes good, tips and tricks for making color dots that work, how to make sure the ink doesn’t bleed, how to keep the sugar cookie soft and more!

Paint Your Own Cookies are a super cute idea for a gift or an edible craft activity for any age!
To see me making a paint your own cookie of the British Bake Off tent, click here.
To see me prepping a cookie to be painted, click here.
To see me actually painting a cookie, click here!
The Cookie Recipe
This is my classic no spread sugar cookie recipe, perfect for cookies that will get decorated with royal icing or buttercream like this paint your own cookie!
TO MAKE THESE NO-SPREAD CHECKERED SUGAR COOKIES RECIPE YOU WILL NEED:
-
- Unsalted butter–make sure your butter is of good quality this can make or break the tastiness of the cookie! Some brands I love are Kerrygold Pure Irish Butter and Danish Creamery.
-
- Granulated sugar
-
- Vanilla extract–another ingredient that needs to be of the best quality for the flavor we’re going for. I love to use Nielsen Massey and McCormick for the most part when I bake!
- Almond Extract–by now you know the deal, good quality here. A little almond extract goes a long way, which is why this recipe only calls for ¼ tsp of it.
-
- One egg
-
- All purpose flour
-
- Baking powder
-
- Salt
- Almond flour–this ingredient adds an extra flavor and bite to the cookie that works so well! It’s part of the secret/magic of this recipe!
Because of the almond flour in this checkered sugar cookies recipe, it’s pretty easy to make it fully gluten free. Just swap the all purpose flour for 1 for 1 gluten free flour and you have a gluten free option!
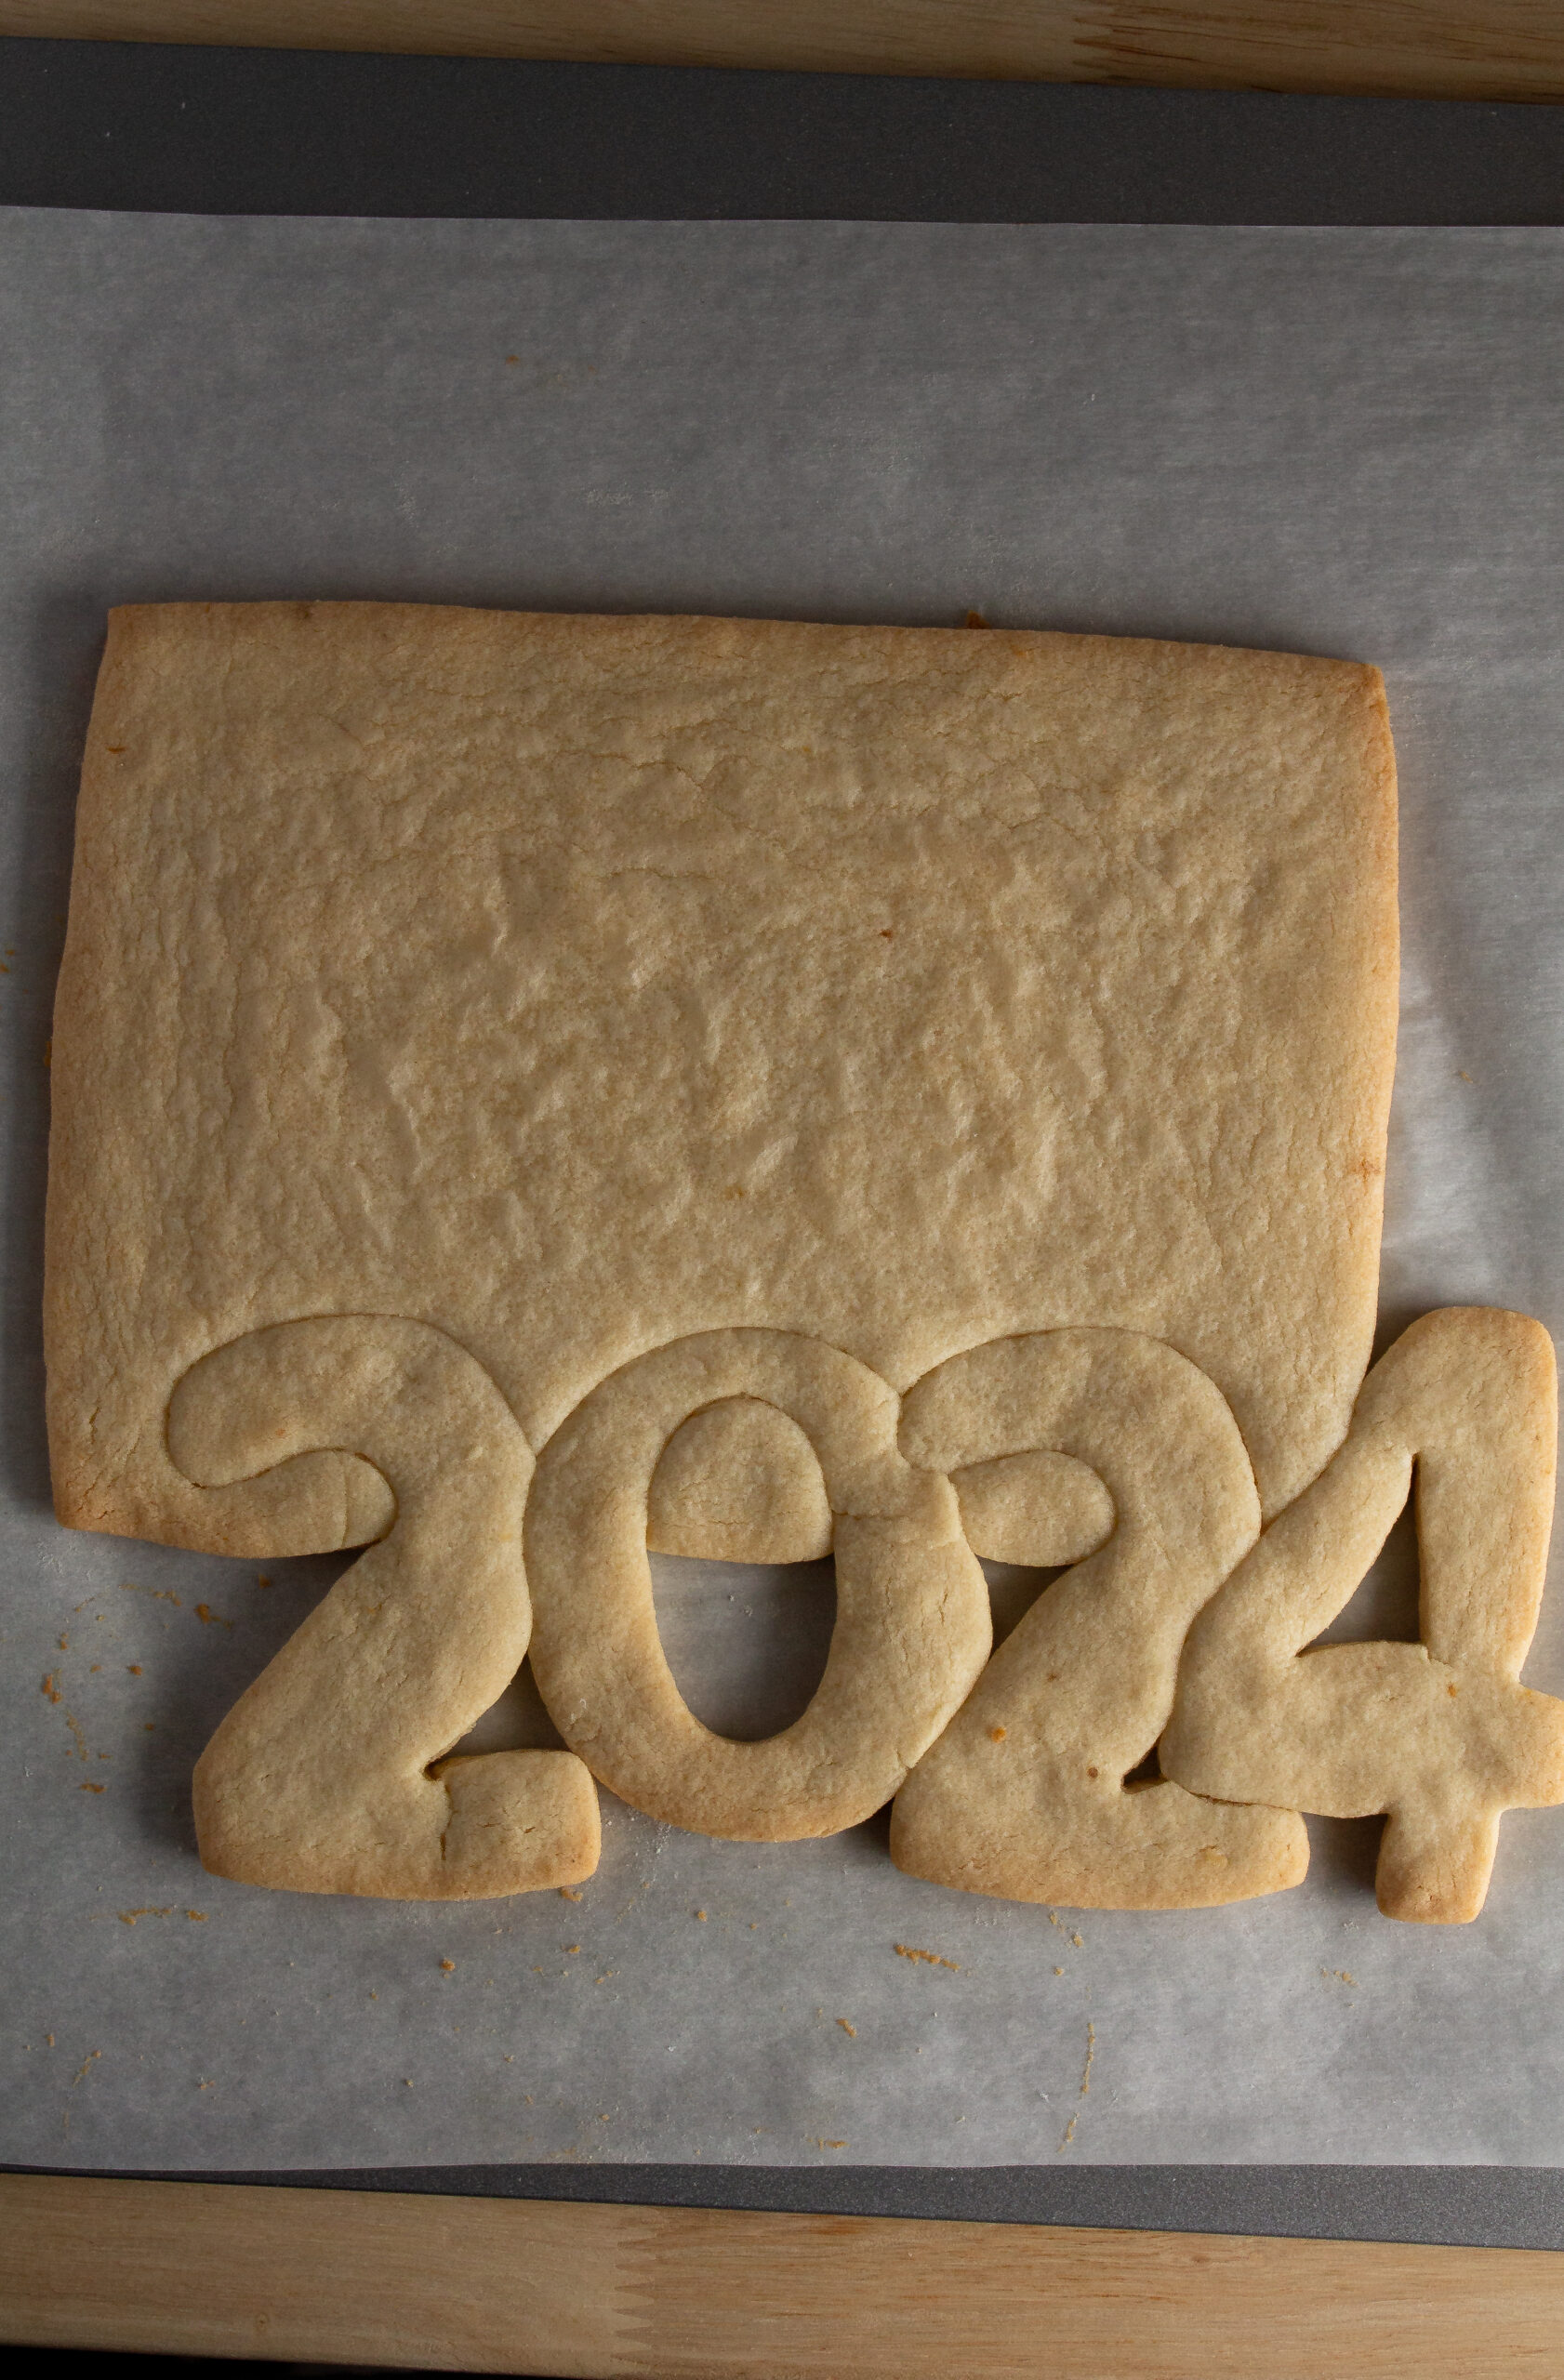
The Royal Icing–that actually tastes good
Royal icing has a reputation for not tasting great…which is why I worked for years to create this recipe, it has great flavor, pipes perfectly and pairs really well with my sugar cookie recipe for this paint your own cookie.
There are a few special ingredients that I use in this royal icing recipe–
- Meringue powder stabilizes the royal icing but also gives it an almost marshmallowy flavor! It’s not commonly found in every grocery store but I always have luck at Michael’s or on Amazon.
- Butter emulsion or extract is one of the key ingredients for flavor in this royal icing and should NOT be skipped! You should also be able to find this ingredient at Michael’s if not, on Amazon.
- Vanilla extract is obviously not a unique ingredient, but we do use 1 tablespoon of it in our royal icing. That’s almost triple most recipes for royal icing but it really enhances and rounds out the flavor!
Keep in mind that when you flood a cookie with royal icing, it needs to dry overnight in order to be ready for drawing or painting. It will try to deceive you and pretend it is dry before it actually is, but a good rule is thumb is to ALWAYS wait 24 hours for your royal icing to dry!
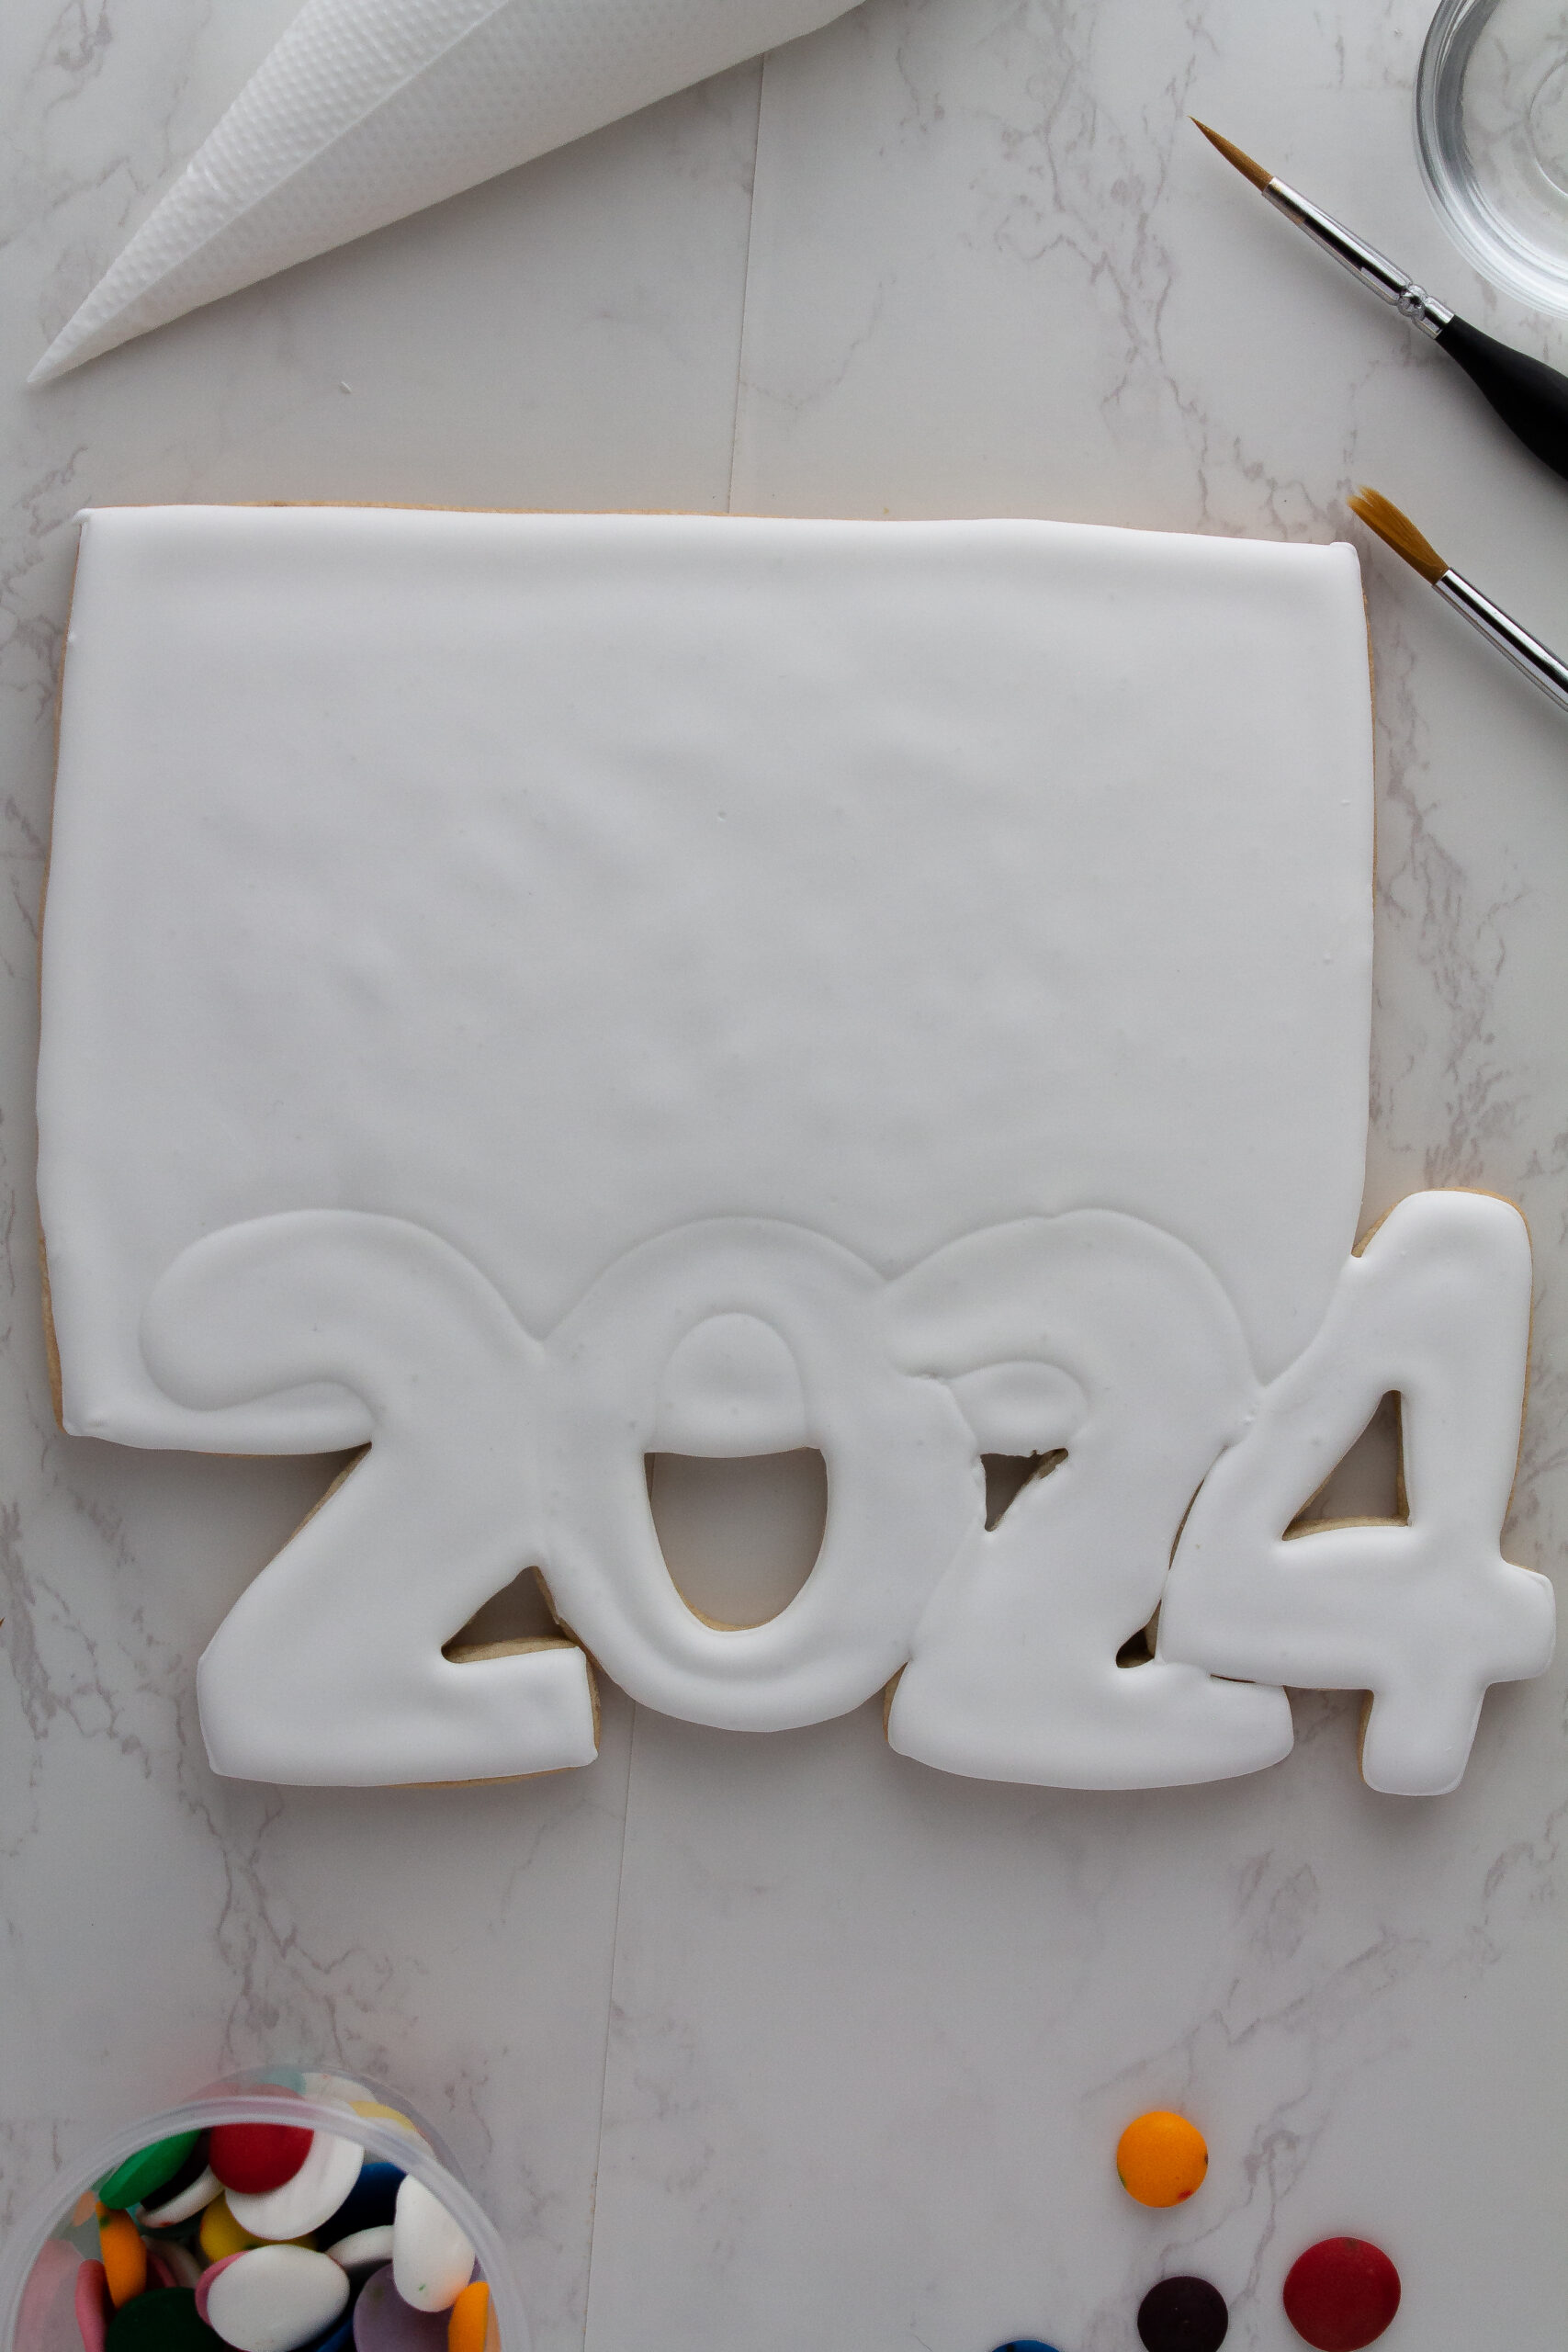
The Color Dots
The color dots are the key component, the magic element, if you will! These color dots will serve as the “watercolor” for these paint your own cookies. Here are my top tips for making and using them:
- Pipe the color dots using a thick/medium consistency royal icing. When you add the gel food coloring to color the royal icing, different colors may cause the icing to loosen in consistency. If it becomes too runny, add back a teaspoon or so of powdered sugar to thicken it up again. The thicker the frosting, the faster it will dry and better it will maintain its shape.
- You will likely have leftover color dots–store them according to color in an airtight container and they will last for up to 12 weeks!
- The darker you color the color dots, the better/deeper your final water color will turn out! Too light, and you risk the watercolor not showing up.
How to make sure the ink doesn’t bleed
I use the Wilton FoodWriter edible ink pens when I make my paint your own cookies. These pens work really well for me though, you don’t want to paint directly over them with the watercolor or the lines may bleed. If this does happen, the solution is easy, just take the brush that is wet with water and wipe where the ink bled, it will work like an eraser!

These paint your own cookies are so fun to make and paint! If you have any questions or comments about them, feel free to contact me! I want this post to be a comprehensive guide to making your own paint your own cookies!
Happy New Year and Happy Baking!

Paint Your Own Cookie
Ingredients
For the Sugar Cookies
- 1/2 cup unsalted butter 1 stick, room temperature
- 1 cup granulated sugar
- 1 large egg room temperature
- 1 tsp vanilla extract
- 1/4 tsp almond extract
- 2 cups all-purpose flour
- 1/2 cup almond flour
- 1 tsp baking powder
- 1/4 tsp salt
- 1 edible ink pen
For the Royal Icing
- 2 lbs powdered sugar
- 3 Tbsp meringue powder
- 1 Tbsp vanilla extract
- 2 tsp butter emulsion
- 2/3 cup + 2 Tbsp water
- gel food coloring of choice
Instructions
For the Cookies
- In a medium bowl or the bowl of a stand mixer fitted with the paddle attachment, place ½ cup of unsalted butter at room temperature and 1 cup of granulated sugar.
- Beat on medium speed until light and fluffy (about 1-2 minutes).
- In a separate medium bowl, whisk together the 2 cups of all purpose flour, ½ cup of almond flour, 1 tsp of baking powder and ¼ tsp of salt until combined.
- Scrape down the sides of the bowl of butter and sugar mixture and then add 1 egg, 1 tsp of vanilla extract and ¼ tsp of almond extract. Mix until combined.
- Add the dry ingredients to the wet ingredients and mix until combined. Do not overmix. Turn the dough out onto a lightly floured surface and bring it together by hand until it looks like a homogenous dough.
- Place the dough onto the parchment paper you will use to bake the cookies and roll out to ¼ inch thickness.
- Use your desired cookie cutter to cut out the cookie shapes keeping in mind to leave room for the placement of the royal icing color dots. Remove the excess dough from around the shapes.
- Combine the excess dough on a lightly floured surface and roll out again to ¼ inch thickness. Cut out the remaining shapes and place on the parchment paper.
- Once all cookies have been cut out and placed on the parchment paper, place the parchment paper onto the baking sheet that you will use to bake later on. Refrigerate the cookies for just 30 minutes or freeze for 10 minutes. Cookies should feel firm to the touch before placing in the oven.
- Towards the end of the 30 minutes of chill time, preheat the oven to 350℉ (roughly 180℃) Remove the cookies from the refrigerator and bake for 10 minutes.** Allow the cookies to cool completely.
For the Royal Icing
- Place 1, 2lb bag of powdered sugar and 3 tbsp of meringue powder into a large bowl or the bowl of a stand mixer fitted with the paddle attachment. Mix on low until combined.
- Add 1 tbsp of vanilla extract and 2 tsp of butter emulsion or extract and continue to mix on low. Slowly pour in the ⅔ cup + 2 tbsp of water a bit at a time while continuing to mix. The mixture will be lumpy at first but will smooth out over time.
- Increase the speed to medium/high once all water has been incorporated and mix for about 30 more seconds. Scrape down the sides of the bowl to make sure all ingredients are combined.
- Optionally, at this point add some white gel food coloring to reach your desired shade of white. Mix one more time then separate out into small mixing bowls, one for each color dot you will a make, about 1/4 cup of royal icing into each bowl. Cover the main white icing with plastic wrap or a damp towel and set aside.
- Color each bowl of icing to your desired shades for and place into piping bags. Cut off the tip of each bag and pipe small circles onto a piece of parchment paper. Allow these to dry overnight.
- Line each cookie with the white icing that you have placed into a piping bag. Reserve the thick icing for the following day. Thin out the remaining white icing 1 Tbsp of water at a time, until it is a smooth and runny consistency. Place this into a piping bag as well.
- Fill each cookie with the flood icing and allow to dry overnight.
For the Assembly
- The next day, once the cookies and color dots have dried, use the thick icing you reserved in the piping bag to pipe small dots to adhere the dried color dots onto each cookie.
- Use an edible ink pen to create a design on each cookie!
- Use as you please--for a party, to send as a gift, etc!


Leave a Reply