This apple pie is perfect for the upcoming holiday season. It has the best all butter flaky crust and a creamy, spiced apple filling. You’ll find yourself returning to this recipe again and again!
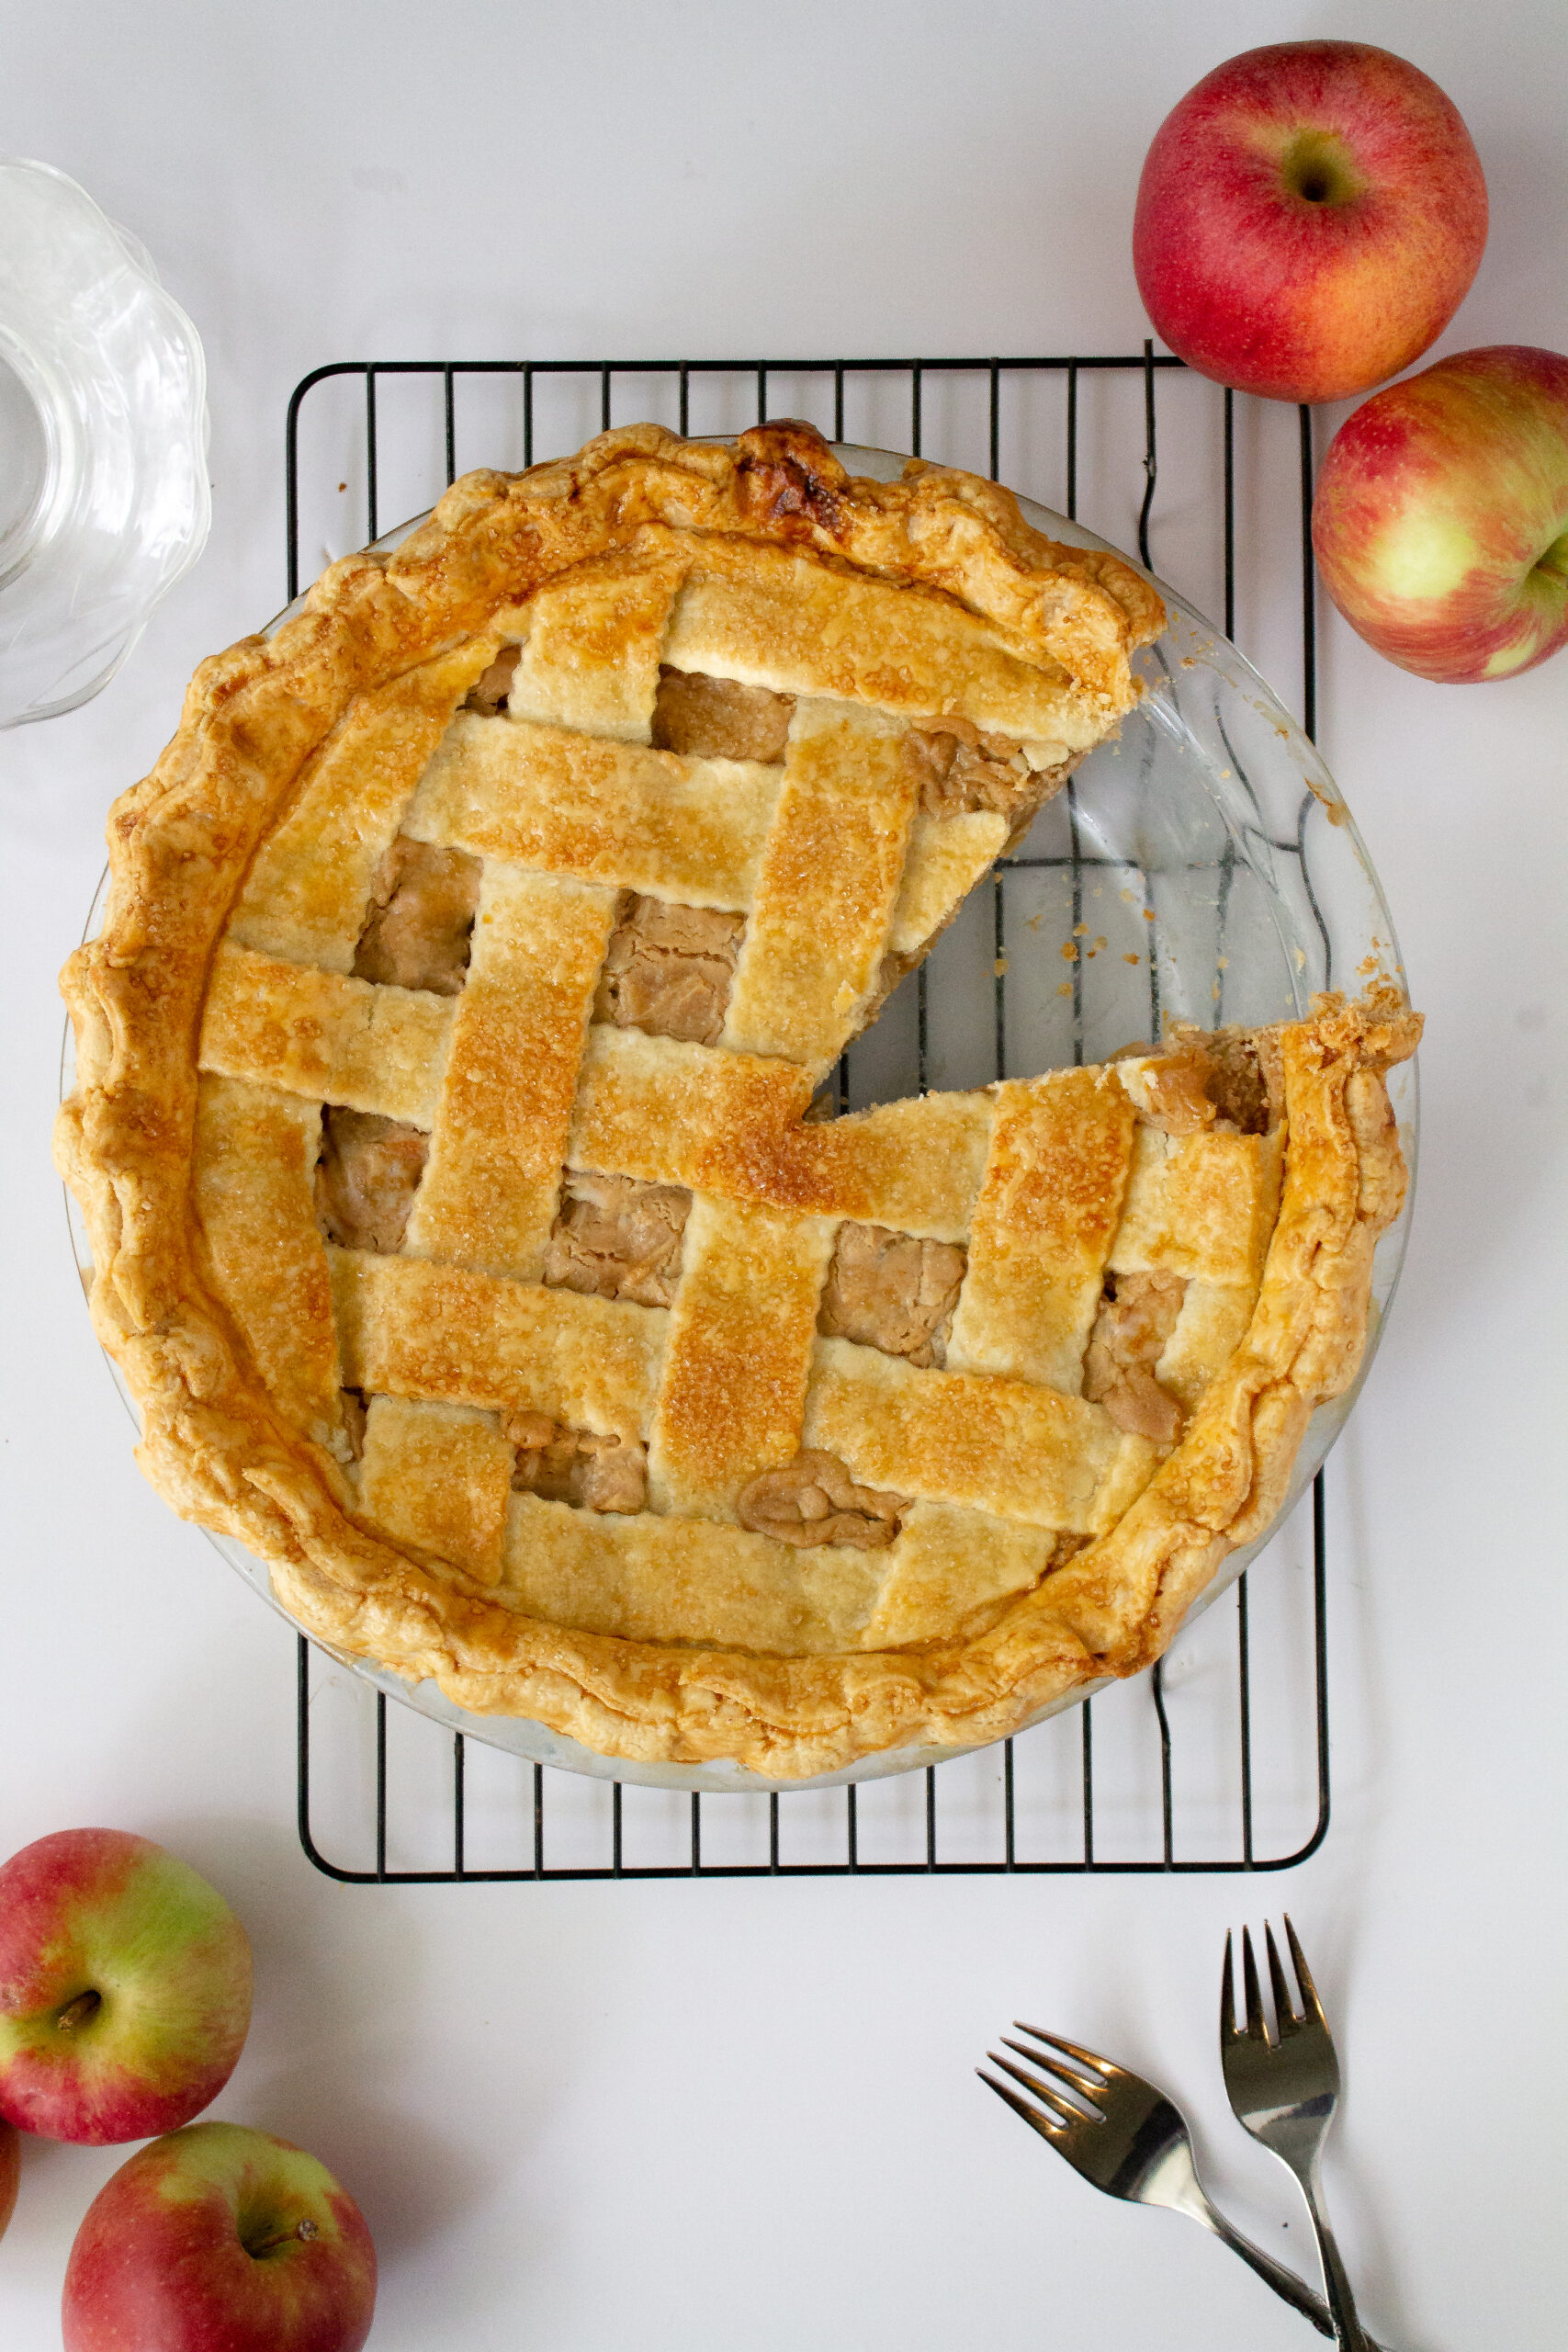
Apple pie, an American classic. There are lots of polarizing desserts out there, but I truly don’t think apple pie is one of them. I just don’t know if I’ve ever met someone who doesn’t like apple pie! This recipe is simple and straightforward but with a twist inspired by a pie my mom always made growing up.
Growing up my mom always made us an apple pear pie that had a layer of cream cheese on the bottom. It was definitely a favorite in our household which is why I wanted to model my apple pie recipe after my mom’s culinary genius! The apples and spices bring a familiar autumnal warmth to the pie while the cream cheese adds the smooth richness of cheesecake!
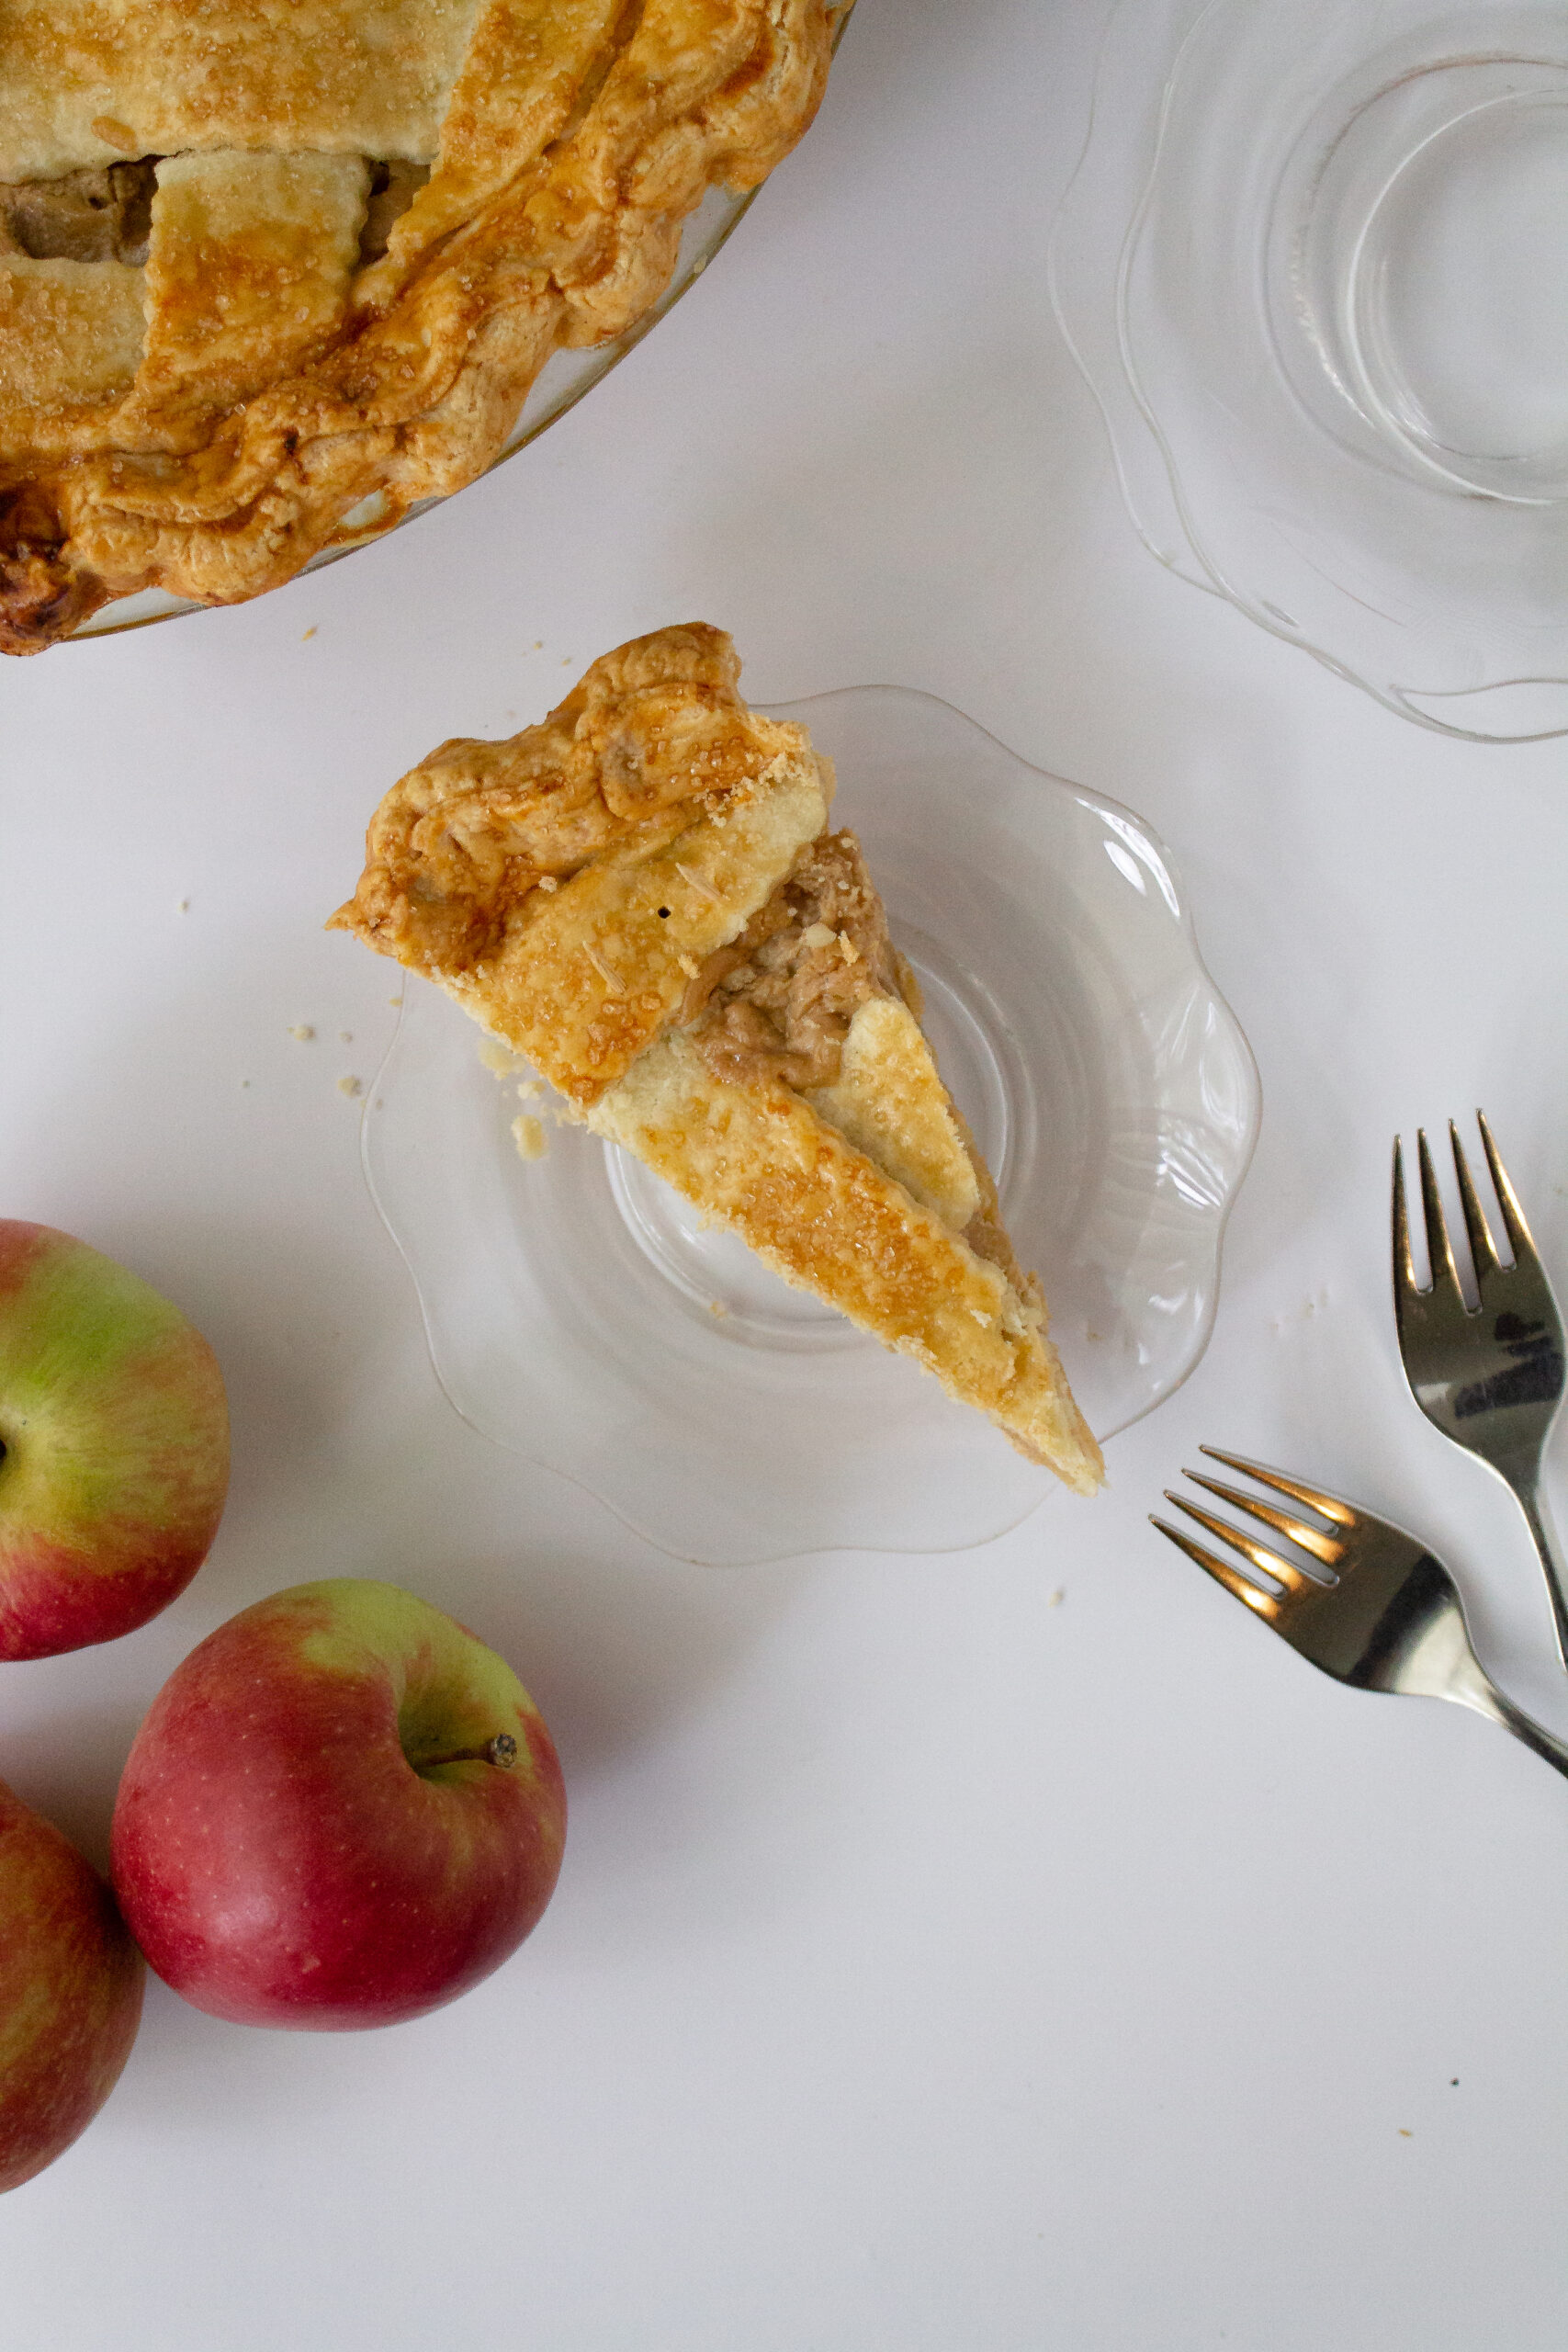
Karis’ Tips for the best pie crust
This apple pie recipe features an all butter homemade pie crust. While you certainly can skip the homemade crust and pick up your favorite one at the store, if you have a few extra moments the week that you will need your pie, I think making it homemade is totally worth it!
- Keep your butter COLD! The beauty of pastry is that perfect layering of butter and flour. In order to maintain those layers, we need to keep our butter cold for about 95% of the process. This is why we use ice water in the dough, to keep the butter from getting too warm. Once you’ve made your pie dough, wrap it and stick it in the fridge until you need it again.
- Use 1 Tbsp of vodka in the dough. The alcohol evaporates in the oven making the pastry even more tender and delicious, I highly recommend this step! I’ve been using the same $6 bottle of vodka for my pies for a few years now!
- A sneaky method to achieve flaky layers. In order to create even more flaky layers (can you tell that’s the theme here!?) in this apple pie, I like to perform a letter or tri-fold method to my pie dough. Just before rolling out the dough to place it in the pie dish, roll the chilled dough into a rough rectangle about 10”x5”. Perform the ⅓ fold technique to the dough by folding one short end ⅓ of the way over itself. Then fold the other short end over the previous fold. This process is similar to folding a piece of paper into thirds. Roll the dough into another 10” x 5” rectangle and perform the folds one more time. Then proceed to roll out the dough as normal!
- A food processor is fine, but hands work better. I’ll admit, I make my pie crust in a food processor like 90% of the time. But if you want the very best pastry, making it by hand is the way to ensure your pastry does not get overworked. You can mix in your butter by pressing it into the flour with your fingers, or use a dough cutter if your hands tend to run warm!
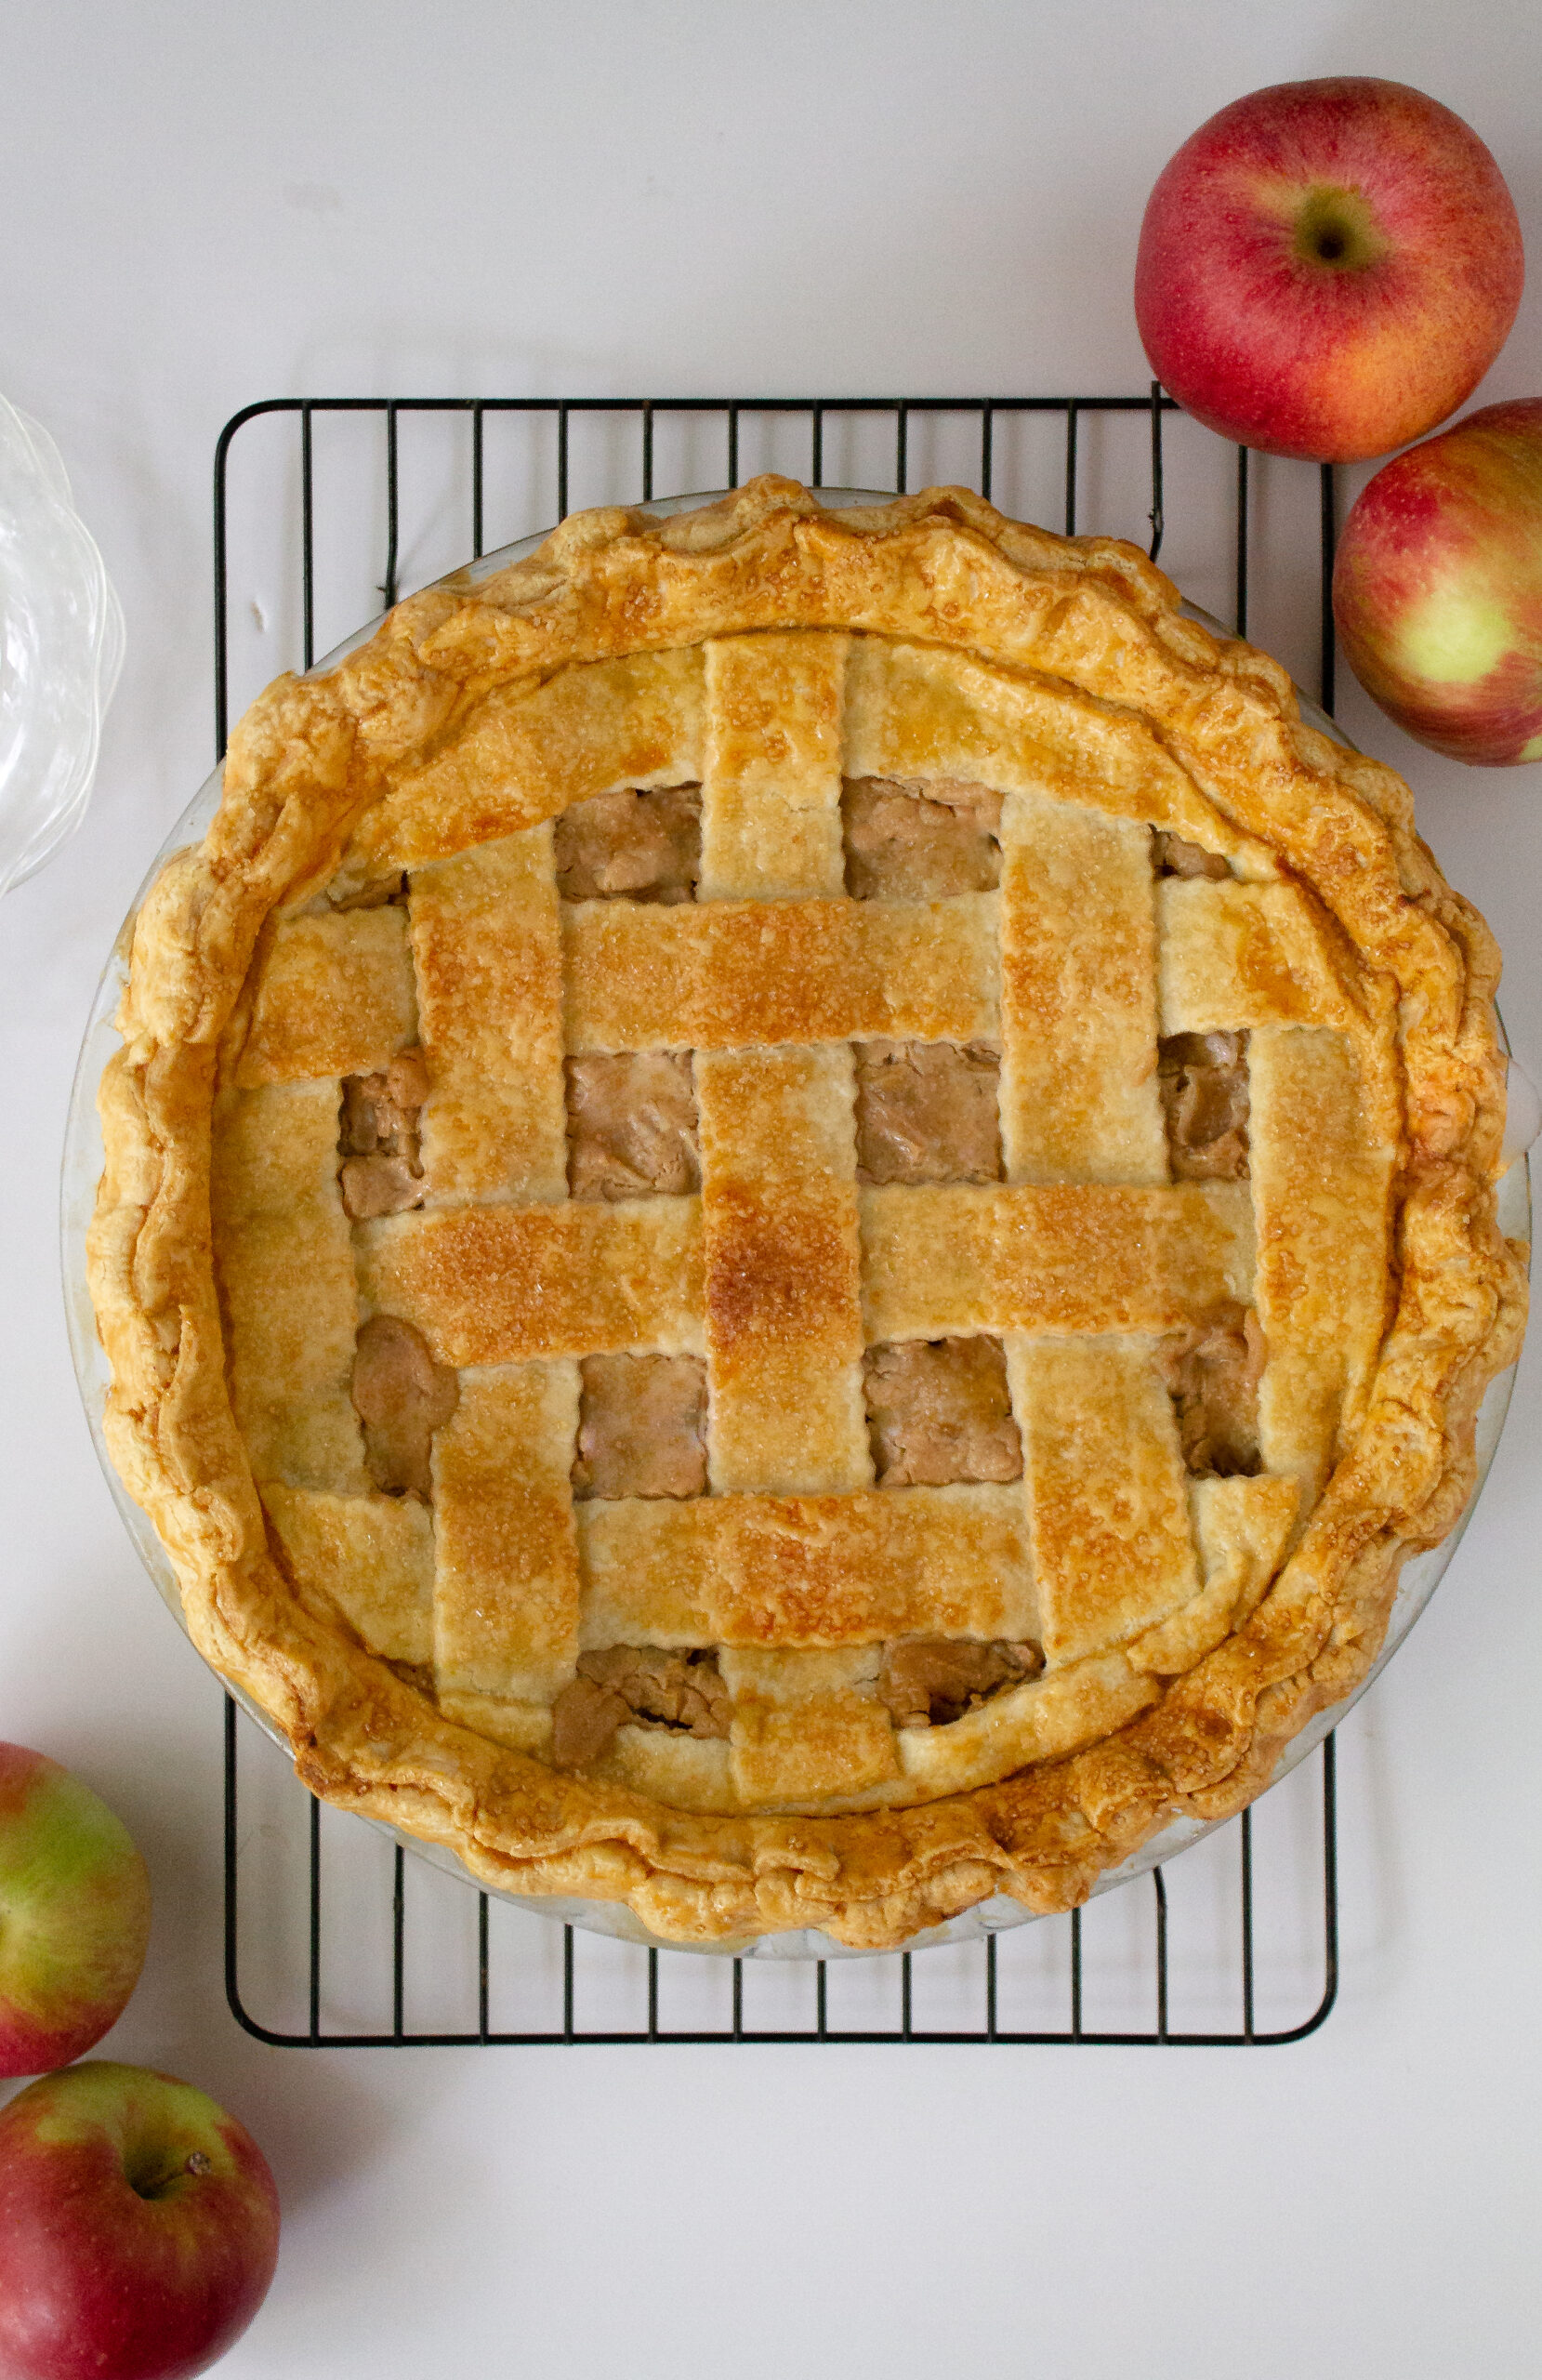
How to split up the tasks for this apple pie
Likely during pie season, gathering season, whatever you may call it, you’re a little short on time. If you need to break up the tasks for this apple pie over the course of a few days, here’s how I recommend doing it
Day 1-Prep the dough. Make your pie dough, wrap it in plastic wrap and refrigerate it. If you’re making the dough more than three days in advance, put it in the freezer.
Day 2-Prep the filling. Make the filling, allow it to get to room temperature on the counter, then seal it in an airtight container and refrigerate it. The filling can last up to two days in the fridge and it’s better to add cold filling rather than warm since the key to a good pie is keeping the butter in the dough cold. Note: if you froze the pie dough, place it in the refrigerator overnight to thaw so that it can be used the next day
Day 3-Pie Day! Roll out the pastry making sure to remove it from the fridge at least 10 minutes before you need it. Fill the pie with the chilled filling and bake!
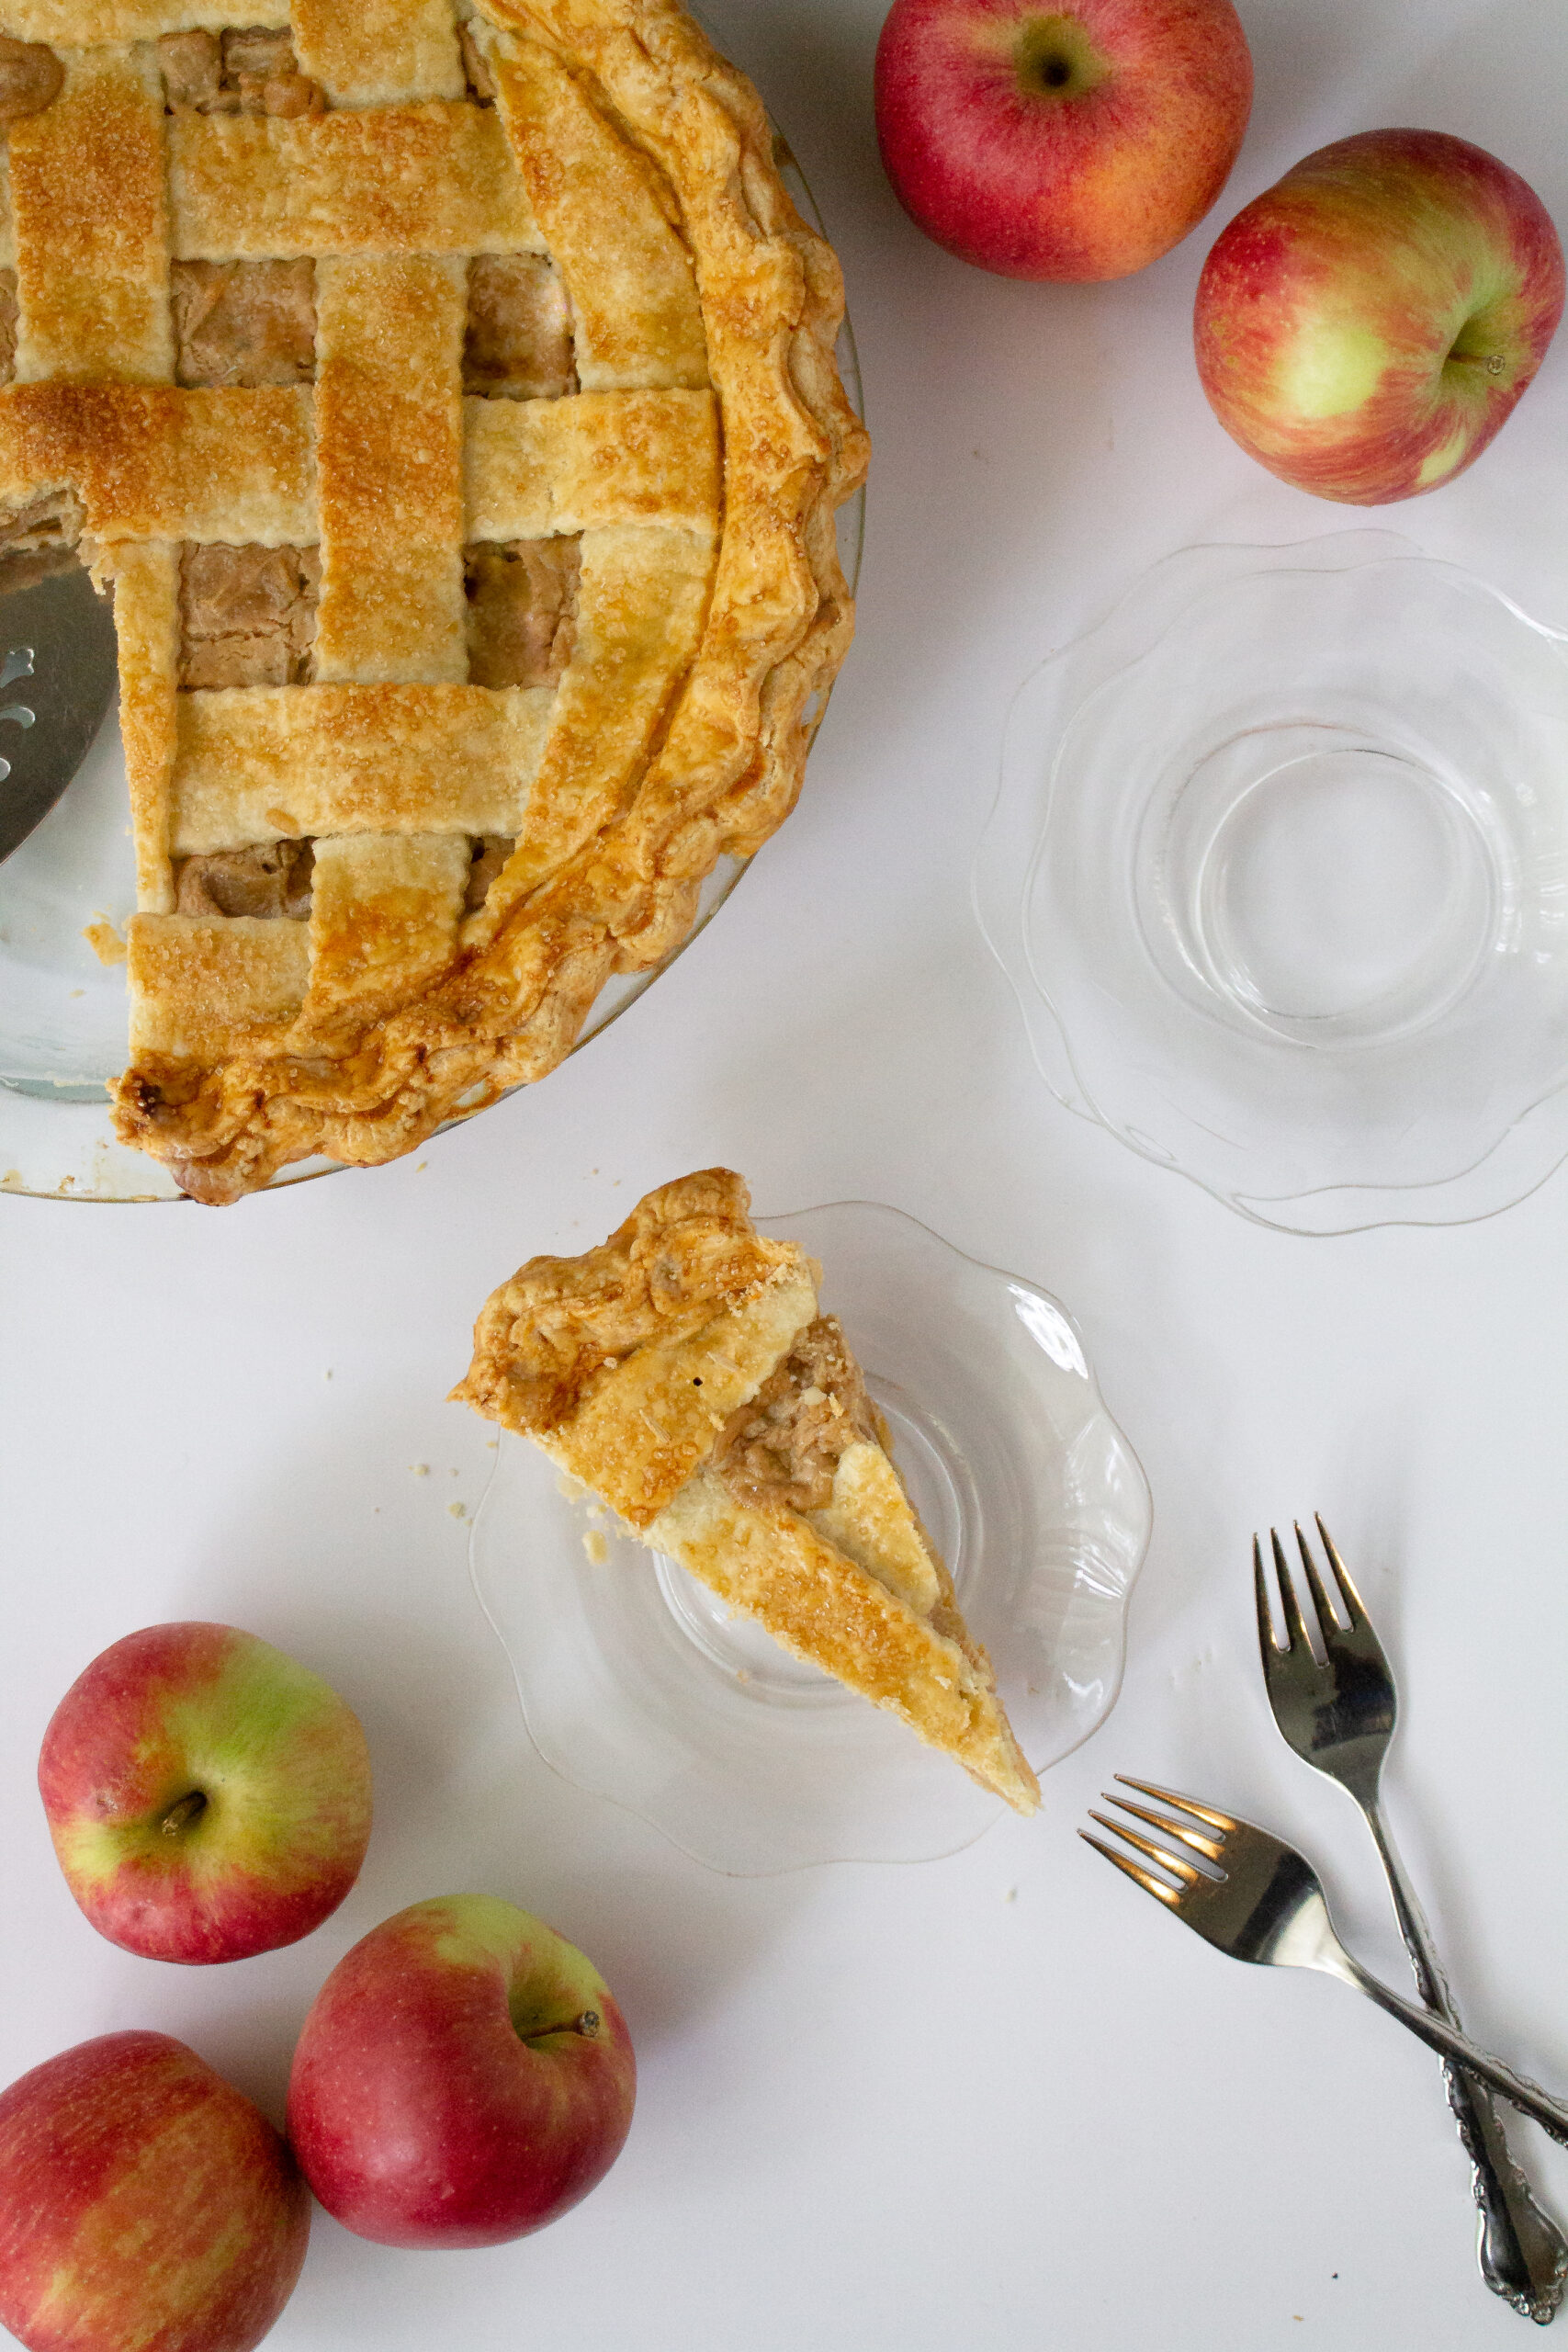
Top this warm apple pie with your favorite vanilla ice cream and enjoy!
Happy Apple Baking Friends!
Can baking be therapeutic?
I often talk about baking being a therapeutic hobby but I’d like to share more about why I feel that way as well as how it can become a relaxing hobby for you!
When I bake, it’s my creative time. I may put on my favorite nostalgic movie or tv show in the background, or a Spotify playlist titled “French café” and leave my troubles behind.
Sometimes I pour myself a glass of wine and light a candle. Then, with the mood set, the mixing of batter, kneading of dough and smoothing of icing is my only care in the world.
When I say baking is therapeutic, sometimes people respond saying “not for me it isn’t!” I completely understand why someone might feel that way. There have been plenty of times where I spend hours on something only for it to fail or something breaks that shouldn’t or I forget to clean as I go and am left with a disastrous kitchen to clean.
So I should in reality, have a caveat to my “baking as therapy” claims…
Baking is therapy when you curate the experience to be relaxing.
How do you curate that relaxing experience for yourself, you ask?
How to make baking therapeutic…
- Prepare your mind–know that it’s okay if the cake doesn’t rise, or the butter wasn’t chilled enough. Shift your mindset from seeing your failures as mistakes to seeing them as opportunities for learning.
- Prepare your space–I cannot and will not bake on top of a messy kitchen. If I were to do this I would be starting from a place of stress! Take an extra 10 minutes to clean any dishes in the sink and wipe down the counters, this small effort will pay you back greatly in brain space and clarity.
- Clean as you go! I’ll tell you the one way to make baking stressful and tiresome, is to not clean as you go! After I use each ingredient that I no longer need, I put it away.
After each major step in the process, I wipe down the counters and put dishes that are no longer needed in the sink. If there is chill time or baking time I don’t sit, I do the cleaning then. Make this shift and you’ll really notice the difference!
By the way, this last tip really helped me when I was on The Great American Baking Show–and the crew that cleaned up behind us made a point to tell me that my workspace was always so clean they didn’t have much to do!
I would reply by saying “it’s how I stay sane in this tent!”
Additional suggestions:
*Maybe try printing off the recipe instead of looking at it on your phone, tablet or laptop and use this time to unplug from technology for a few hours
**Invite friends or family over to share your creation with you. Time spent with loved ones over food is a universally special experience
And that’s how I discovered baking for my mental health. If you try any of these suggestions, let me know how it went for you! I’m really invested in spreading this message to others in hopes that baking will enhance your lives more than it already does!
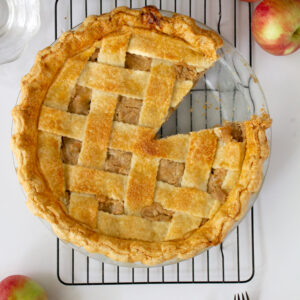
Apple Pie
Ingredients
For the Pastry
- 2 1/2 cups all purpose flour
- 1 Tbsp granulated sugar
- 1 tsp salt
- 1 cup unsalted butter 2 sticks, cold, cubed
- 2 Tbsp ice water
- 1 Tbsp vodka see notes
- 1 large egg for egg wash
- coarse sugar optional
For the Apple Filling
- 3 lbs your favorite baking apples peeled and chopped (honeycrisp, gala, granny smith, cortland, etc.) use a 3 lb bag of apples, peeled and chopped you should have roughly 2lbs of apples. if the weight exceeds 2.5 lbs, be sure to adjust the spices
- juice of 1 lemon
- zest of 1/2 lemon
- 1/4 cup unsalted butter cold, to be melted
- 1/2 cup granulated sugar
- 1/3 cup brown sugar
- 1 tsp ground cinnamon
- 1/4 tsp ground nutmeg
- 1/4 tsp ground cloves
- 1/8 tsp ground ginger
- 1 Tbsp cornstarch
- 8 oz cream cheese room temperature
- 1/2 tsp salt
Instructions
For the Pastry
- In a food processor, pulse together 2 ½ cups of all purpose flour, 1 Tbsp of granulated sugar, and 1 tsp of salt until combined.
- Add 1 cup (2 sticks) of cold unsalted butter cut into cubes directly into the food processor and pulse until the mixture resembles coarse sand.
- Add 2 Tbsp of ice water and 1 Tbsp of vodka* and mix until the mixture comes together. Do not overmix.
- Turn the dough onto a lightly floured clean surface and bring it together with your hands. Form the dough into a round disc and wrap with plastic wrap.
- Refrigerate the dough for at least 1 hour or overnight.
For the Apple Filling
- Peel and chop into small squares 1 3lb bag of your favorite baking apples. After peeling and chopping the apples you should have about 2lbs of apples. If the amount you have exceeds 2.5 lbs, add a little extra of each spice and sugar. Place all of the chopped apples into a large bowl.
- Add the zest of 1/2 lemon and the juice of 1 lemon to the bowl of chopped apples and mix until lightly coated.
- In a large saucepan, melt 1/4 cup (1/2 stick) of unsalted butter, then add the chopped apples to the pan and stir.
- Add 1/2 cup of granulated sugar, 1/3 cup of brown sugar, 1 tsp of cinnamon, 1/4 tsp of nutmeg, 1/4 tsp of cloves and 1/8 tsp of ginger directly to the saucepan of apples. Stir, cover and allow to cook down for 5-6 minutes. Juice will start to release from the apples, this is what you want!
- Sprinkle 1 Tbsp of cornstarch over the apples while they're still cooking and stir until dissolved. Allow to cook for another 1-2 minutes until slightly thickened.
- While the apples finish cooking down, place a strainer over a large bowl. Remove the apples from the heat and carefully pour the apples and all of the thickened juice that released from the apples over the strainer. Allow a few moments for most of the juice to pass through the strainer and into the bowl below.
- Remove the strained apples (still in the strainer) and place onto a plate (in case any more juice releases).
- Add 8oz of room temperature cream cheese and 1/2 tsp of salt to the large bowl of strained juice. Mix with a hand mixer until combined. There may be a few lumps left in the mixture, that is okay.
- Add the apples and any extra juice that released back into the cream cheese mixture and mix with a spatula until combined.
- At this point you may refrigerate the apple filling overnight, or, if baking right away, allow the filling to reach room temperature** before pouring it into the pie dish.
For the Assembly
- Preheat the oven to 425°F (roughly 218°F).
- Once the dough has finished chilling, flour your work surface and then remove the dough from the refrigerator and roll it into a rectangle roughly 10” x 5”. The dough will be very hard to work at first. You may allow it to warm up slightly on the counter but not for longer than 10 minutes. It’s important to work with pastry while it is cold.
- Perform the ⅓ fold technique to the dough by folding one short end ⅓ of the way over itself. Then fold the other short end over the previous fold. This process is similar to folding a piece of paper into thirds. Roll the dough into another 10” x 5” rectangle and perform the folds one more time. Be sure to keep your work surface well floured. Separate the dough into two squares after you perform the folds.
- The dough should be pliable enough to work with now, plus we just developed layers that will result in deliciously flaky pastry once baked!
- Roll the dough out to about an inch larger than your pie tin (I recommend a 9" pie dish for this pie). The dough should roughly be about 1/8 inch thick.
- Place the pastry into the pie tin and trim the excess edge. Place the dough lined pie tin in the freezer while you roll out the other pastry disc.
- Roll out the other half of the pastry and prepare the top how you prefer. I chose a lattice top for this pie but the design is up to you.
- Remove the pie tin from the freezer, add the apple filling, top it with the lattice design, and brush everything carefully with an egg wash.
- Bake at 425°F for about 15 minutes. It is smart to bake the pie on a baking sheet in case it leaks filling. Pay attention to the edges of the crust, if it is browning too quickly, you may want to tent the edge.
- After the 15 minutes, reduce the heat to 365°F (185°C) and bake for another 40-50 minutes, removing once the pastry has browned properly.
- Once removed, allow the pie to rest for 1-2 hours. Serve with whipped cream or ice cream and enjoy
[…] Apple Pie […]