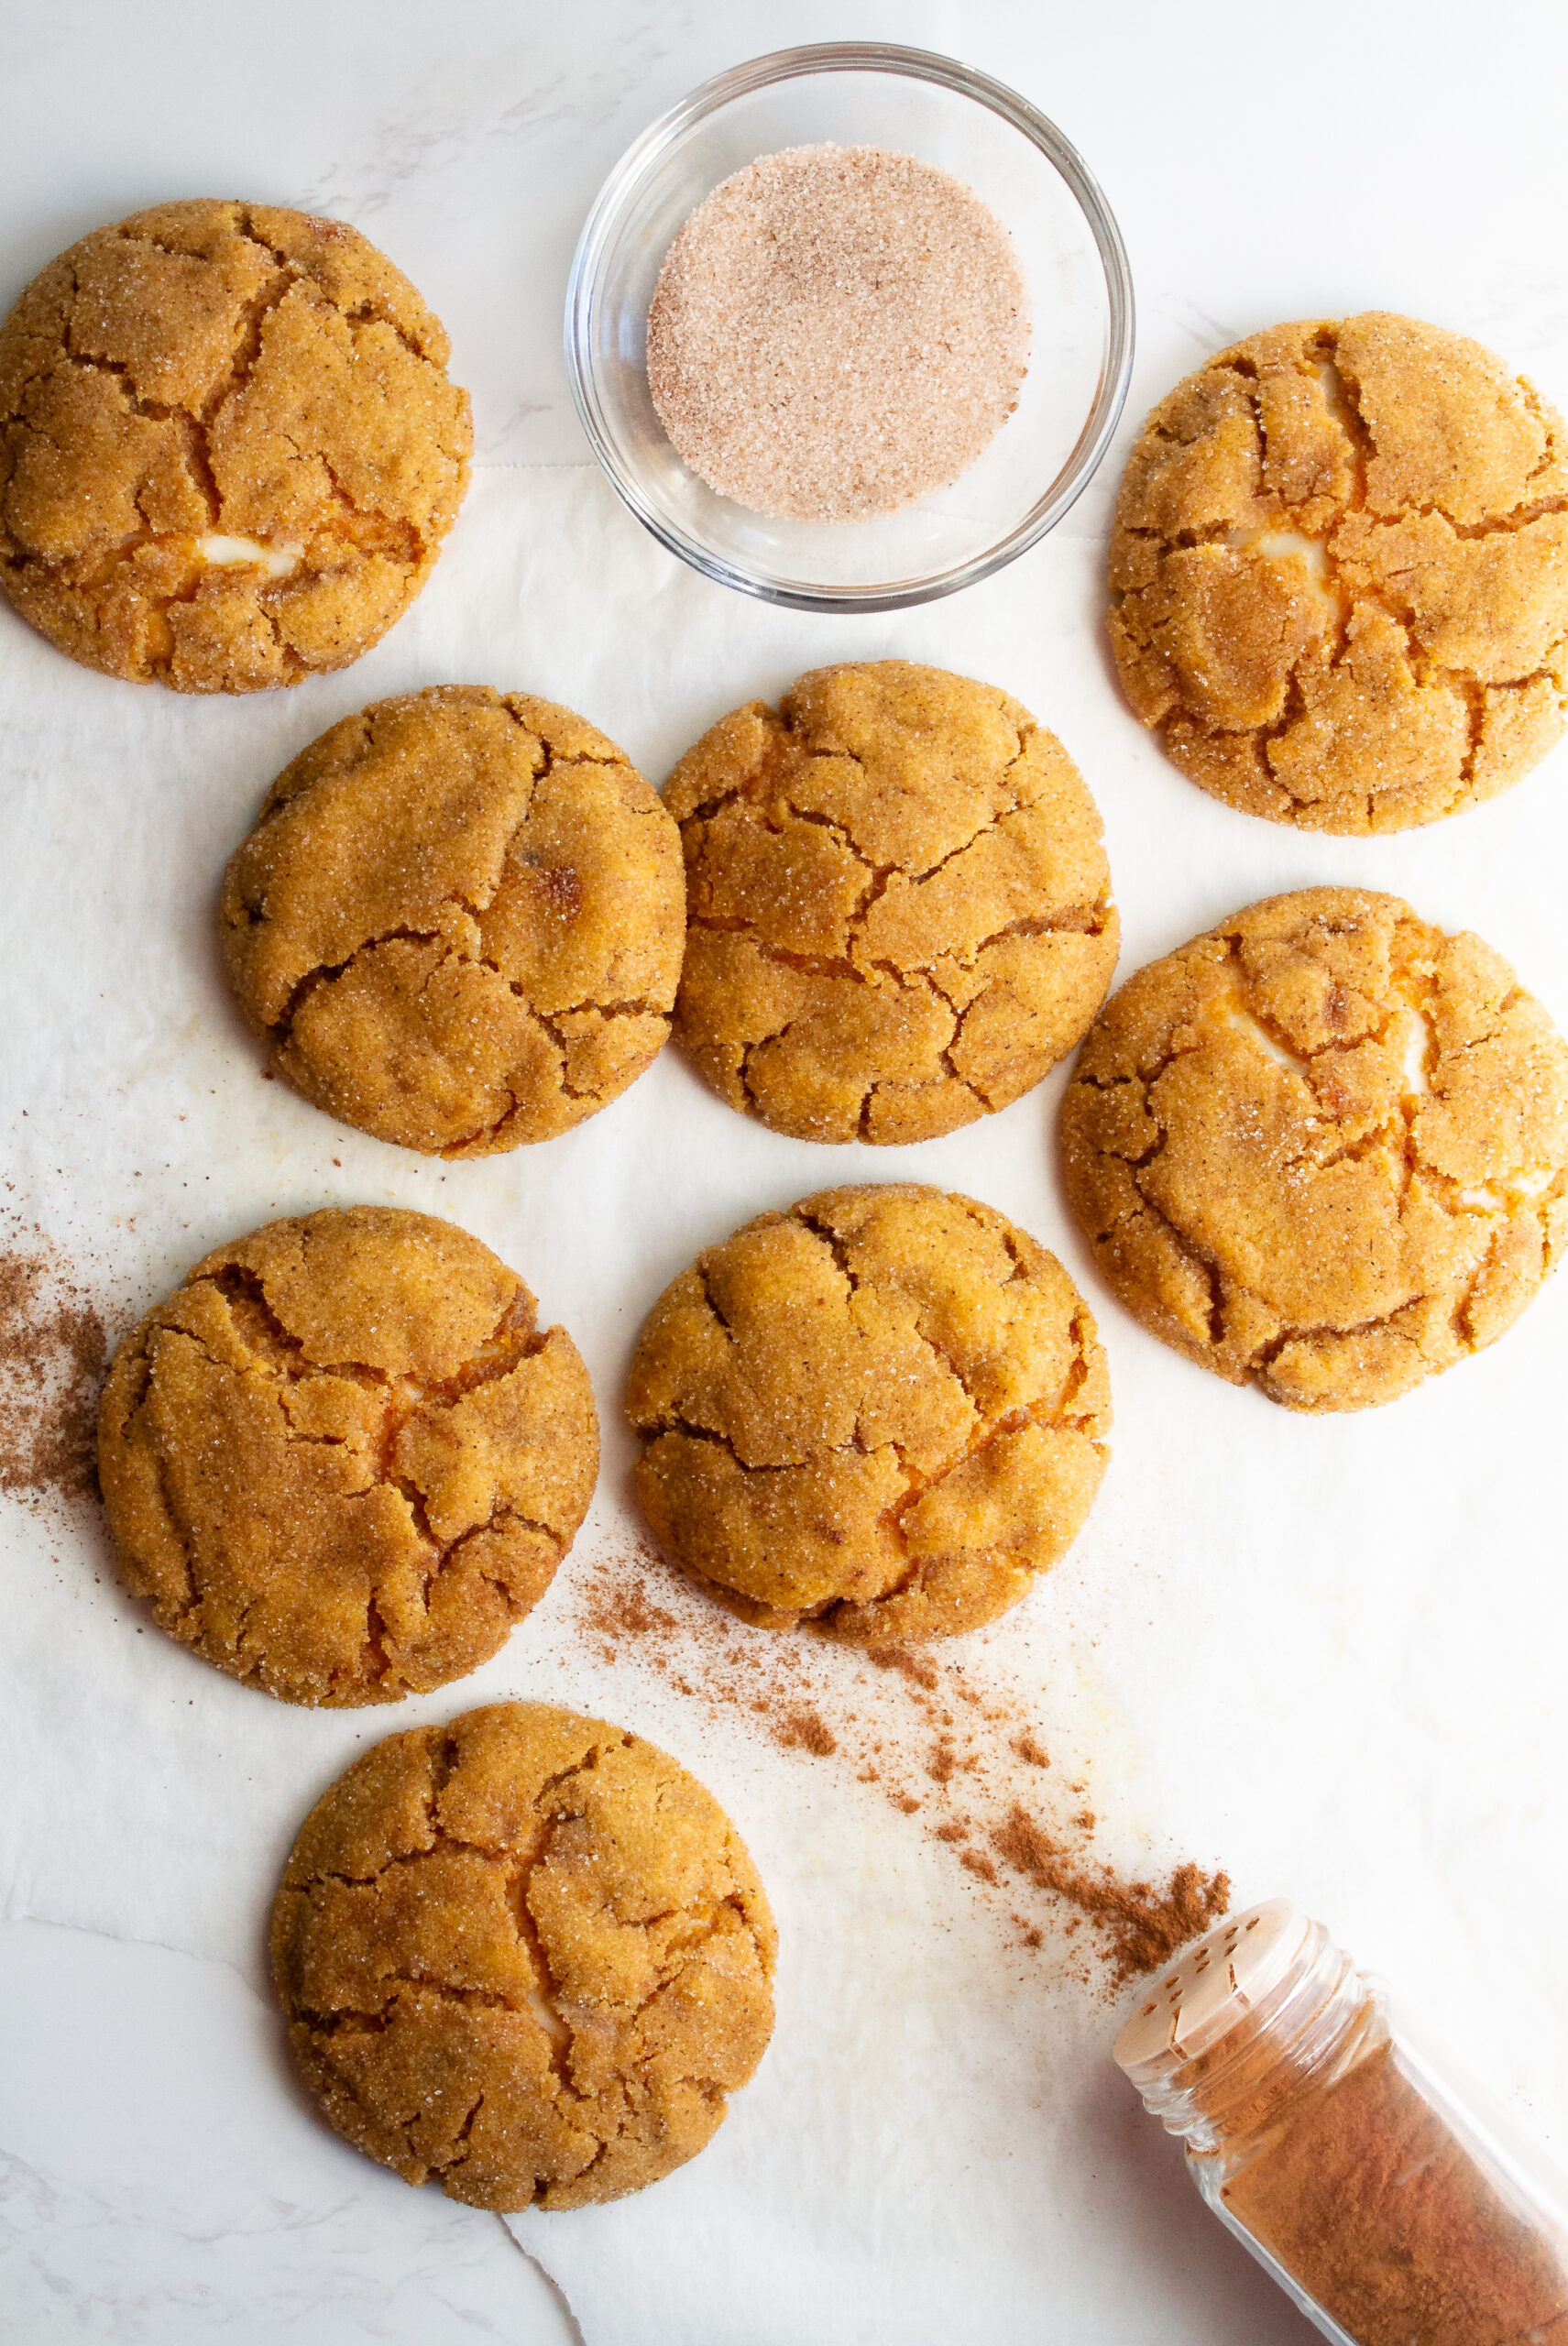
These pumpkin cheesecake cookies are chewy, packed with flavor and totally addicting! These cookies would be the perfect addition to your Thanksgiving or Christmas table!
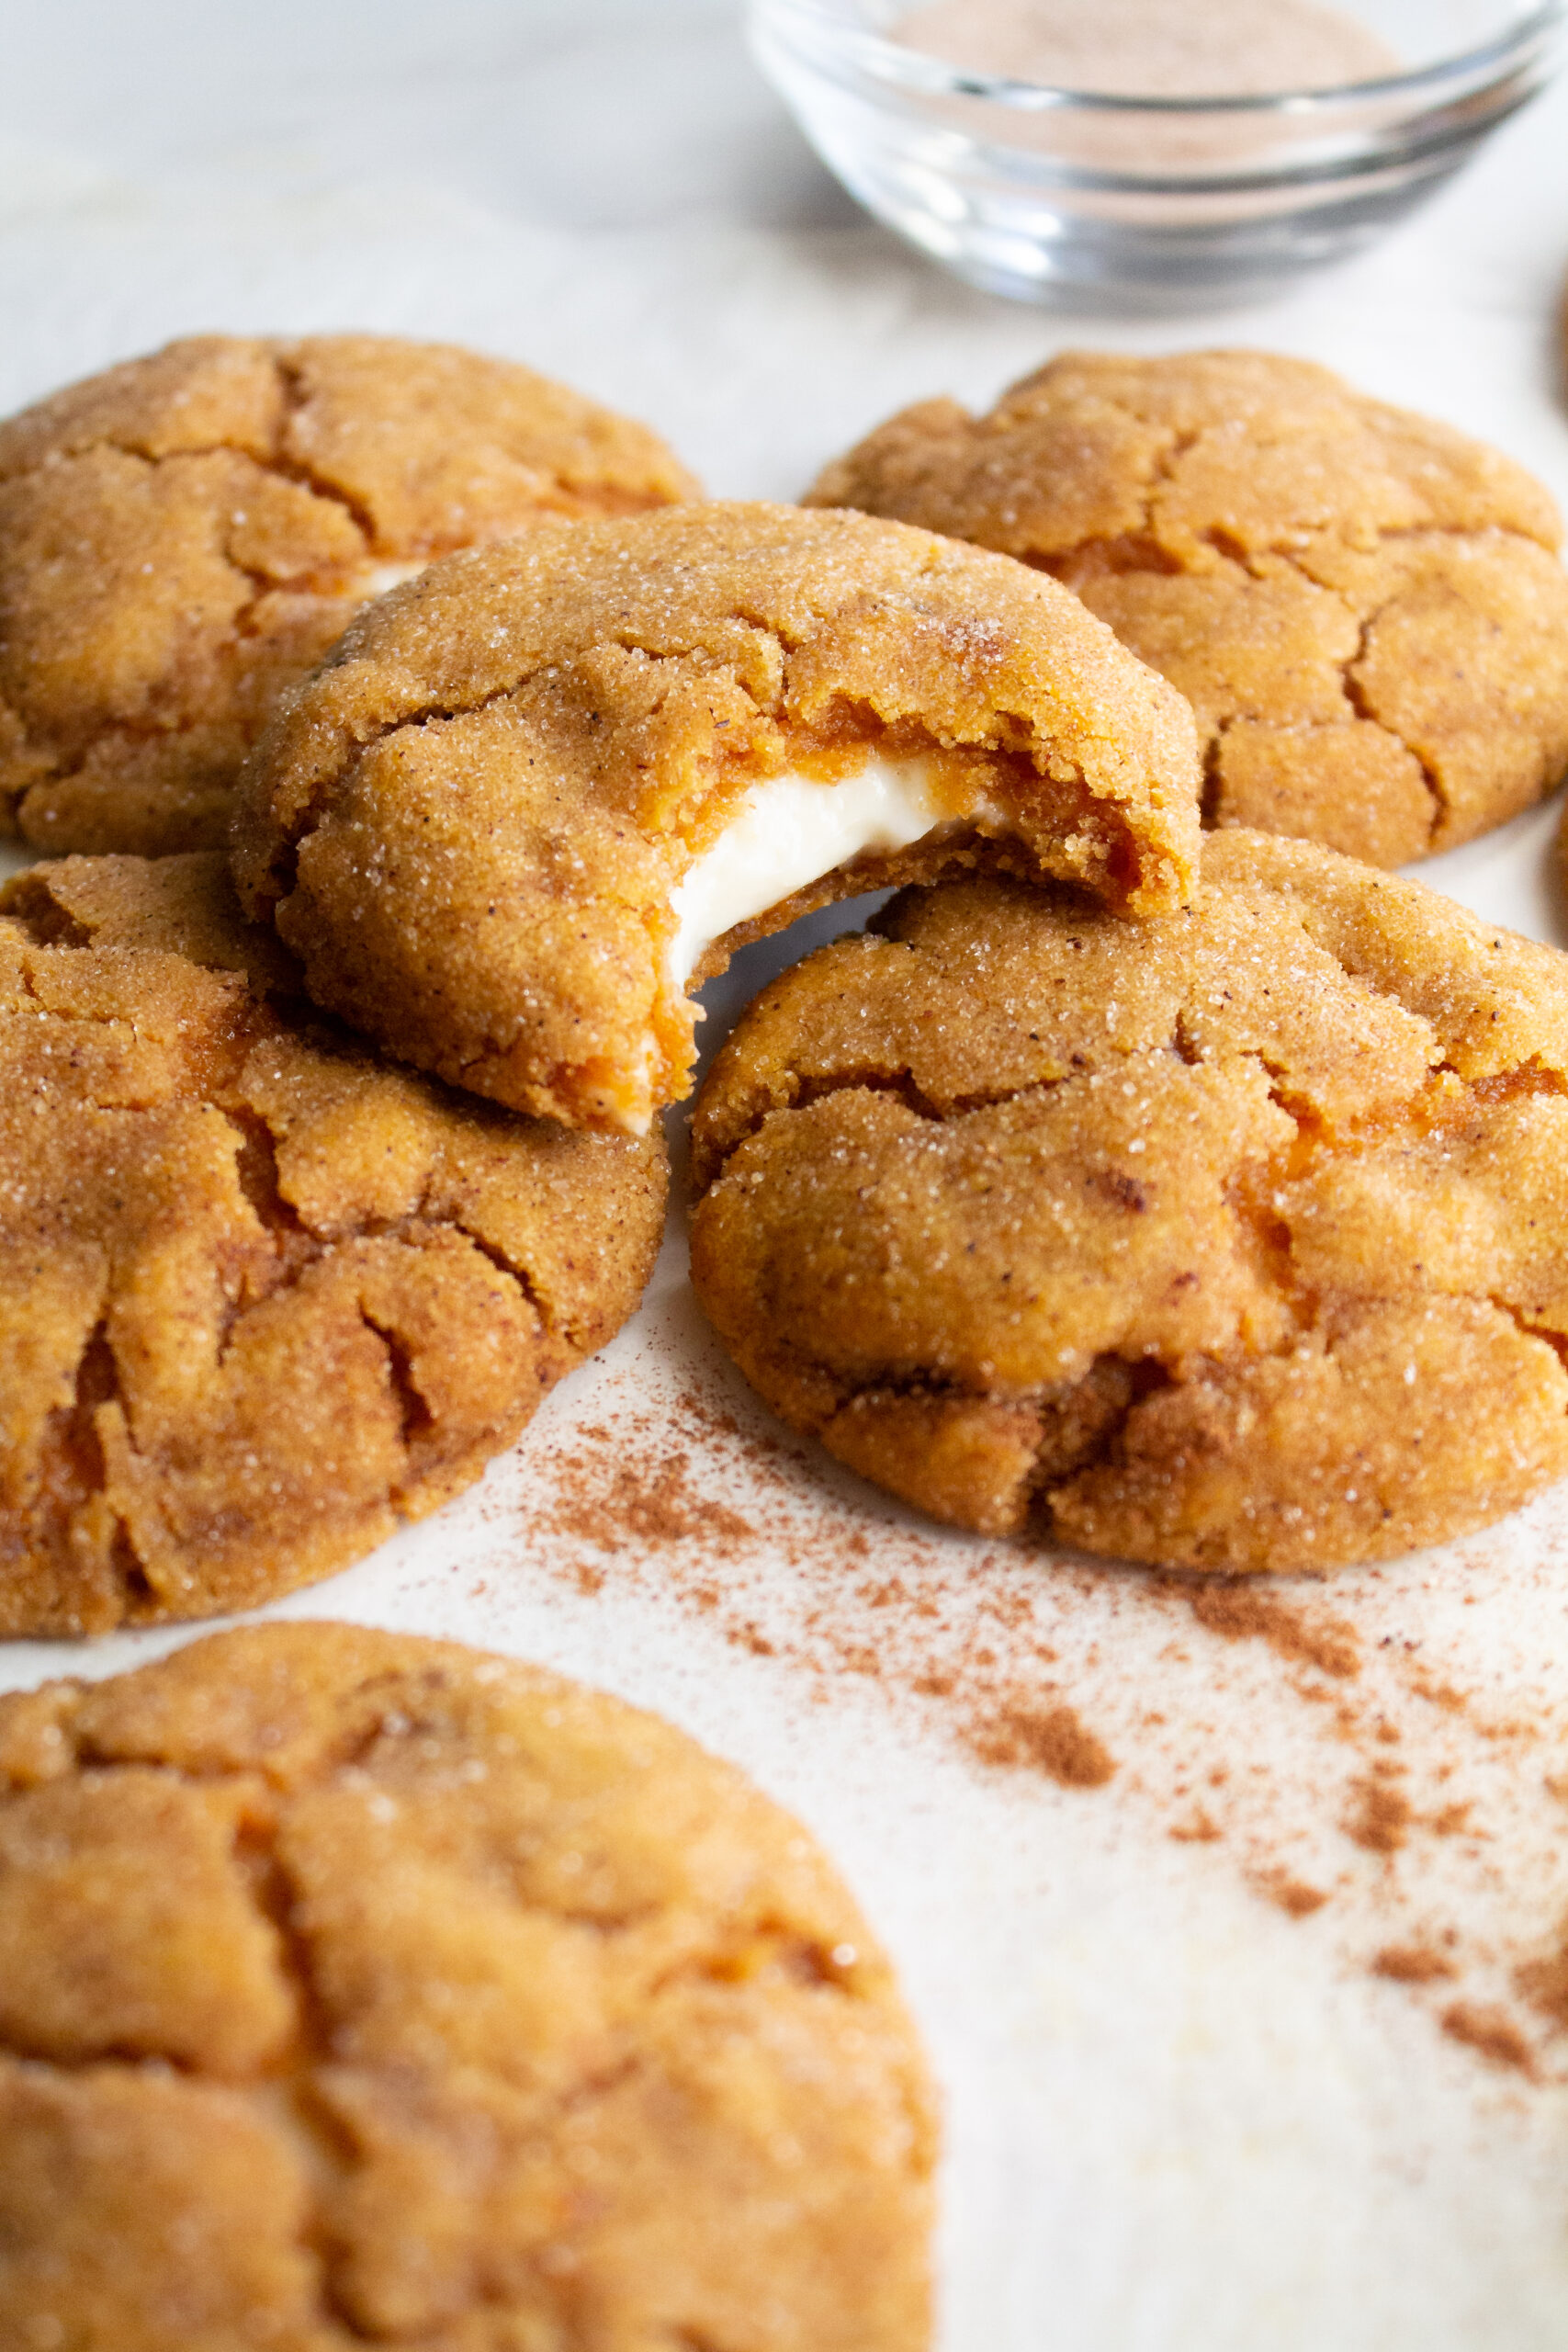
There’s a reason why cheesecake stuffed cookies are trending on the internet these days–um, they’re delicious! These pumpkin cheesecake cookies are the perfect fall cookie to make for friends and family as the season of gathering approaches! They’re far easier to make than a cheesecake or a pumpkin pie, yet they’re filled with all of those tried and true fall flavors!
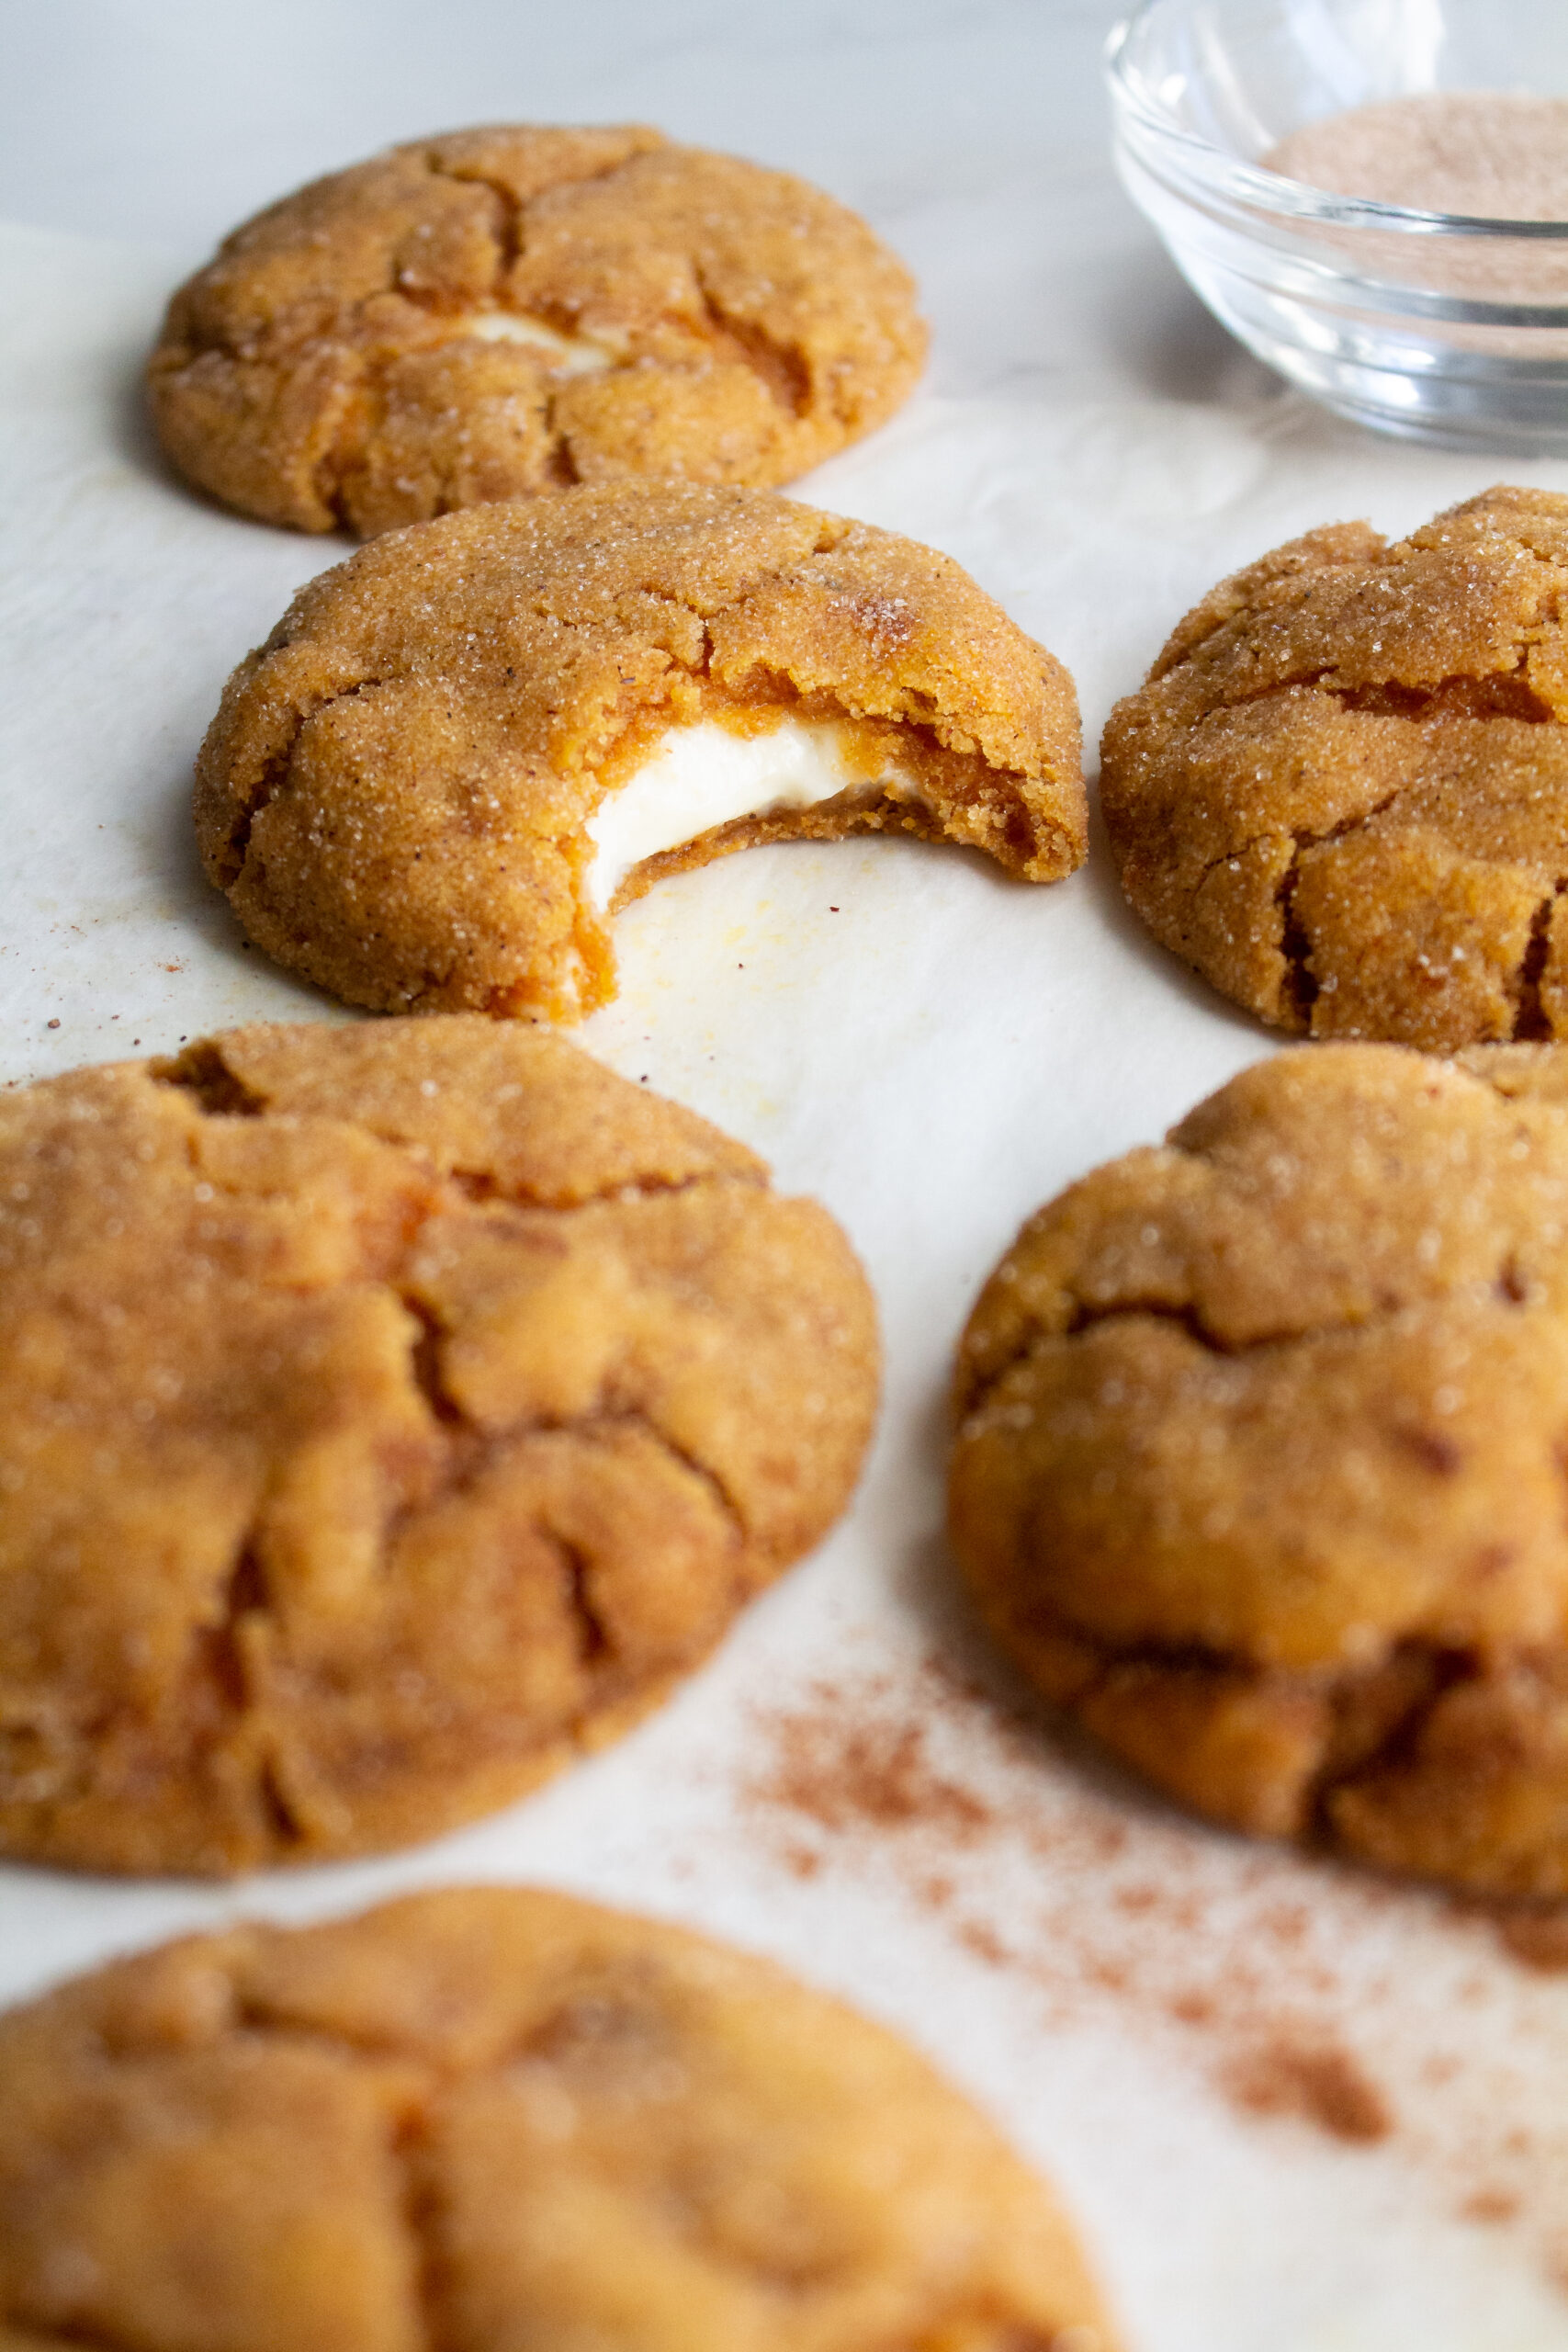
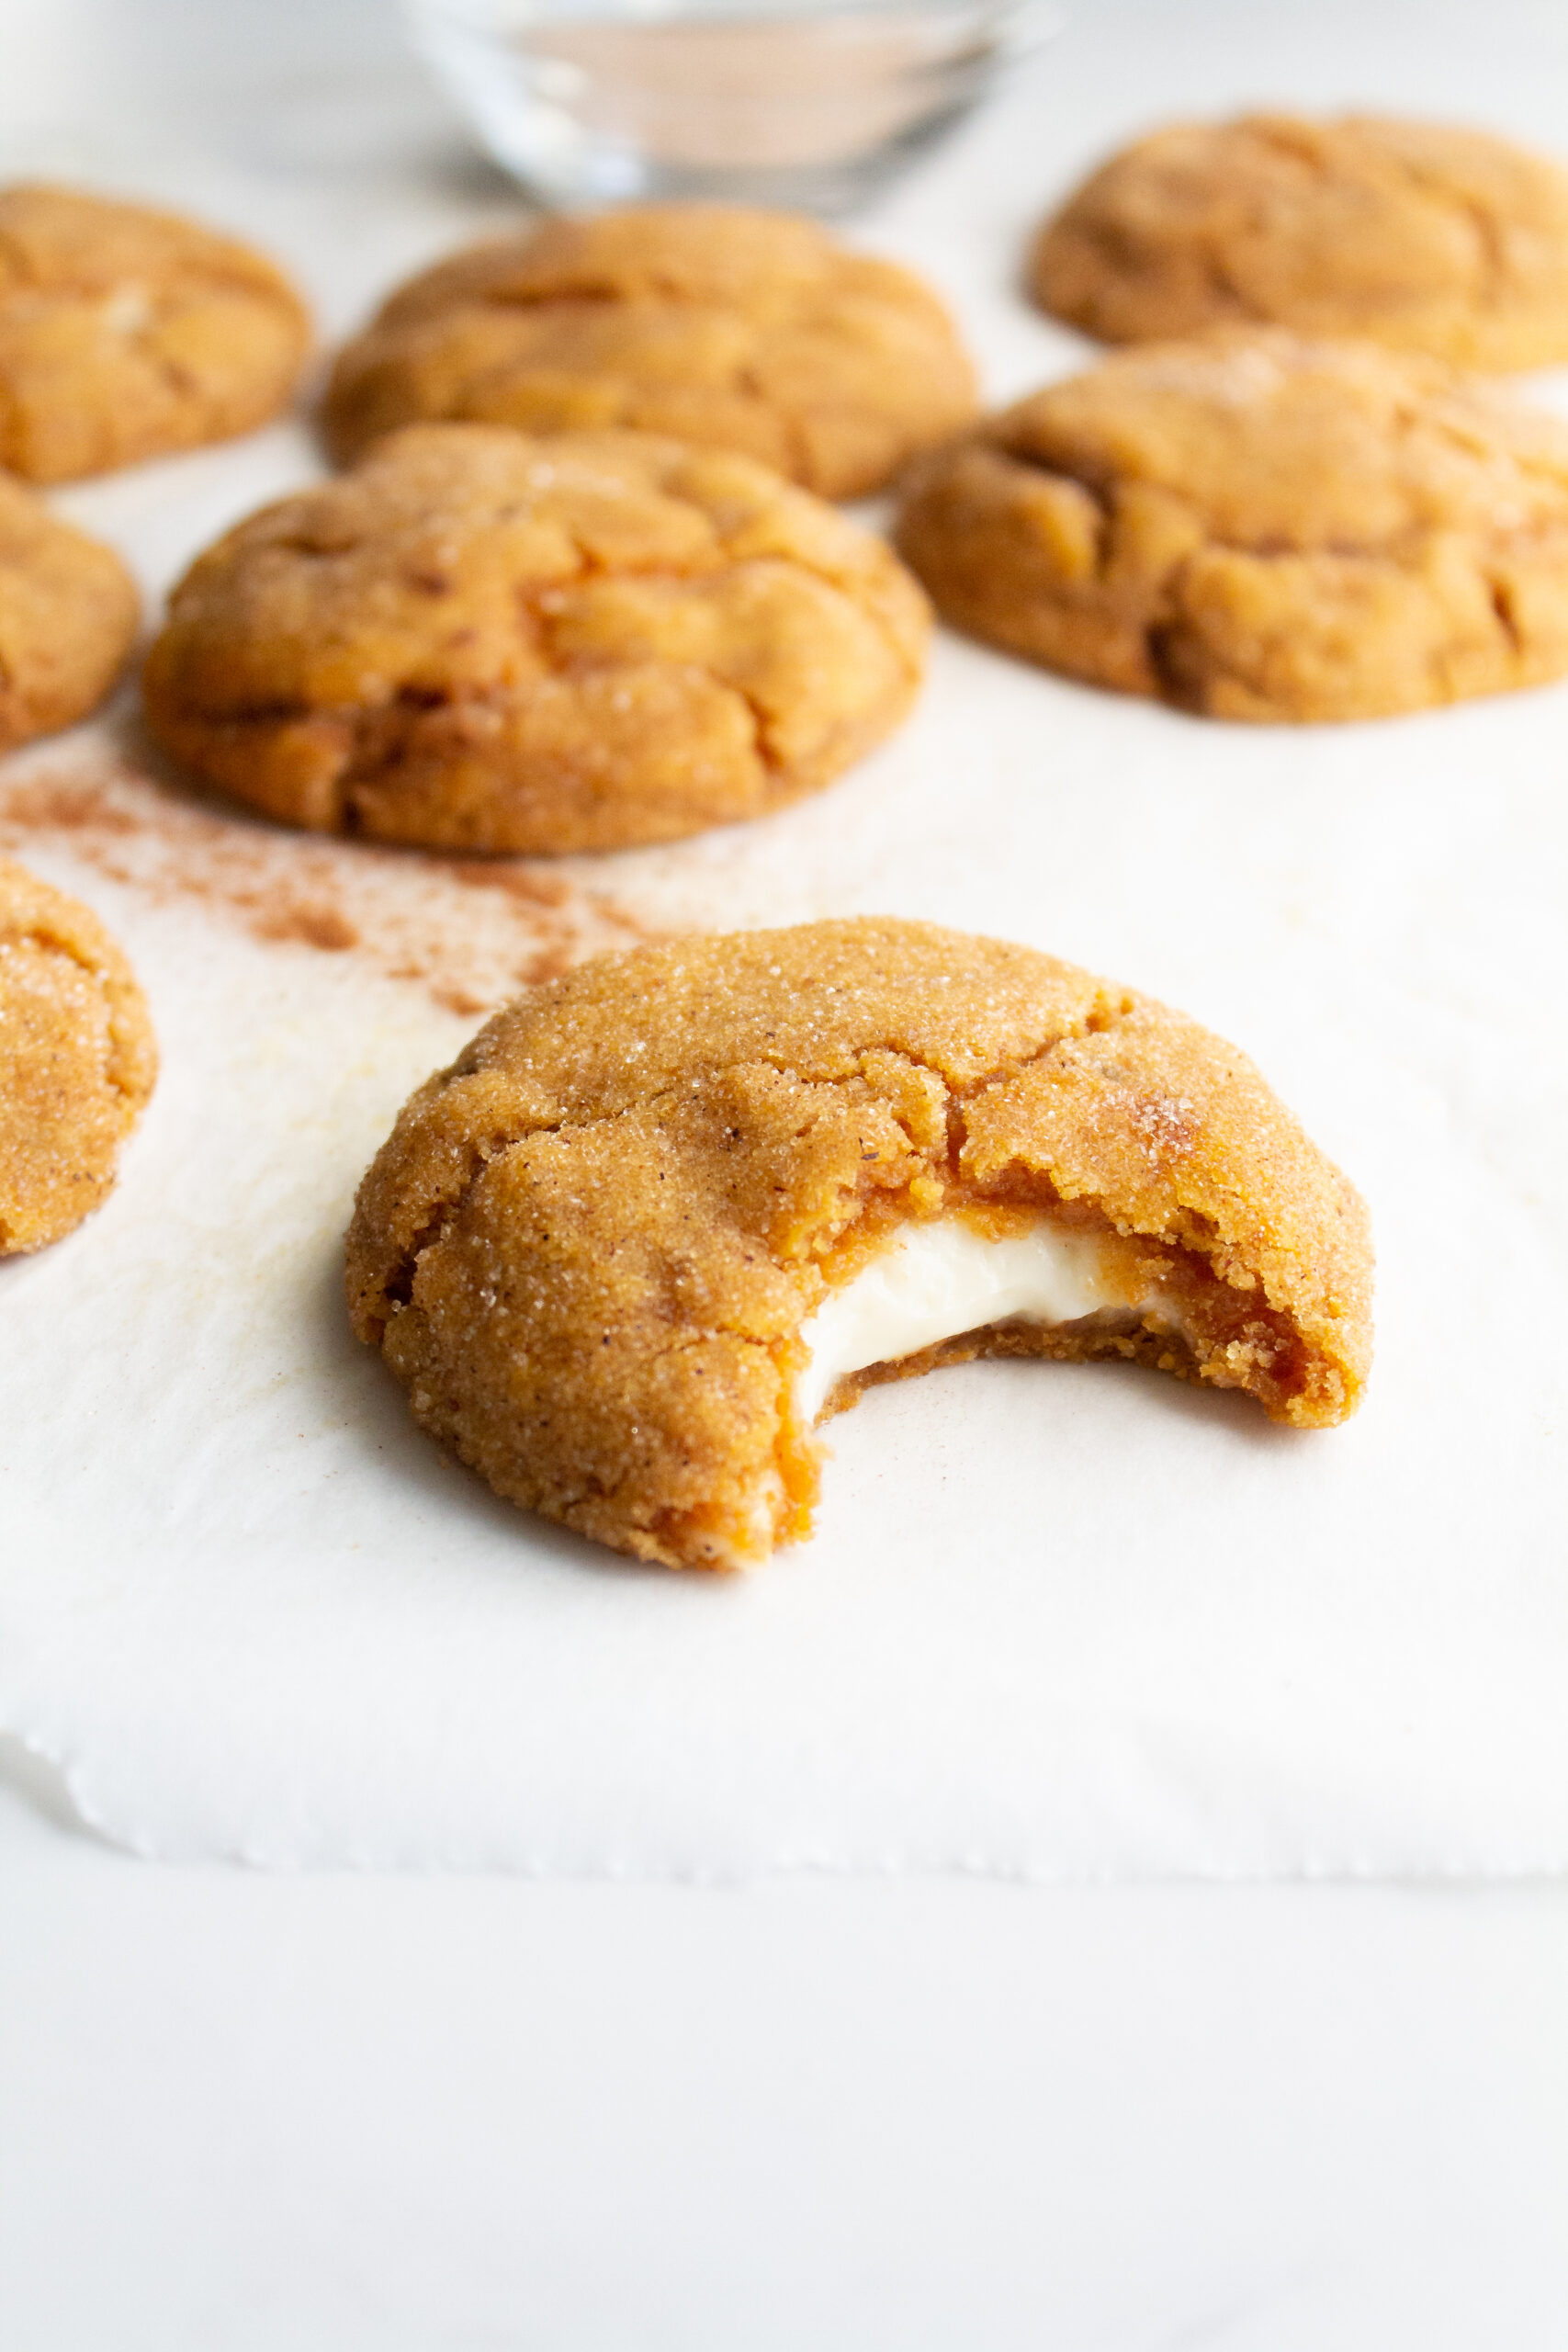
If you follow the tips that I lay out below, you will be left with a perfectly chewy pumpkin snickerdoodle cookie that is filled with warm, soft cheesecake filling. They’re seriously better than they sound, if that’s possible!
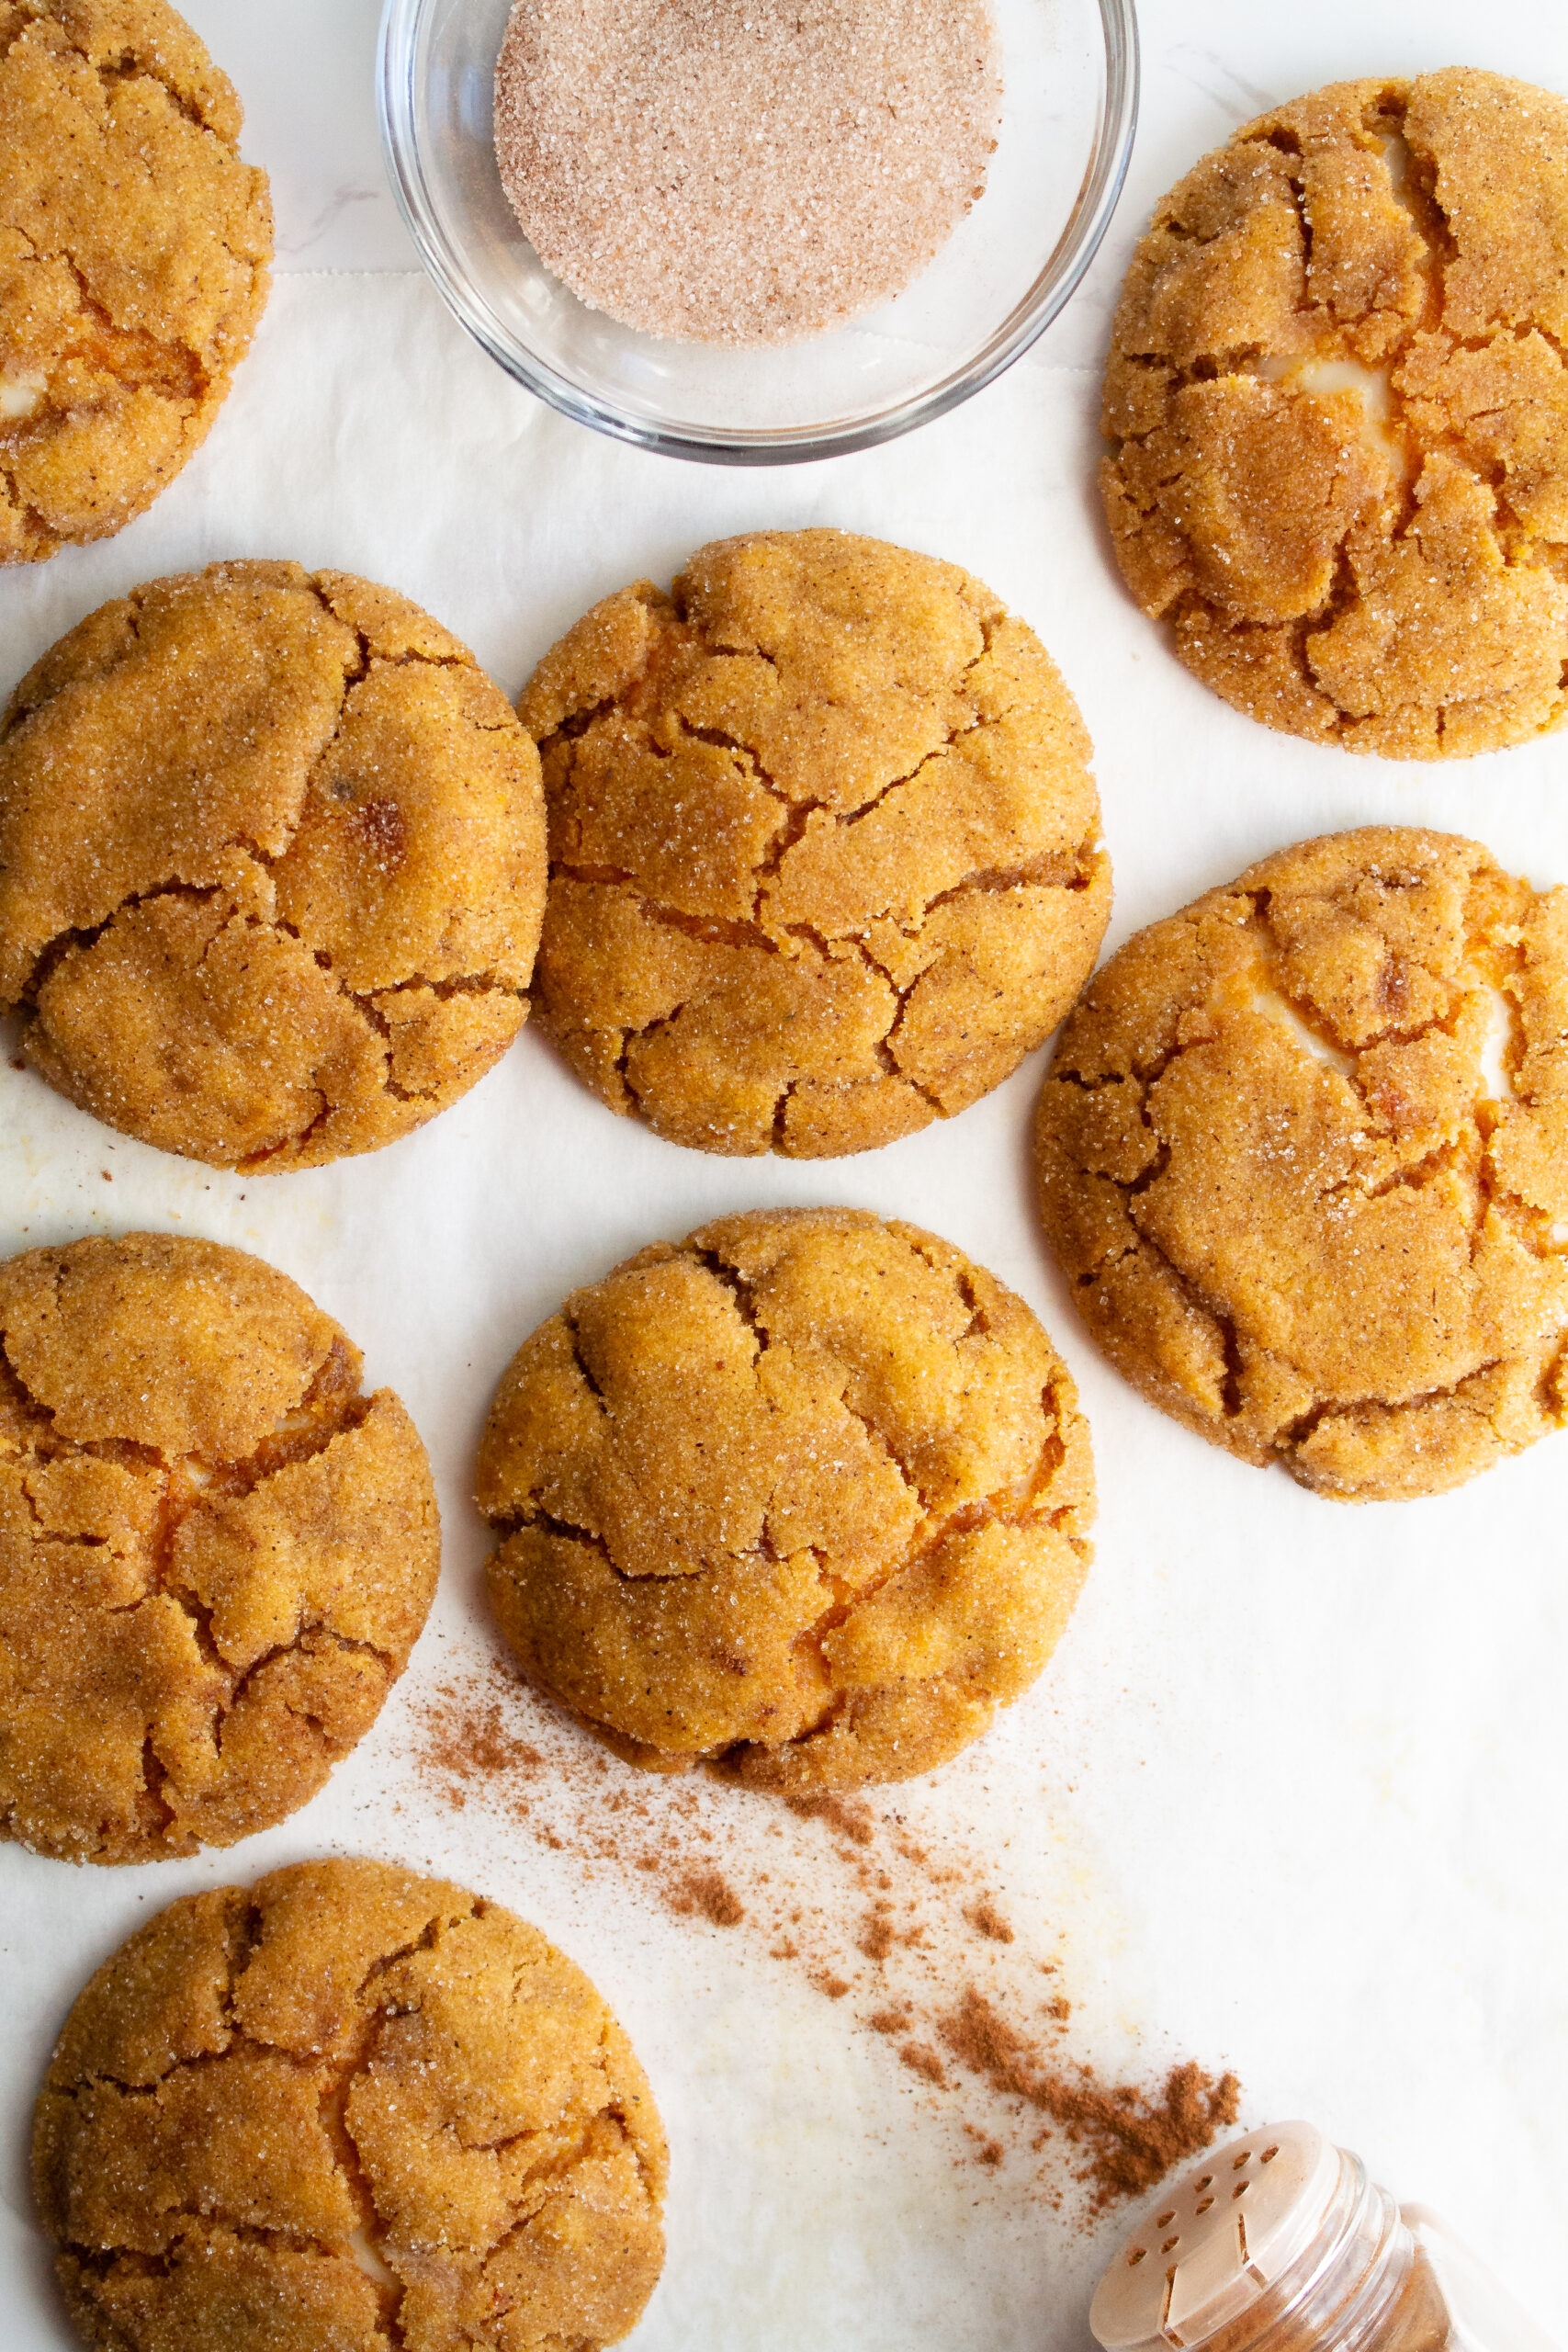
Karis’ Tips for the perfect pumpkin cheesecake cookies
If you want your cookies to turn out perfectly, be sure to follow each of these pro tips below!
- Strain the juice from the pumpkin puree. This recipe calls for ⅔ cup of pumpkin puree BEFORE straining out the juice. Use a thick paper towel or cheesecloth to squeeze out the liquid from the pumpkin puree. It should reduce to ⅓ cup of puree. Straining the liquid is important because it helps us maintain a chewy cookie, rather than a cakey one!
- Add 1 Tbsp of cold butter back to the browned butter. Immediately after removing the browned butter from the heat, mix in 1 Tbsp of cold butter until it melts. This tbsp will make up for any volume lost in the browning process.
- Bring the brown butter to room temperature quickly by using an ice bath. After browning the butter, add it to a bowl (remembering to include all of the brown bits). Add ice to a separate larger bowl and place the bowl with the brown butter on top of the ice. Using a spatula, stir the brown butter until it becomes solid and spreadable. This process should take about 5-7 minutes. Once the butter reaches a spreadable consistency, it’s time to mix it with the sugars.
- This recipe uses dark brown sugar but light brown sugar works as well. Dark brown sugar, with its higher molasses content, adds a deeper flavor to these pumpkin cheesecake cookies, but it can definitely be substituted with light brown sugar if that’s what you have on hand!
- Both the cookie dough and the cheesecake filling MUST be chilled. Nobody likes chilling cookie dough, but nobody likes disastrous kitchen messes either. The dough and filling have to be chilled separately in order to bake up properly and also to make the stuffing process a whole lot more neat. Both need to chill for at least an hour. Chill the pumpkin cookie dough in the fridge and the cheesecake filling in the freezer. Both can be made the night before you need them and chilled overnight.
- It’s helpful to use a kitchen scale when measuring out the dough and filling. This step is optional but helpful. This pumpkin cheesecake cookie recipe makes 12 cookies, when rolling out the dough and forming the balls of filling, each ball of dough should weigh roughly 50g and each filling should weigh roughly 20g.
- Bang the pan 3-4 times to get the cracks on top! Immediately after removing your pumpkin cheesecake cookies from the oven, bang the pan on the counter 3-4 times. This will give you the perfect cracks on top and reveal some of the cheesecake center!
If you’re looking for more fall recipes, check out my Apple Pie Filled Cupcakes!
Can baking be therapeutic?
I often talk about baking being a therapeutic hobby but I’d like to share more about why I feel that way as well as how it can become a relaxing hobby for you!
When I bake, it’s my creative time. I may put on my favorite nostalgic movie or tv show in the background, or a Spotify playlist titled “French café” and leave my troubles behind.
Sometimes I pour myself a glass of wine and light a candle. Then, with the mood set, the mixing of batter, kneading of dough and smoothing of icing is my only care in the world.
When I say baking is therapeutic, sometimes people respond saying “not for me it isn’t!” I completely understand why someone might feel that way. There have been plenty of times where I spend hours on something only for it to fail or something breaks that shouldn’t or I forget to clean as I go and am left with a disastrous kitchen to clean.
So I should in reality, have a caveat to my “baking as therapy” claims…
Baking is therapy when you curate the experience to be relaxing.
How do you curate that relaxing experience for yourself, you ask?
How to make baking therapeutic…
- Prepare your mind–know that it’s okay if the cake doesn’t rise, or the butter wasn’t chilled enough. Shift your mindset from seeing your failures as mistakes to seeing them as opportunities for learning.
- Prepare your space–I cannot and will not bake on top of a messy kitchen. If I were to do this I would be starting from a place of stress! Take an extra 10 minutes to clean any dishes in the sink and wipe down the counters, this small effort will pay you back greatly in brain space and clarity.
- Clean as you go! I’ll tell you the one way to make baking stressful and tiresome, is to not clean as you go! After I use each ingredient that I no longer need, I put it away.
After each major step in the process, I wipe down the counters and put dishes that are no longer needed in the sink. If there is chill time or baking time I don’t sit, I do the cleaning then. Make this shift and you’ll really notice the difference!
By the way, this last tip really helped me when I was on The Great American Baking Show–and the crew that cleaned up behind us made a point to tell me that my workspace was always so clean they didn’t have much to do!
I would reply by saying “it’s how I stay sane in this tent!”
Additional suggestions:
*Maybe try printing off the recipe instead of looking at it on your phone, tablet or laptop and use this time to unplug from technology for a few hours
**Invite friends or family over to share your creation with you. Time spent with loved ones over food is a universally special experience
And that’s how I discovered baking for my mental health. If you try any of these suggestions, let me know how it went for you! I’m really invested in spreading this message to others in hopes that baking will enhance your lives more than it already does!
Happy Pumpkiny Baking!
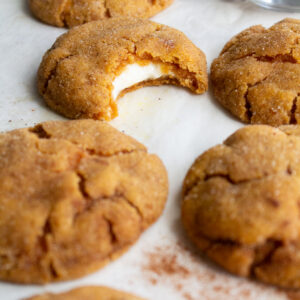
Pumpkin Cheesecake Cookies
Ingredients
For the Cheesecake Filling
- 8 oz cream cheese room temperature
- 1/4 c granulated sugar
- 1 tsp vanilla extract
For the Pumpkin Cookies
- 1/2 cup unsalted butter, browned and brought to room temperature 1 stick + 1 Tbsp (cold to mix in)
- 1/3 cup pumpkin puree 2/3 c before straining (see recipe), room temperature
- 1/2 cup granulated sugar
- 1/2 cup dark brown sugar
- 1 large egg yolk room temperature
- 1 1/2 cup all-purpose flour
- 1/2 tsp baking soda
- 1/2 tsp cream of tartar
- 1/2 tsp salt
- 1/2 tsp cinnamon
- 1/4 tsp nutmeg
For the Cinnamon Sugar
- 1/3 c granulated sugar
- 1 tsp ground cinnamon
Instructions
For the Cheesecake Filling
- In a medium bowl mix together 8oz of cream cheese, 1/4 cup of granulated sugar and 1 tsp of vanilla extract until well combined.
- Using a spoon, scoop out 12 equal dollops of cheesecake filling onto a plate or tray that can fit into the freezer. Optional: weigh each dollop, each should be roughly 20g.
- Optional: wet fingers and form each dollop into more of a ball. This will be helpful later when stuffing the cookies. The wet fingers help control the mess.
- Place the 12 dollops of cheesecake filling into the freezer for 1 hour.
For the Pumpkin Cookies
- Measure out 2/3 cup of pumpkin puree and place it onto a paper towel in a bowl to start releasing its liquid while you work on the brown butter. Set aside.
- Place a medium saucepan over medium/high heat and add 1/2 cup (1 stick) of unsalted butter cut into 1 Tbsp cubes. Brown the butter by allowing the butter to melt, foam and then produce toasted "brown" bits at the bottom of the pan. The butter should smell nutty at this stage. Keep an eye on the pan as it can go from browned to burnt quickly.
- Pour the browned butter into a bowl, remembering to include all of the browned bits left in the pan. Immediately add 1 Tbsp of cold butter to the bowl and stir until it melts.
- Add ice to a bowl larger than the bowl with the browned butter. Place the bowl with the browned butter onto the ice and stir until the butter goes from liquid to a solid, spreadable consistency (about 5-7 minutes)
- Place the cooled browned butter into a large bowl and add 1/2 cup of granulated sugar, 1/2 cup of dark brown sugar and 1 large egg yolk. Mix until just combined.
- Take the bowl with the pumpkin puree (lots of liquid should have released by now) and use either a paper towel or cheese cloth to strain the rest of the liquid. After straining you should have 1/3 cup of pumpkin puree.
- Add the strained pumpkin puree (1/3 cup) to the butter sugar mixture and mix until just combined.
- In a separate bowl, combine 1 1/2 cups of all purpose flour, 1/2 tsp of baking soda, 1/2 tsp of cream of tartar, 1/2 tsp of cinnamon, 1/2 tsp of salt and 1/4 tsp of nutmeg and mix until combined.
- Add the dry mixture to the wet mixture and mix until dough forms.
- Scoop out 12 balls of dough and refrigerate for 1 hour. Optional: weigh each ball of dough for even cookies. Each ball should weigh roughly 50g.
For the Assembly
- Towards the end of the chill time for both elements, preheat the oven to 365°F (roughly 185°C) and prepare the cinnamon sugar by mixing 1/3 cup of granulated sugar and 1 tsp of cinnamon together in a small bowl.
- Remove the dough and filling from the fridge/freezer. Assemble the cookies by pressing the cookie dough flat, placing a frozen cheesecake dollop in the center, and forming the cookie dough around the filling.
- There should be little to no cheesecake filling sticking out, but if there is, it's not the end of the world.
- Roll each filled cookie in cinnamon sugar and place on a baking tray about 2in apart. You may need to bake in two batches or on two baking sheets.
- Bake for 12 minutes. The cookies will still look a little tall when removed from the oven. Once removed, bang the baking sheet (carefully) on the counter 3-4 times to reveal the characteristic cracks.
- Allow the cookies to cool for at least 10 minutes and enjoy!!
These were amazing! I brought them to a party and left empty handed. I would highly recommend!
Violet this makes me happy. Aside from the actual cheesecakes, these pumpkin cheesecake cookies might be my favorite recipe on my blog. Thanks for making them and for visiting my little corner of the internet! Happy Baking (: