Crisp on the outside, pillowy in the middle, topped with decadent homemade whipped cream and a silky, tangy blood orange curd. It’s the perfect spring pavlova.

When I first told friends and family that my next recipe was going to be a Pavlova, the general response was…”I don’t know what that is.” I share that little anecdote because you might be thinking the same thing; “what the heck is a pavlova?!” If this is the first Pavlova you’ve ever heard of, allow me to change your life.
This light and summery dessert, whose origin is claimed by both Australia and New Zealand, is made with a baked meringue as its base. The meringue is so incredibly light that its outer crunchy edge will melt in your mouth and its fluffy, marshmallowy center will ignite a unique textural experience that I guarantee you won’t be able to get enough of!
The baked meringue is then topped with a chantilly cream (or sweetened whipped cream), and your choice of fruit curd, fresh fruits, whatever you like!
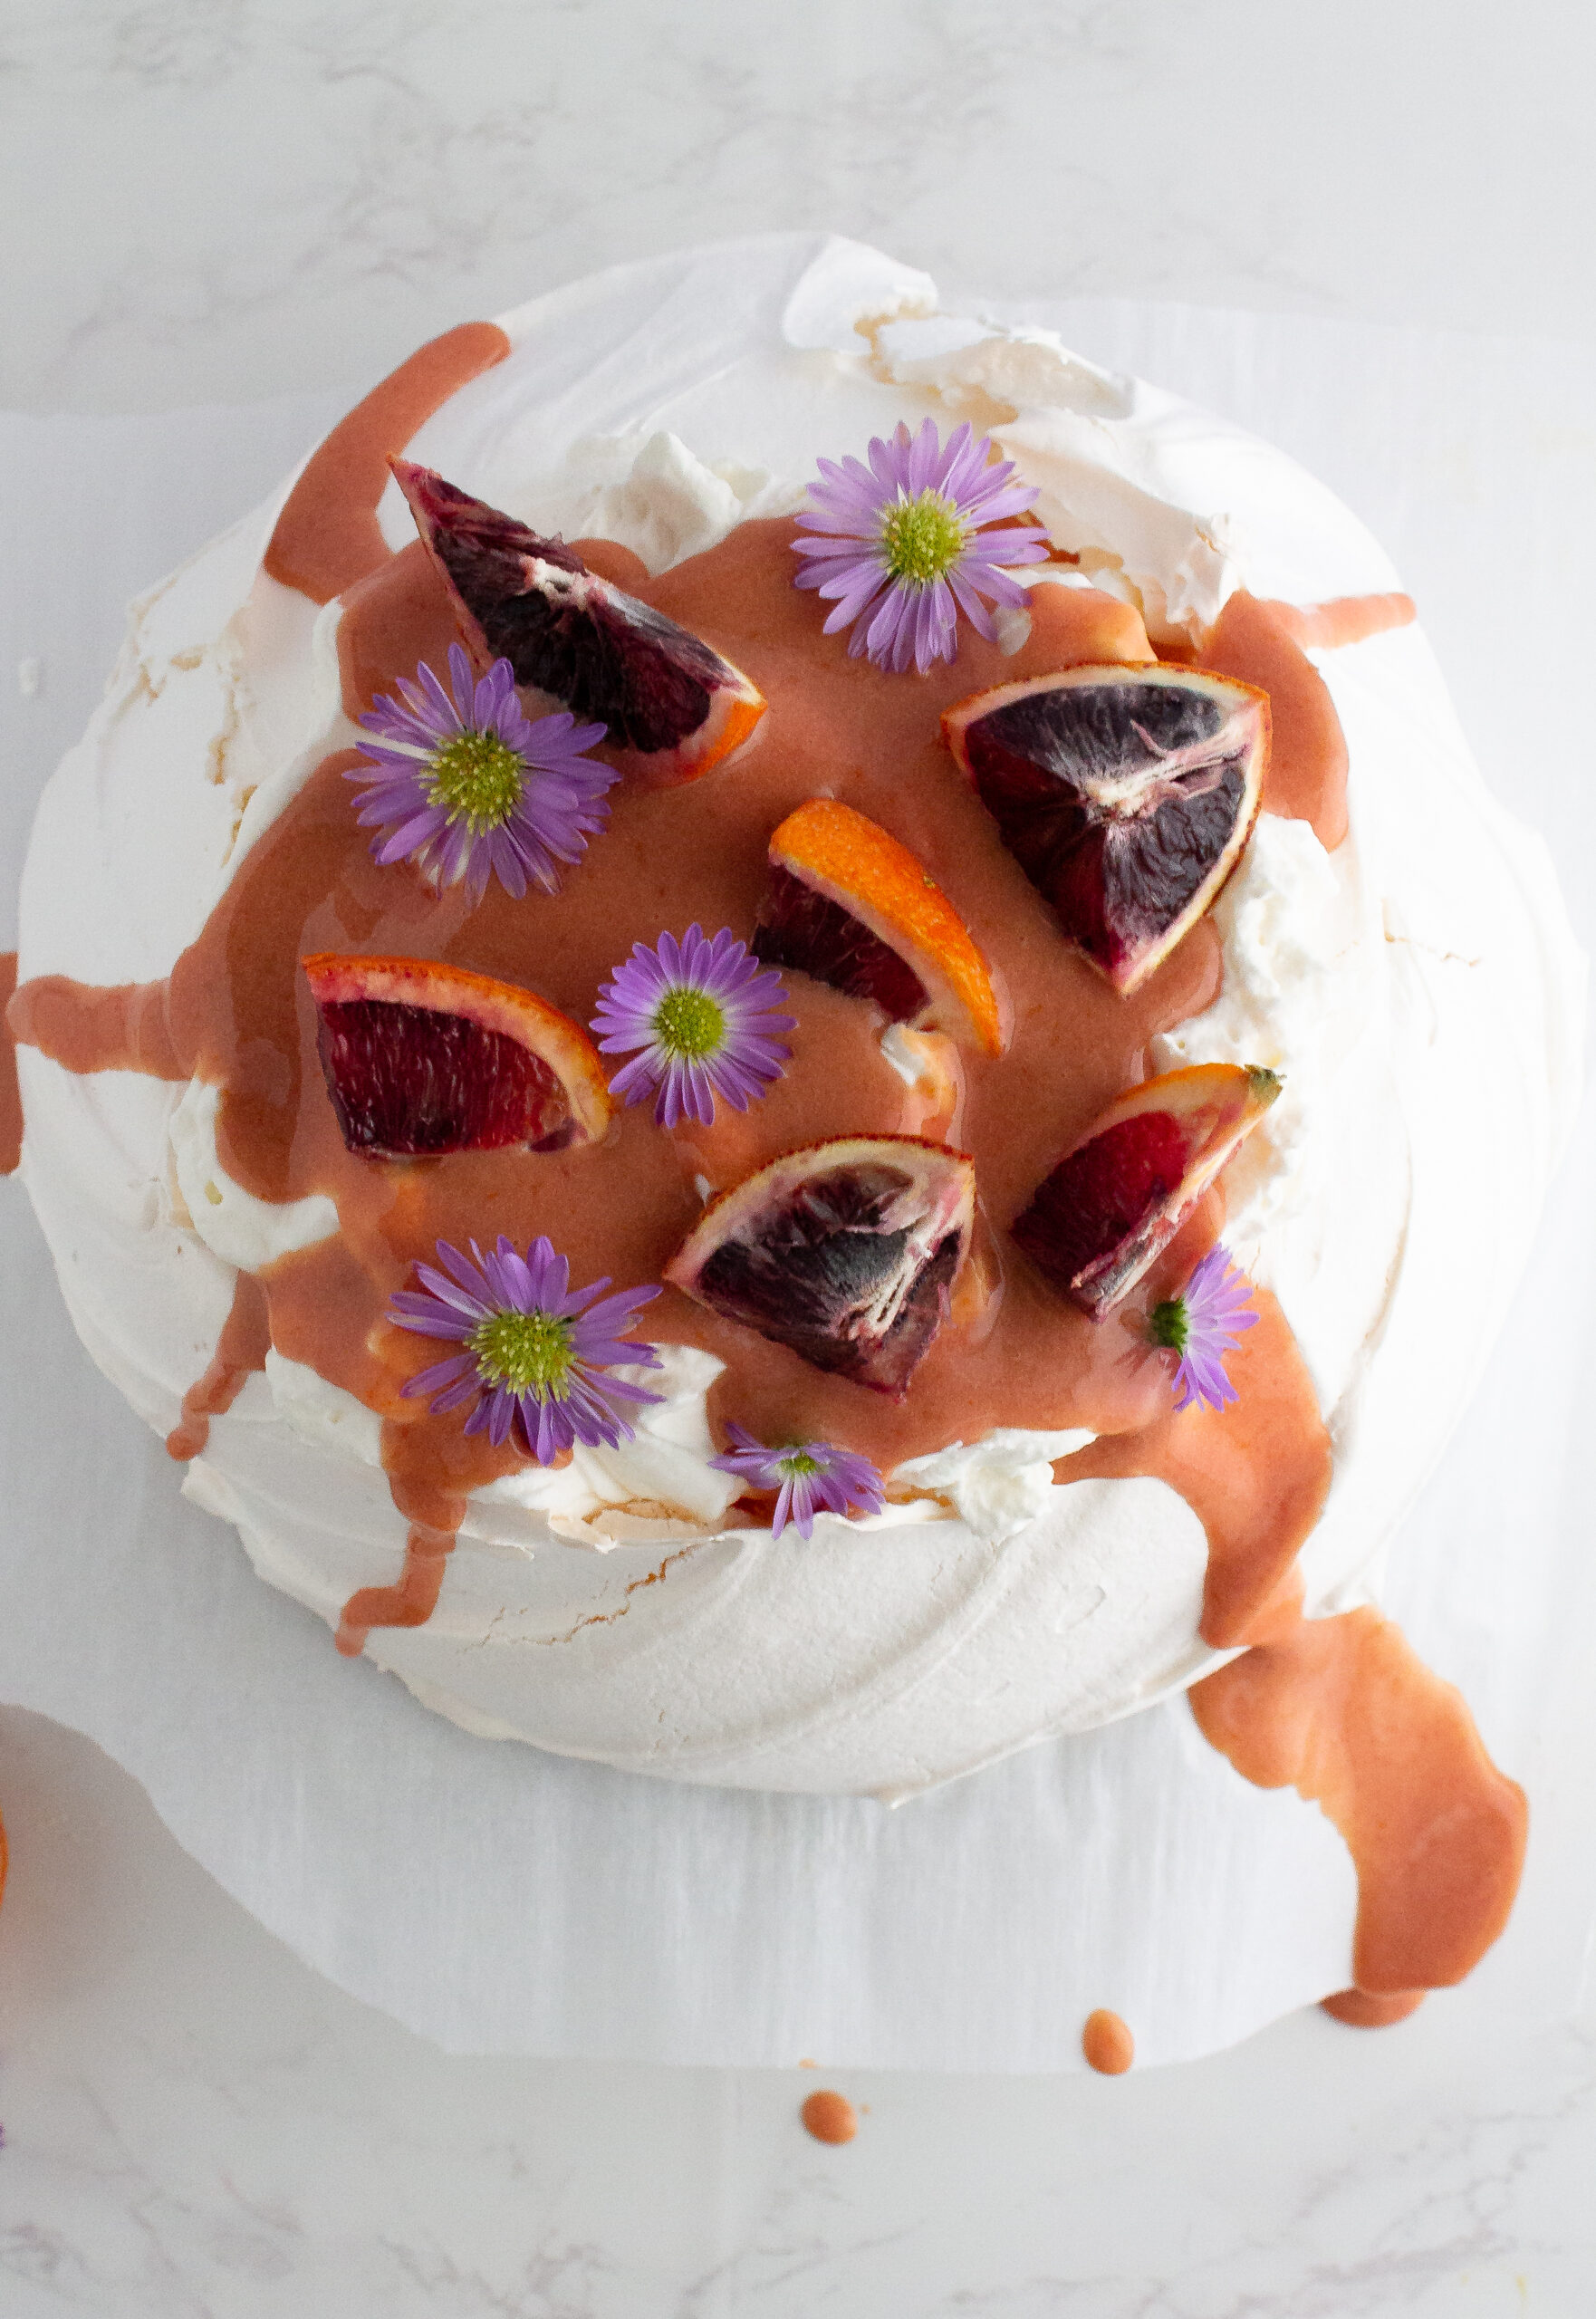
How to Make the BEST Meringue for this Pavlova:
Use superfine sugar. It is important to use superfine sugar in your meringue because it will break down more easily than regular granulated sugar. If you can’t find superfine sugar in your grocery store, you can break down your granulated sugar in a food processor before slowly adding it to the egg whites.
Drying time. The pavlova is baked low and slow. We want to slowly dry out the meringue but not burn its delicate exterior. Therefore we bake it on a very low temperature for a minimum of one hour. After one hour, we turn the oven off but leave the pavlova in the oven for another hour. The idea is to slowly bring the pavlova to room temperature. Finally, the pavlova will have one more hour’s rest with the oven door cracked open, giving it ample time to return to room temperature, slowly.
It is even customary to leave the Pavlova in the oven to dry overnight after baking it for one hour. I highly recommend this method if you have the time to do so.
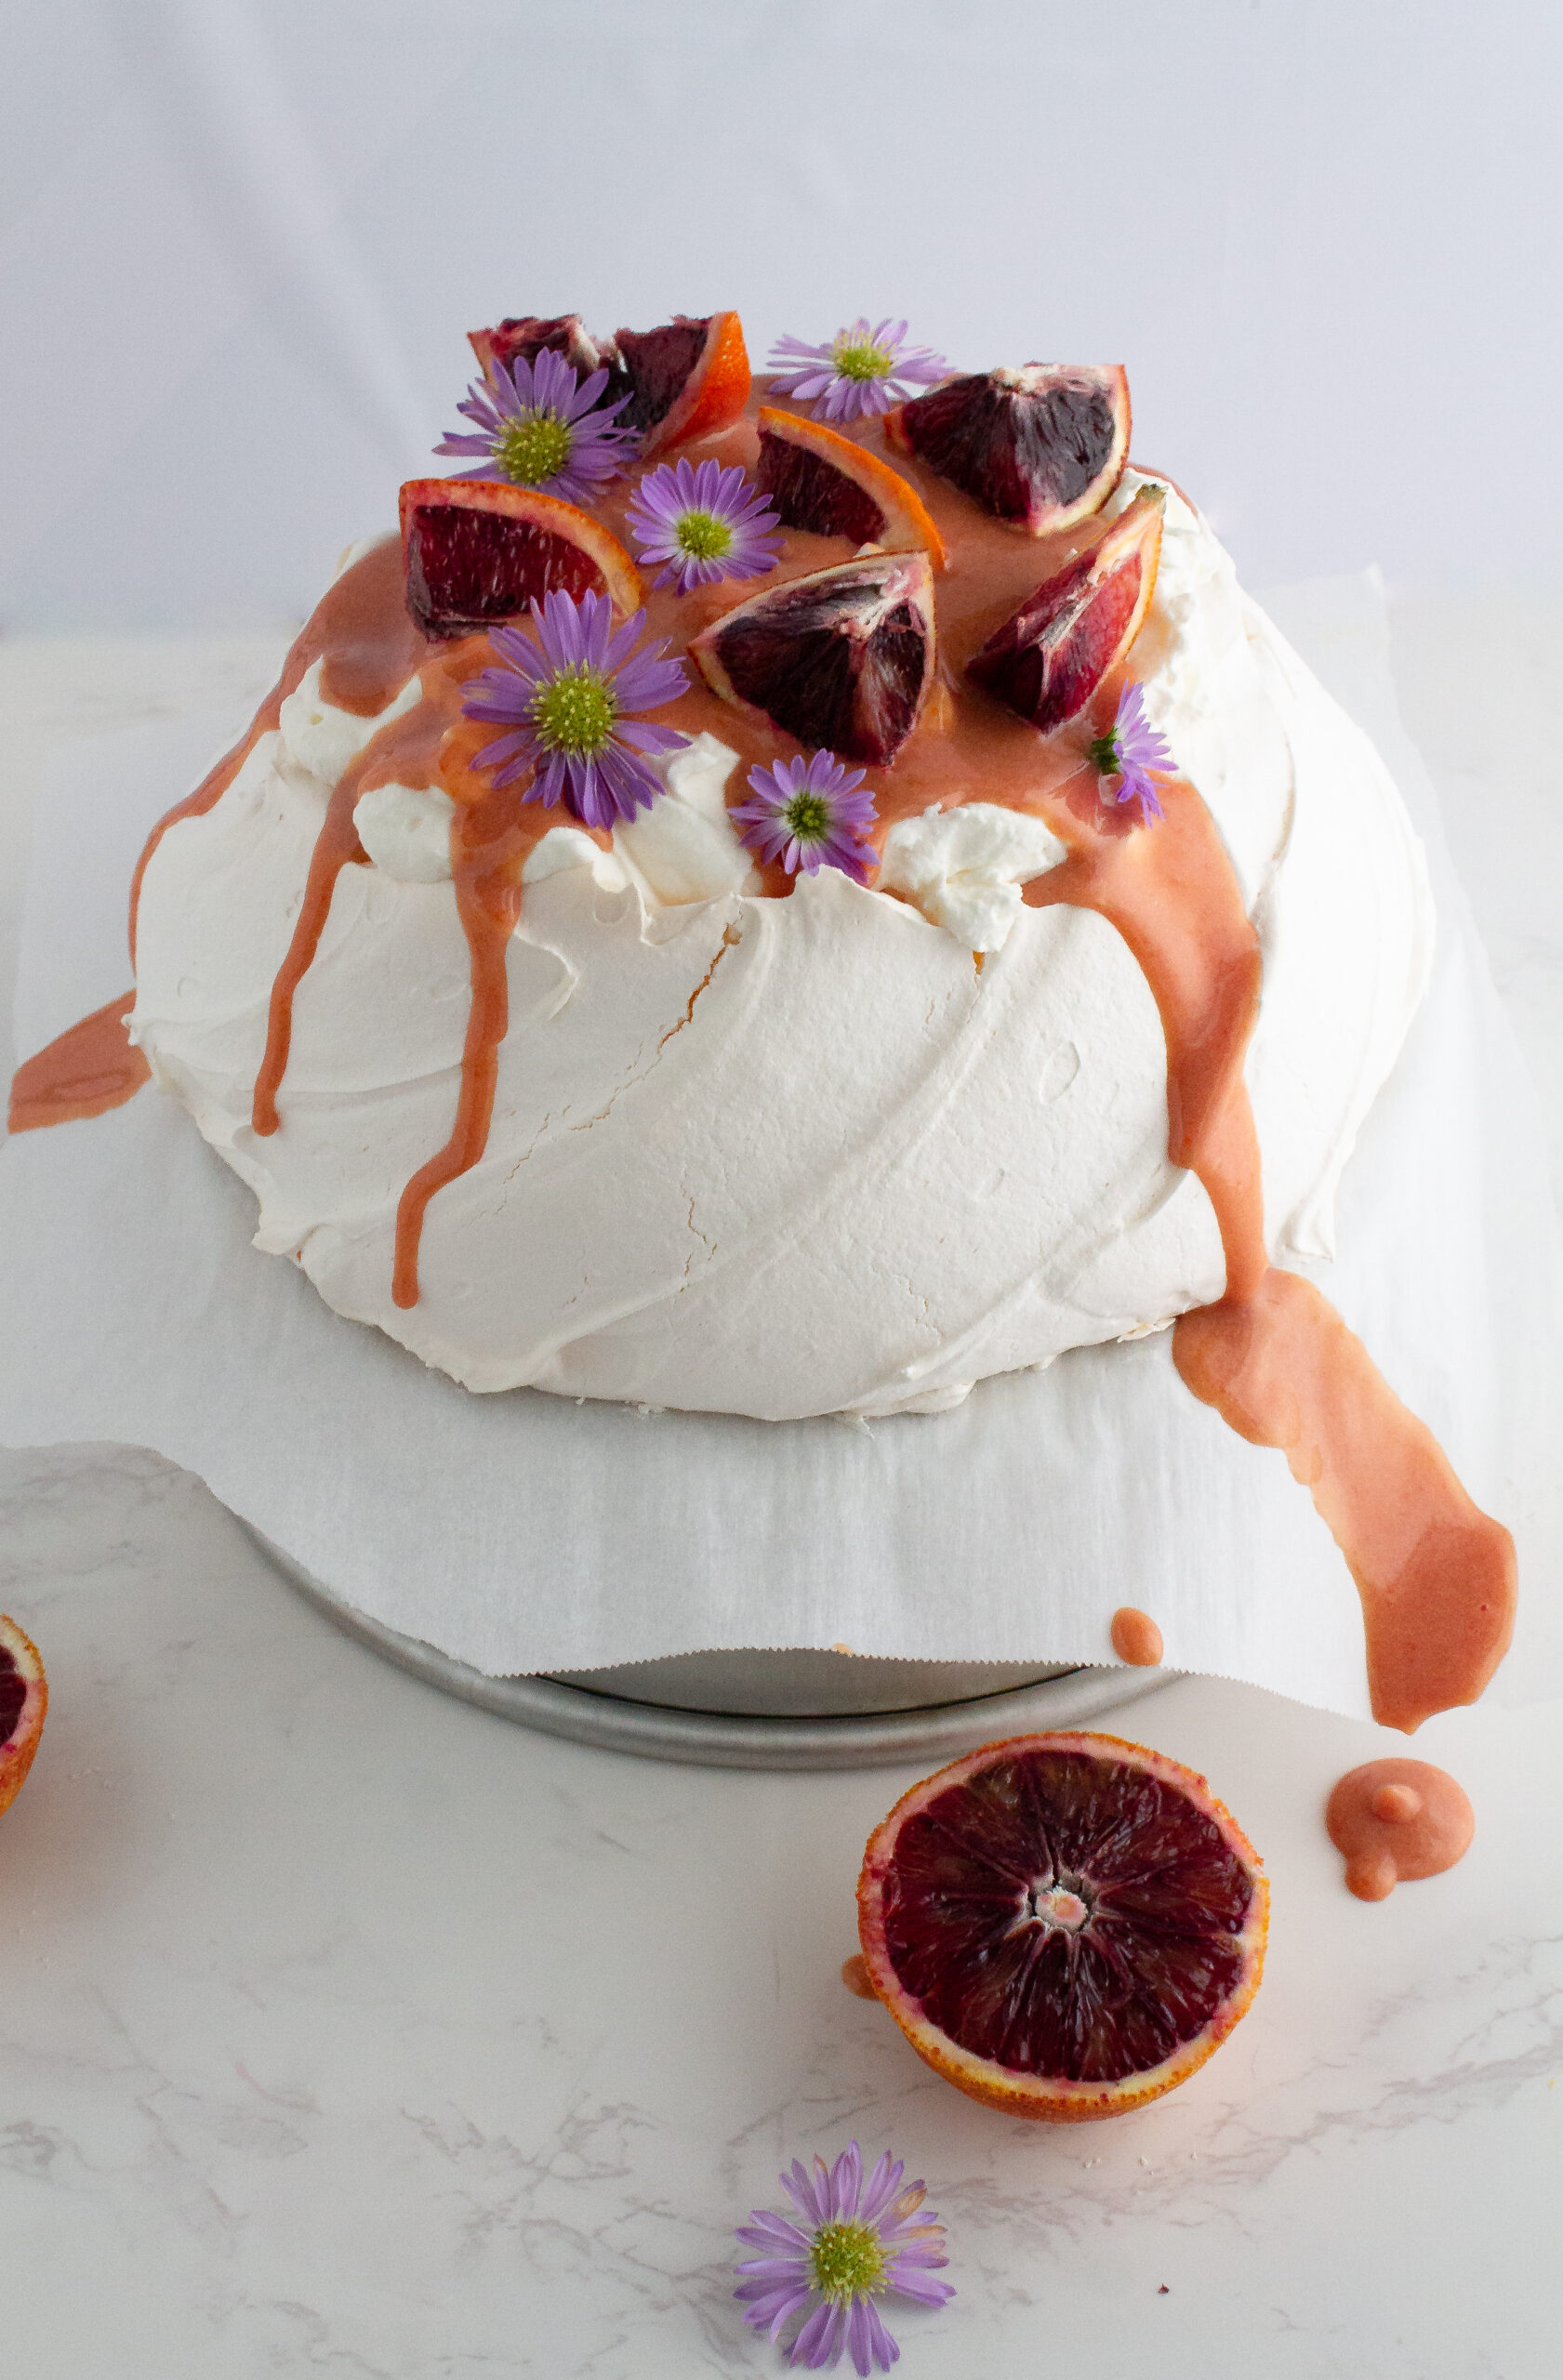
The Blood Orange Curd
In my opinion, it doesn’t get much better than a citrus curd. Silky egg yolks combined with zest, sugar, fruit juice and butter to deliver a powerful punch of flavor to the tastebuds, it’s hard to top! This pavlova features a blood orange curd which brings the perfect balance of sweetness and tang to the recipe.
For the best blood orange curd, make sure your blood oranges are deep gold and rosey colored on the outside and a deep maroon color on the inside. This will give you the best zest and juice to make the curd.
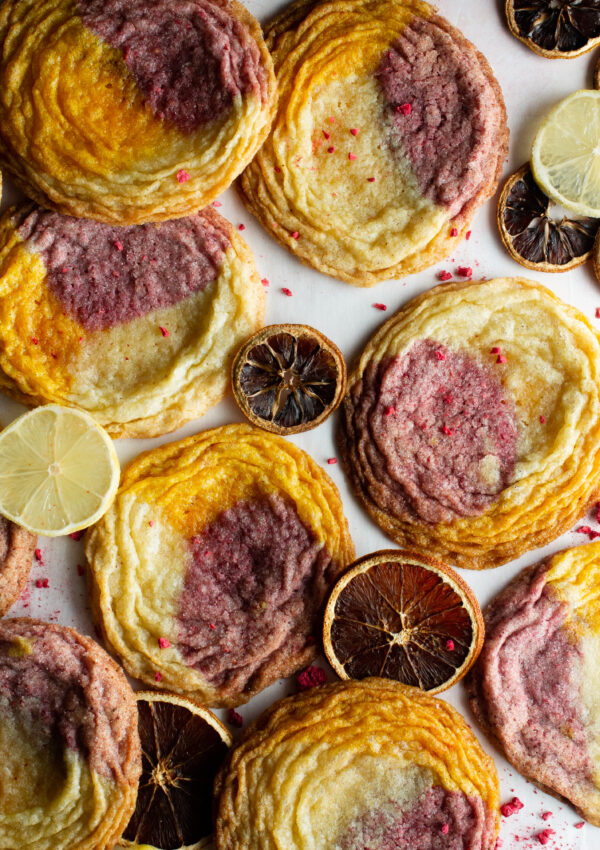
If you’re looking for more recipes using a citrus curd, be sure to check out my Lemon Shortbread Sandwich Cookies, which feature a gorgeous lemon curd!
Can baking be therapeutic?
I often talk about baking being a therapeutic hobby but I’d like to share more about why I feel that way as well as how it can become a relaxing hobby for you!
When I bake, it’s my creative time. I may put on my favorite nostalgic movie or tv show in the background, or a Spotify playlist titled “French café” and leave my troubles behind.
Sometimes I pour myself a glass of wine and light a candle. Then, with the mood set, the mixing of batter, kneading of dough and smoothing of icing is my only care in the world.
When I say baking is therapeutic, sometimes people respond saying “not for me it isn’t!” I completely understand why someone might feel that way. There have been plenty of times where I spend hours on something only for it to fail or something breaks that shouldn’t or I forget to clean as I go and am left with a disastrous kitchen to clean.
So I should in reality, have a caveat to my “baking as therapy” claims…
Baking is therapy when you curate the experience to be relaxing.
How do you curate that relaxing experience for yourself, you ask?
How to make baking therapeutic…
- Prepare your mind–know that it’s okay if the cake doesn’t rise, or the butter wasn’t chilled enough. Shift your mindset from seeing your failures as mistakes to seeing them as opportunities for learning.
- Prepare your space–I cannot and will not bake on top of a messy kitchen. If I were to do this I would be starting from a place of stress! Take an extra 10 minutes to clean any dishes in the sink and wipe down the counters, this small effort will pay you back greatly in brain space and clarity.
- Clean as you go! I’ll tell you the one way to make baking stressful and tiresome, is to not clean as you go! After I use each ingredient that I no longer need, I put it away.
After each major step in the process, I wipe down the counters and put dishes that are no longer needed in the sink. If there is chill time or baking time I don’t sit, I do the cleaning then. Make this shift and you’ll really notice the difference!
By the way, this last tip really helped me when I was on The Great American Baking Show–and the crew that cleaned up behind us made a point to tell me that my workspace was always so clean they didn’t have much to do!
I would reply by saying “it’s how I stay sane in this tent!”
Additional suggestions:
*Maybe try printing off the recipe instead of looking at it on your phone, tablet or laptop and use this time to unplug from technology for a few hours
**Invite friends or family over to share your creation with you. Time spent with loved ones over food is a universally special experience
And that’s how I discovered baking for my mental health. If you try any of these suggestions, let me know how it went for you! I’m really invested in spreading this message to others in hopes that baking will enhance your lives more than it already does!
That’s enough out of me, Happy Baking!
Perfect Spring Pavlova
Ingredients
For the Pavlova
- 4 large egg whites
- 3/4 cup superfine sugar
- 1/2 tsp cream of tartar
- 1 tsp vanilla extract
- 1/4 tsp salt
- 1 1/2 tsp corn starch
For the Whipped Cream
- 1 cup whipping cream
- 3 tbsp powdered sugar
- 1 tsp vanilla extract
- 1 pinch of salt
For the Blood Orange Curd
- 3 egg yolks
- 1/3 cup granulated sugar
- 1 tbsp blood orange zest
- 1/4 cup blood orange juice fresh
- 1/8 cup unsalted butter
- 1 pinch of salt
Instructions
For the Pavlova
- Preheat the oven to 300°F (roughly 150 C). Line a baking sheet with parchment paper and use a circular object 7" in diameter to trace a circle onto the parchment paper. Flip the parchment paper over so that the tracing doesn't touch the meringue later on.
- In a clean bowl, crack 4 eggs one at a time and separate the egg whites from the yolks pouring each egg white into the bowl of a stand (or hand) mixer individually.* (Reserve three egg yolks to be used later in the blood orange curd).
- Once all egg whites have been separated, add 1/2 tsp of cream of tartar and 1/4 tsp of salt to the bowl and begin to whip on medium speed.
- Once the egg whites have reached the foamy stage (lots of bubbles resembling a bubble bath), begin to slowly add in the 3/4 cup of superfine sugar 1 tablespoon at a time while the mixer is still mixing. It is important to add the sugar in a slow stream rather than dumping it into the bowl.
- When all of the sugar has been added, increase the mixer speed to high and beat until stiff peaks form. Add 1 tsp of vanilla extract and beat until incorporated.
- Add 1 1/2 tsp of corn starch and mix by hand until mixed in. Fold softly as to not deflate the airy meringue.
- Dump the meringue out onto the circle that was traced earlier and use a spatula to form it into a disk with a slight dip on top leaving room for the fillings. Optional: use the spatula to create a pattern on the outside of the meringue.
- Place meringue into the oven and immediately drop its temperature from 300°F (150°C) to 250°F (120°C) and bake for 1 hour and 10 minutes.
- When the meringue is done baking, turn the oven off but do not remove your meringue. Leave it in the oven for 1 hour. Then, after 1 hour, crack the door open and allow it to cool for 1 more hour or overnight. The goal is to slowly dry out the meringue. In the end the outside should be crunchy and the middle should be marshmallowy.
For the Whipped Cream
- Add 1 cup of heavy whipping cream, 3 tbsp of powdered sugar, 1 tsp of vanilla extract and a pinch of salt to a medium bowl or the bowl of a stand mixer and beat until stiff peaks form. Set aside to used for the final assembly.
For the Blood Orange Curd
- Add 1/3 c granulated sugar and 1 Tbsp blood orange zest to a small/medium saucepan that is off the heat. Give the mixture a vigorous whisk.
- Add 3 large egg yolks to the saucepan and give the mixture another vigorous whisk until the mix has lightened in color.
- Pour in 1/4 c fresh blood orange juice and whisk until combined.
- Place the saucepan over low/medium heat making sure to whisk constantly. Pay special attention to the edges of the saucepan, the curd would most likely burn here if anywhere. Whisk constantly until the mix thickens. You’ll know it’s done when it reaches a hollandaise sauce consistency. It will thicken even more in the refrigerator.
- Pull the blood orange curd off of the heat and mix in 1/8 c cold butter that has been cut into small pieces. Mix until butter has melted.
- (Optional) Pass the blood orange curd through a kitchen sieve to get rid of any zest and add 1-2 drops of red food coloring to make the color brighter.
- Place in an airtight container and let cool/thicken in the refrigerator for 1 hour. It will last in the fridge for up to 5 days.
For the Assembly
- Add whipped cream and blood orange curd on top of the pavlova. Optionally add edible flowers and blood orange slices for decoration. Serve and enjoy!
Leave a Reply